.svg@webp)
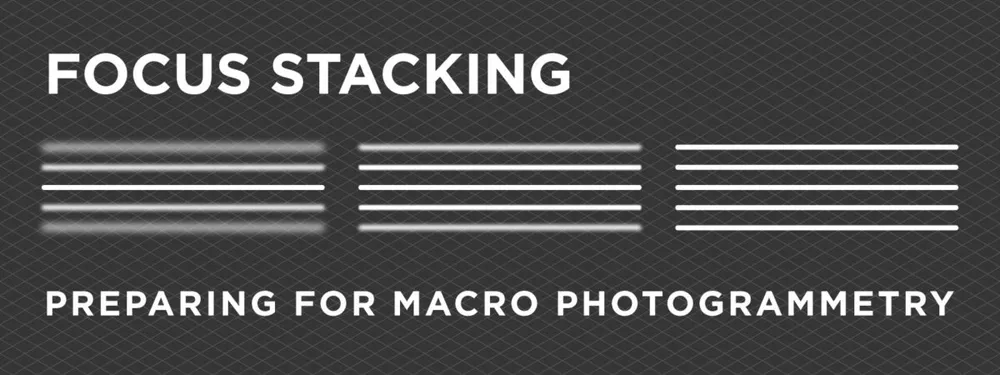
Focus Stacking for Photogrammetry
 Lukas
Zmejevskis
Lukas
Zmejevskis
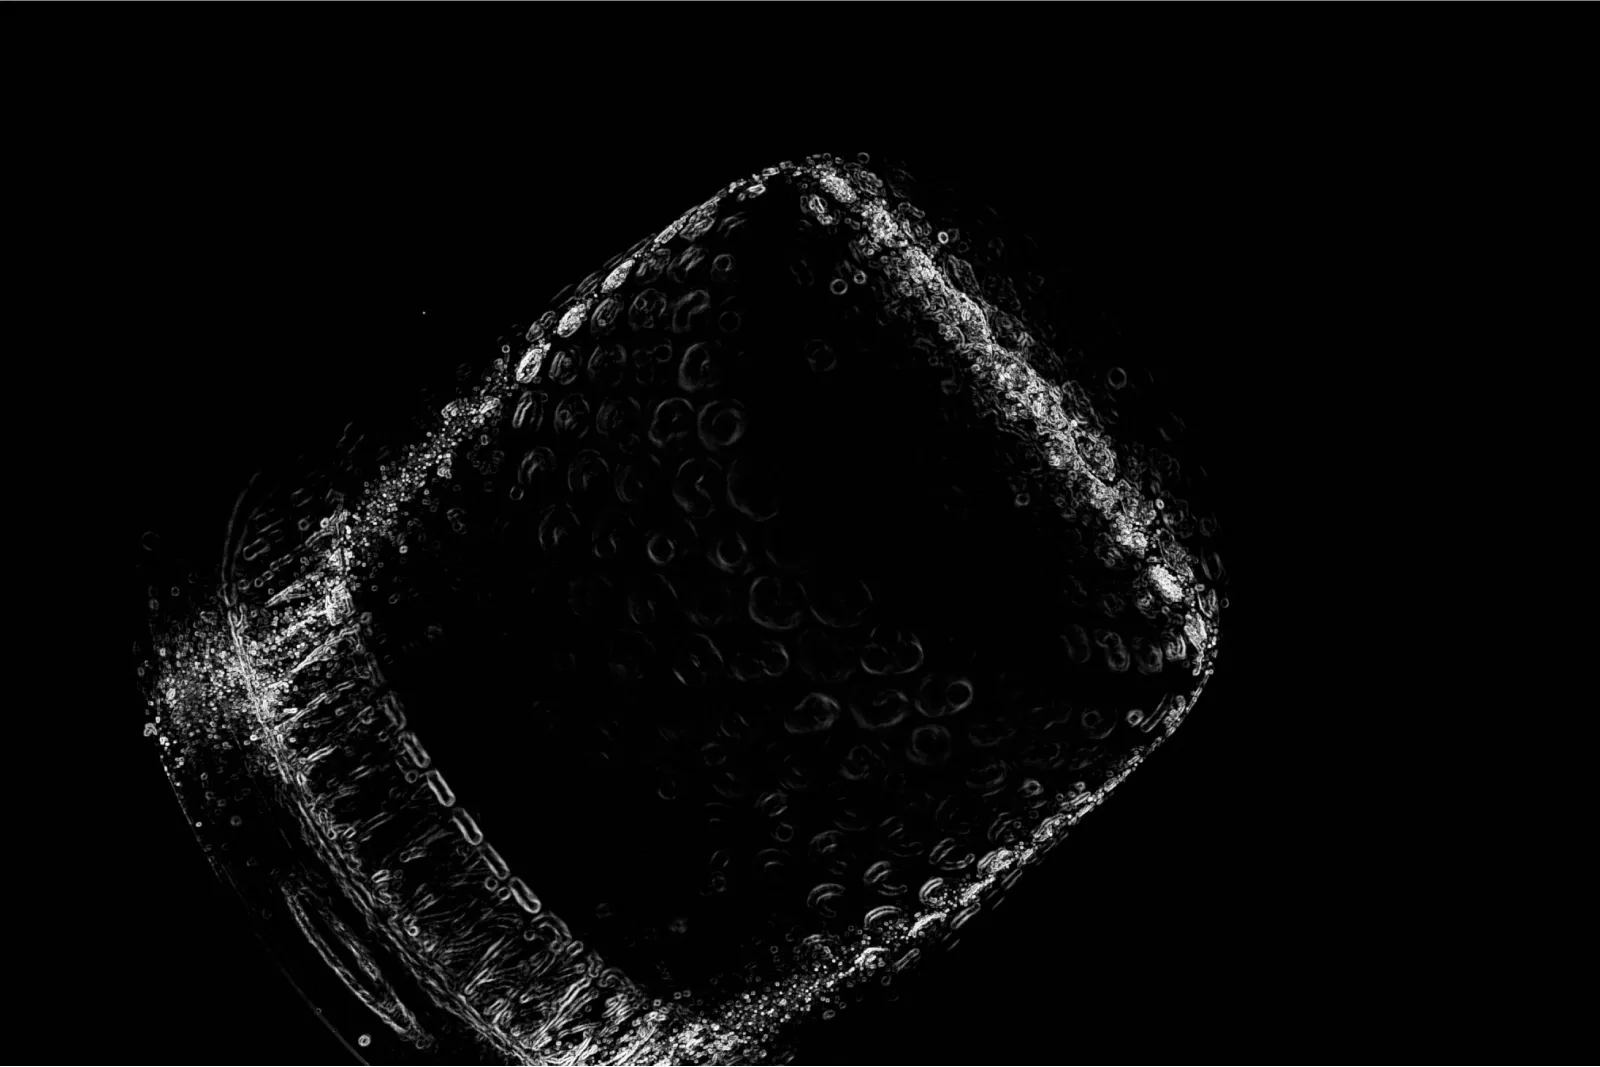
Focus stacking is a technique that involves taking a lot of photos and combining them to create an image that does not contain a narrow focus zone. It is bread and butter for macro photographers because close-up photography deals with the razor-thin depth of fields. The thin depth of field results from large subject magnification and open aperture. In practice, this means when the subject is very close to the lens and appears large in the frame. In this article, we will discuss focus stacking techniques and connect the dots on why focus stacking is necessary for small-scale photogrammetry.
Depth of Field
The depth of field is the plane where things are in focus, and all the details are visible. Our eyes automatically seek out the focused parts of the photo while ignoring the blurry background or foreground. A misfocused or entirely out-of-focus photo is a failed image in all photography fields. Focus is the number one tool in creating technically sound and aesthetically pleasing images.

Focus Stacking
To combat thin DOF, we use focus stacking or bracketing. The principle is straightforward - we take many photos at different focus values or distances and cover our entire subject with the focus zone but in separate images. Then we take those photos and stack them on top of each other. Lastly, with the help of automated processing, we make only the focused part of each image visible, thus getting a shot where the entire subject appears to be in focus.
Focus Stacking Methods
We can do focus stacking in a few different ways. Standard techniques are changing the focus for each photo or adjusting the distance between the lens and the subject. These can be done with electronic control and motors or by hand. Additionally, there are advanced workflows involving macro bellows. The focusing method using the autofocus motor inside the lens is the most favorable choice in many situations.
For examples made in this article, we will use mirrorless cameras (Sony A7IV and Fuji XT5) with lenses capable of autofocus. But we will not be using dedicated macro lenses capable of close focusing but rather enhancing existing standard lenses we had with macro accessories.

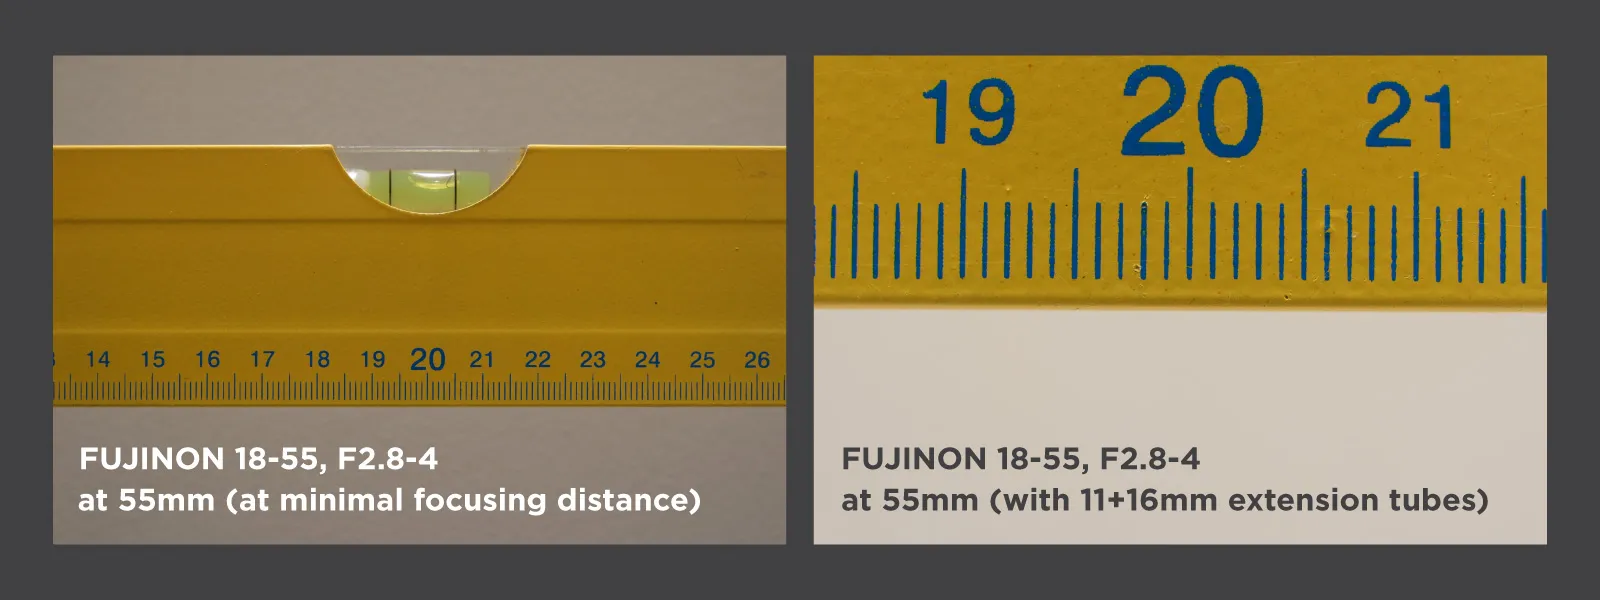
Macro Lens Conversion
Extension tubes and macro converters are the most popular ways of making your lens macro-capable. In the case of Fuji examples, we used the kit lens sold with the camera and third-party extension tubes with electronic contacts. In contrast, we used a regular lens with a close-up lens attached to the end of the lens to make the Sony camera examples.
Macro Photography Tips
Before photo capture, there are a few general macro photography tips you need to follow to obtain successful close-up photos:
- Use a very stable setup. At macro scales, any camera vibration amplifies dramatically.
- Use mirror lockup and electronic shutter. Even shutter actuation produces enough vibration to blur macro photos.
- Use the highest possible F value (aperture) without introducing diffraction. Find the value for your setup by taking test photos and looking for a point where the image sharpness starts to degrade.
- Shoot RAW. Shooting RAW gives you more processing options later on.
- Clean your object. Any dirt gets a lot more visible at macro scales.
- Do not touch the camera during capture. Even going near it will cause vibrations that can ruin the photo.
- Disable all image stabilization. It may seem counterintuitive, but optical image stabilization is not precise and stable enough for macro capture at long shutter speeds.
Capturing Photos for Focus Stacking
With the lens attached via the extension tubes on the Fuji camera, we can use functionality already built into the camera to take photos. It is called focus bracketing, and it will take pictures automatically between the focus points you designate. If you have a Fuji or any other camera that supports focus bracketing - take advantage of that. It is usually the best way of capturing the photos for focus stacking.
The Sony and most other cameras do not have focus bracketing built in, so we can use third-party apps to control the camera remotely. In our case, we used Helicon Remote software, and the camera connected via Wifi to a PC. This software allows selecting the focus points and capturing everything between them while photos transfer to the computer. As with the Fuji workflow, once you start the process, you do not need to do anything else but wait. Alternatively, you can use any other mobile or pc app to control your camera. It will depend on the camera you have and the connection method.
We can not cover all possible camera brands and software combinations, so you must dive into the research yourself. Look for focus stacking and focus bracketing videos and tutorials or refer to your camera manual. Fundamentally we recommend using an autofocus lens with any macro accessories you may need for your subject. Using a dedicated macro lens is even better if you have one. The learning process will likely involve a lot of trial and error and troubleshooting. Lastly, we assume that all other photography factors are taken care of, like proper exposure settings, lighting, white balance, RAW conversion, etc.
Processing Stacked Image
Now that you have gone through the ordeal of capturing images for stacking and are confident that the image set looks good, it is time to process it. For the stacking process, we used Helicon Focus software which we found works the best from what we tested. The processing is just a matter of selecting the photos and pressing a button to compute the final result. If the captured images are well-made - you will get good results immediately. From then, you may experiment with the settings Helicon Focus gives you and tweak the photo to perfection.
Conclusion
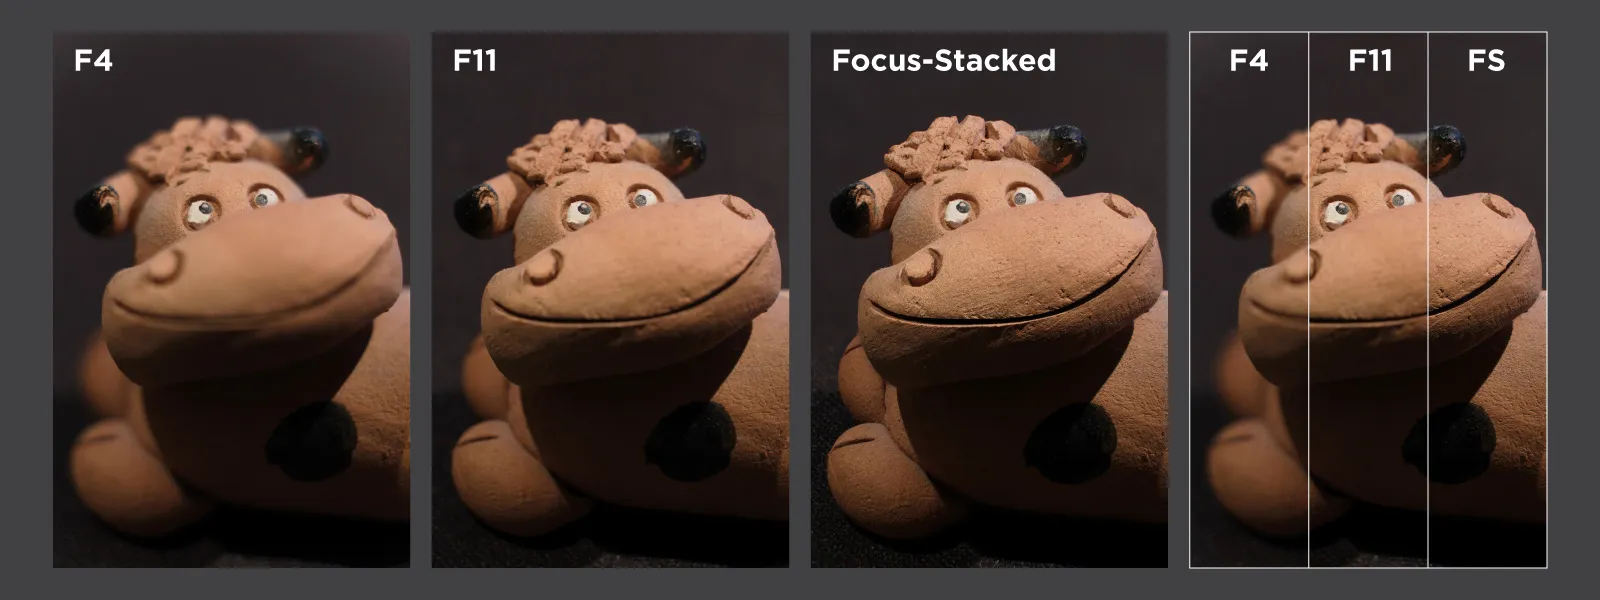
And there it is. Despite the large magnification, you get a single focus-stacked image with a broad depth of field. Can this image be used for photogrammetry? Yes. Focus-stacked photos can and should be used for macro photogrammetry, allowing us to scan even the most miniature objects for various purposes. Without focus stacking, the extremely thin DOF makes the images unusable for 3D reconstruction. In the following article, we will combine focus stacking, cross-polarization, and photogrammetric capture to create a 3D model of a small object with great detail.
Photographer - Drone Pilot - Photogrammetrist. Years of experience in gathering data for photogrammetry projects, client support and consultations, software testing, and working with development and marketing teams. Feel free to contact me via Pixpro Discord or email (l.zmejevskis@pix-pro.com) if you have any questions about our blog.
Related Blog Posts
Our Related Posts
All of our tools and technologies are designed, modified and updated keeping your needs in mind

DJI Drone Settings and Features - DJI Fly App Extensive Guide Part 1
The best flying cameras on the market today are DJI drones. They are the best tools for video, photo or 3D photogrammetry scan creation. However, the tool is only as capable as the user.
Building a PC - Tips and Hardware for mid-2024
A year has passed since our last article about building a workstation PC, so it is time to revisit the market to see what has changed.

Pixpro Waypoints v2 - Orbitals and Height Offset for DJI Drones
Pixpro Waypoints is a service for consumer DJI drone users that provides consistent and automated flying for aerial photogrammetry purposes. For now, we had the essential single grid flight only, which is the bread and butter for making orthophoto images and terrain scans.
Ready to get started with your project?
You can choose from our three different plans or ask for a custom solution where you can process as many photos as you like!
Free 14-day trial. Cancel any time.