.svg@webp)
Bios Settings to Unlock AMD Ryzen 5600G and 5700G Radeon Graphics
 Lukas
Zmejevskis
Lukas
Zmejevskis
The current shortage of integrated circuits has led to increased interest in APUs, which are CPUs with integrated graphics. AMD's latest addition signifies a step forward in GPU power without the need for a separate graphics card. To unlock the full potential of the 5600G and 5700G, you need to adjust the default Radeon graphics BIOS settings. We discovered this while testing our Pixpro photogrammetry software on the AMD 5700G processor. It turned out that some settings are not optimal "out of the box".
Radeon Graphics Uses System RAM
Integrated GPU relies on system memory for its VRAM needs. The GPU uses a portion of system RAM that won't be available for other tasks. Additionally, the speed of system RAM plays an even more important role when the CPU and GPU share it.
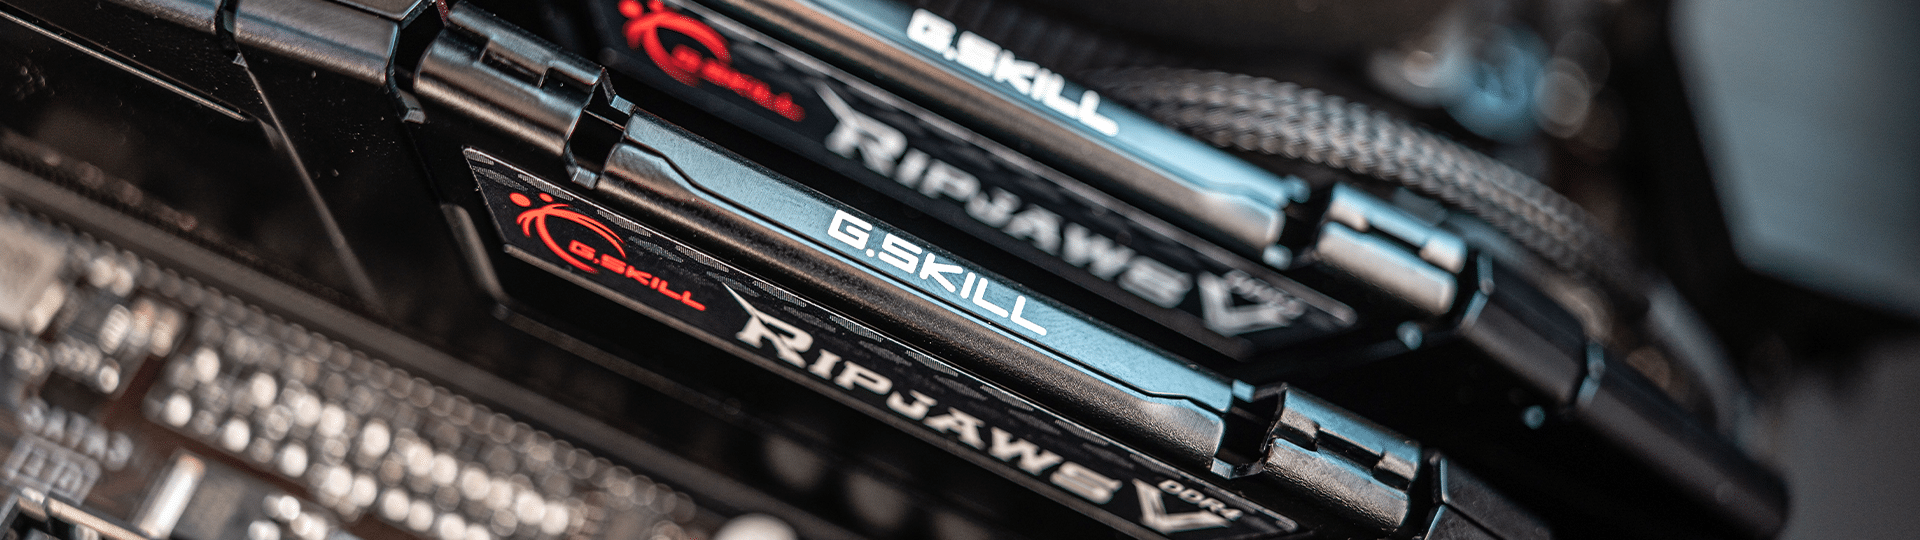
XMP, DOCP, EOCP RAM Profiles
To fully utilize memory, you need to select the appropriate timings and frequency. This can be done in two ways: manually using an overclocking profile, or inputting timing, voltage, and frequency values. Manual memory overclocking requires advanced knowledge and experience, whereas a profile is a necessity for everyone.
Memory profiles typically come under acronyms like XMP, DOCP, and EOCP, used by various motherboard manufacturers. For example, Asus motherboards with AMD chipsets often use the acronym DOCP, which stands for Direct Over Clock Profile. Regardless of the name, all implementations are functionally identical.
Reserved RAM Amount
Besides speed, the actual amount of usable memory is a more critical factor. By default, reserved memory values can be as low as 512MB. This default value or AUTO setting is acceptable in 90 percent of cases because the integrated GPU will reserve as much memory as it needs on the fly. But this leaves us with those 10 percent of cases when it's not enough.
During our Pixpro software testing, we discovered that we get much more stable operation with the UMA Frame buffer size set to 8 or 16 gigabytes. In addition, some of the games we tested report the set maximum RAM size, therefore, limiting the availability of graphics settings.
Making the Right Adjustments
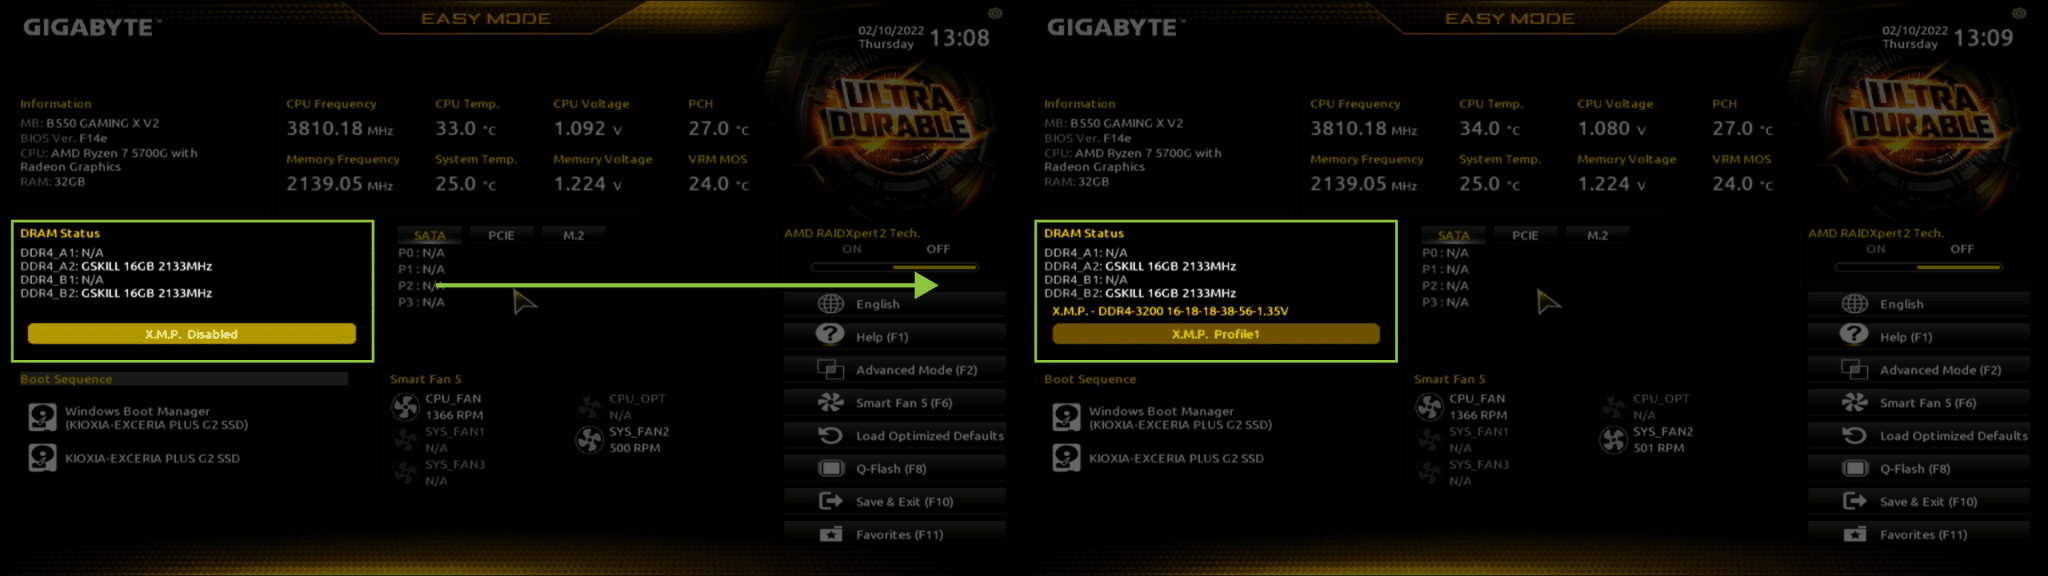
We have to go to the system bios to enable the RAM XMP profile and increase the UMA frame buffer size. In our case, we are using a Gigabyte motherboard, although usually bios differences between motherboard manufacturers are only cosmetic.
Upon booting the PC, we keep pressing the enter bios button, DEL, to enter the PC bios. In the initial home screen, we see a lot of information about the PC. Immediately you can notice the XMP Disabled button. Use your mouse or keyboard to press the XMP Disabled button. It will change to XMP Profile1 – which means our overclocking profile is activated, and new RAM frequency and timings are displayed above.
Now we change the UMA Frame buffer. Enable the advanced settings by pressing the F2 on your keyboard. Here you navigate to Settings Tab and the IO Ports section. Here we change a few settings. Watch the short video below to see the exact changes.
All that is left is to save our changes. Go to the Save & Exit tab and save your settings.
We have changed the two essential settings that will allow utilizing the onboard graphics to the fullest. There are many ways to overclock your AMD CPU and get even more from the whole SOC, but that requires advanced knowledge and sufficient cooling hardware. If you want to start your overclocking Journey – familiarize yourself with AMD’s precision boost optimizer or PBO’s features.
Results
With these adjustments, all games should detect the high available VRAM amount. In addition, processing-heavy software such as Pixpro should run without problems. So far, we have not noticed any harmful side effects of the changes.
To be reasonable, an integrated GPU is never as powerful as a dedicated one. But not having a display at all is a bit worse. A competent integrated graphics processor enables casual PC use without any drawbacks. For example, you can take advantage of Pixpro cloud processing and fully utilize projects locally with no problem. If you have small to medium-sized datasets, you can even process them yourself. Integrated Radeon Graphics – a welcome product from AMD to address an otherwise tricky situation in the PC DIY space.
Photographer - Drone Pilot - Photogrammetrist. Years of experience in gathering data for photogrammetry projects, client support and consultations, software testing, and working with development and marketing teams. Feel free to contact me via Pixpro Discord or email (l.zmejevskis@pix-pro.com) if you have any questions about our blog.
Related Blog Posts
Our Related Posts
All of our tools and technologies are designed, modified and updated keeping your needs in mind
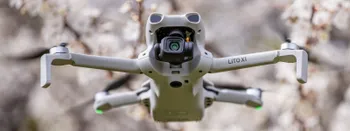
DJI Lito X1 vs Mini 5 Pro vs Mini 4 Pro: Which Sub-250g Drone Should You Buy?
Three current sub-250 gram DJI drones, almost identical on paper, all sitting on the same shelf. The DJI Lito X1, the Mini 4 Pro, and the Mini 5 Pro each have a clear value proposition, but the differences are small enough that picking the right one is a real question.
DJI Lito X1 Review: Specs, Flight Impressions, and How It Compares to the Lito 1
DJI recently launched a new drone series called Lito. It consists of two drones, the Lito 1 and the Lito X1. Both are sub-250 gram drones aimed at the more affordable end of the small drone segment.
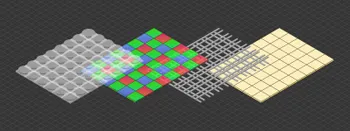
Camera Sensor Technology Explained – Stacked, Partially Stacked, BSI, IBIS, and What It All Means
Camera sensor technology is one of those topics that sounds complicated but really comes down to a few core ideas. Most photographers interact with the results of sensor design every day without thinking about how the sensor actually works.
Ready to get started with your project?
You can choose from our three different plans or ask for a custom solution where you can process as many photos as you like!
Free 14-day trial. Cancel any time.