.svg@webp)
Roof Scan for Inspection and Solar Panel Addition – Use Case
 Lukas
Zmejevskis
Lukas
Zmejevskis

Roof photogrammetry is one of our client base's most common use cases. Obtaining accurate measurements is essential for designing a solar panel layout, determining how many panels fit on a roof, and conducting a prior inspection. Photogrammetric 3D inspection allows for finalizing safe mounting points, documenting the roof's current state in case of any disputes, and even running simulations on the 3D model—with proper scale, orientation, and position on the map. We have a case just like that. I will show you how simple obtaining a perfectly serviceable 3D model for roof inspection and solar planning is.
Subject and Needs
We have a use case where the homeowner wishes to expand the current solar array and inspect the existing one after half a year of operation. So, we need to obtain an adequate quality model of the roof with decent visual detail and accurate 3D representation. That means shape and scale, of course. A realistic texture is needed for inspection.
Pixpro Waypoints
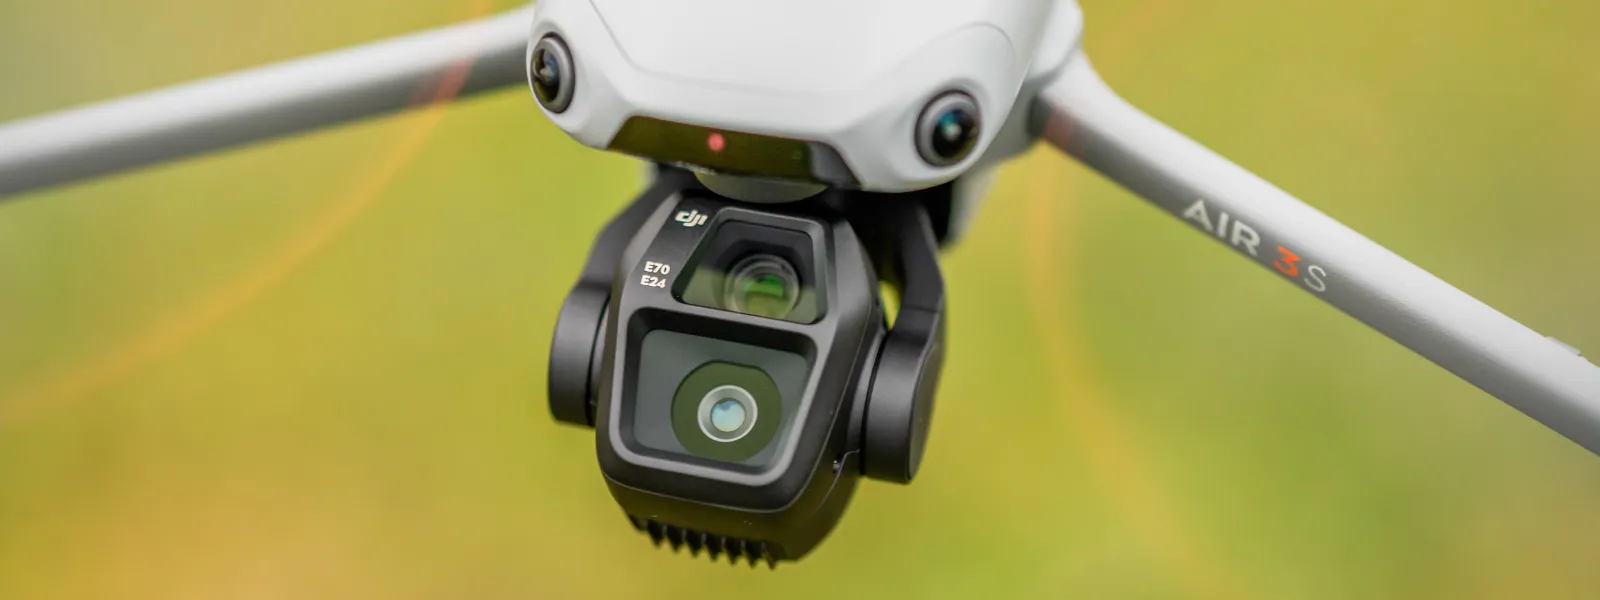
For data capture, I am using the trusty DJI Air 3S—currently the best drone for many. It is a competent photogrammetry machine when paired with the Pixpro Waypoints service. Our subject is a relatively small house, so orbital flights will do just fine.
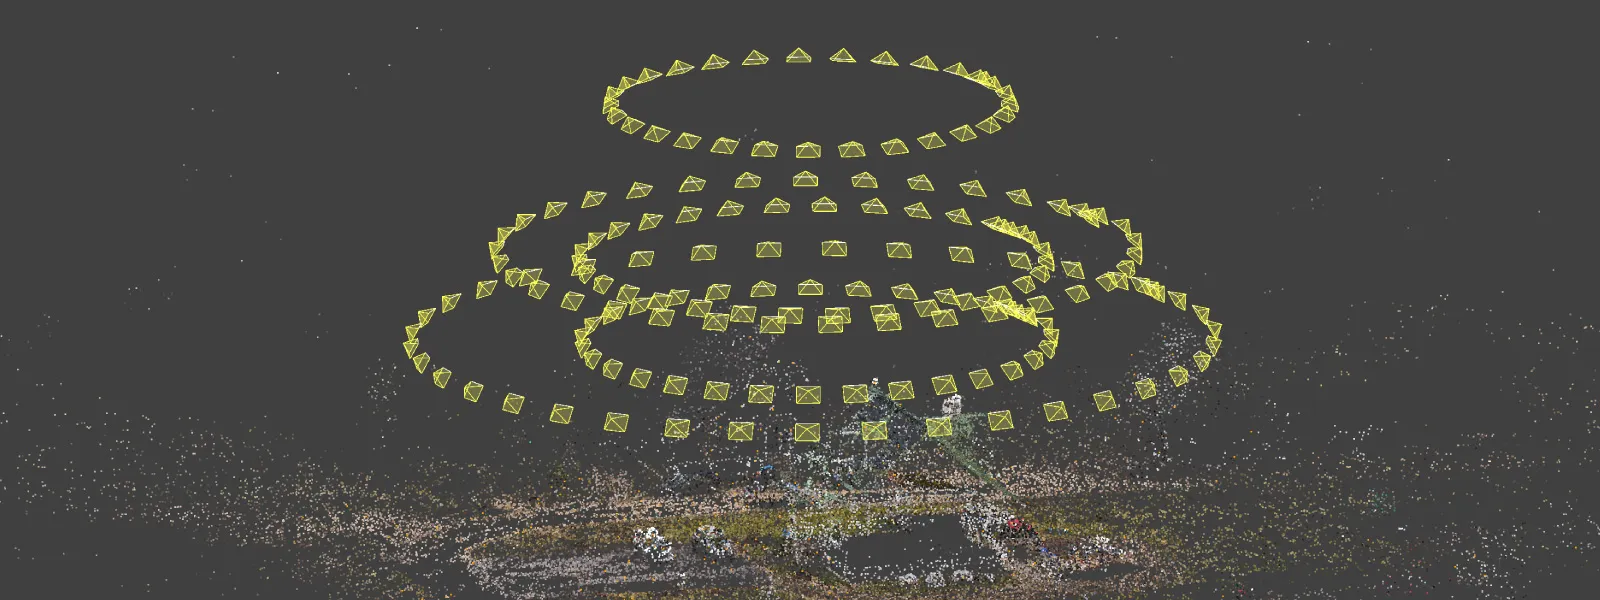
 I wanted to ensure data quality for the purposes of this article and good scan results, so I made an overkill number of orbits—five, at different altitudes and with varying diameters. In the previous article, I stressed the need to avoid photos taken in the same places, as they can ruin photogrammetry projects, so I made sure that all orbits were technically completely different.
 I shot JPEGs with manual white balance and 12-megapixel mode. In total, all orbits summed up to 173 photos. Way less than that would also suffice, but I wanted to be extra sure. Weather conditions were quite foggy, but that was not an issue due to the low flight altitude. There was also a constant drizzle of rain, but it was too weak to cause any problems, and the flights were relatively short.
Map Offset Issue
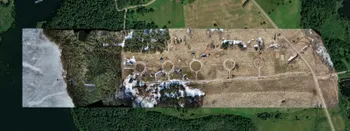
One minor issue I encountered in this use case was map inaccuracy. Objects will never perfectly match real life. I centered the orbits according to the building on the map, but the center was way off to one side when I executed the flight.
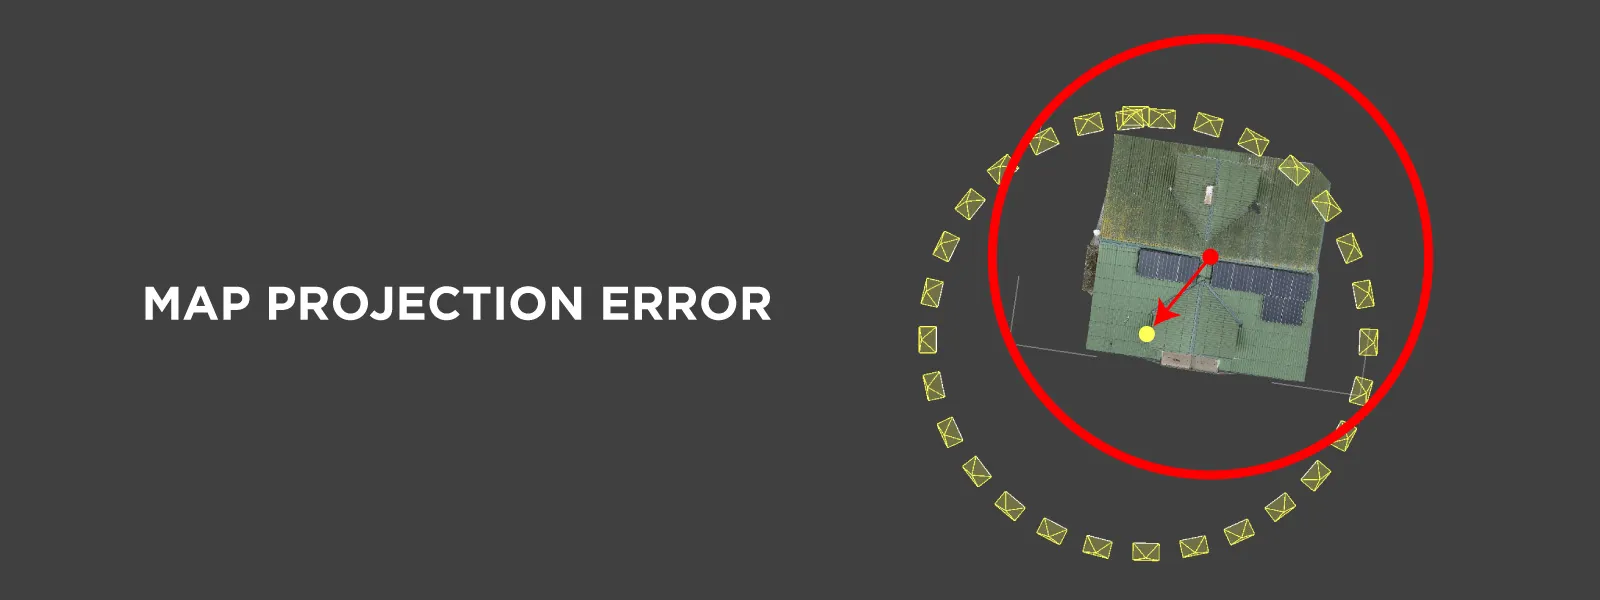 This may seem a bit detrimental, but it barely is. The house was still in the frame in all of the photos; there were scarcely any images where bits of the roof were cut off. Our orbits allow you to adjust the camera tilt at any time during the capture, so I did that on the fly (pun intended) and just kept the subject in the frame. We can see an apparent offset of all flights to the side but barely any actual worsening effect on the scene.
 Pixpro Results
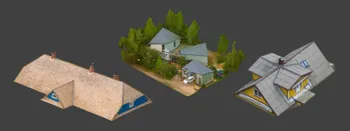
In Pixpro photogrammetry software, we can create the model by processing the photos and performing some data analysis. I processed a 3D mesh with texture, with a clipping box around the house to not waste any data.
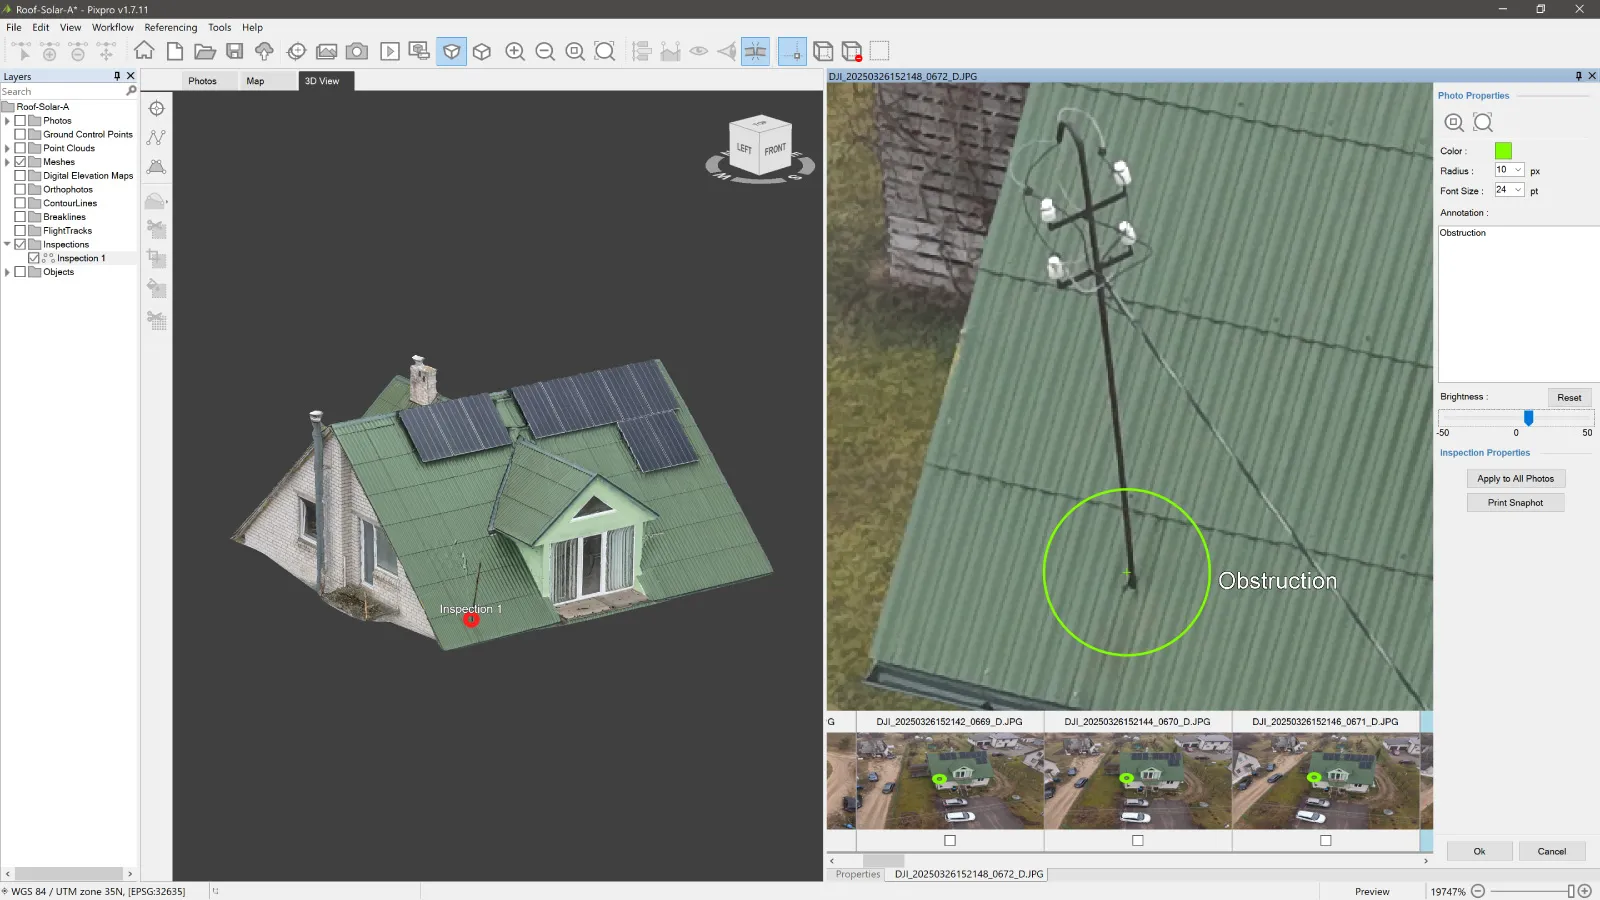
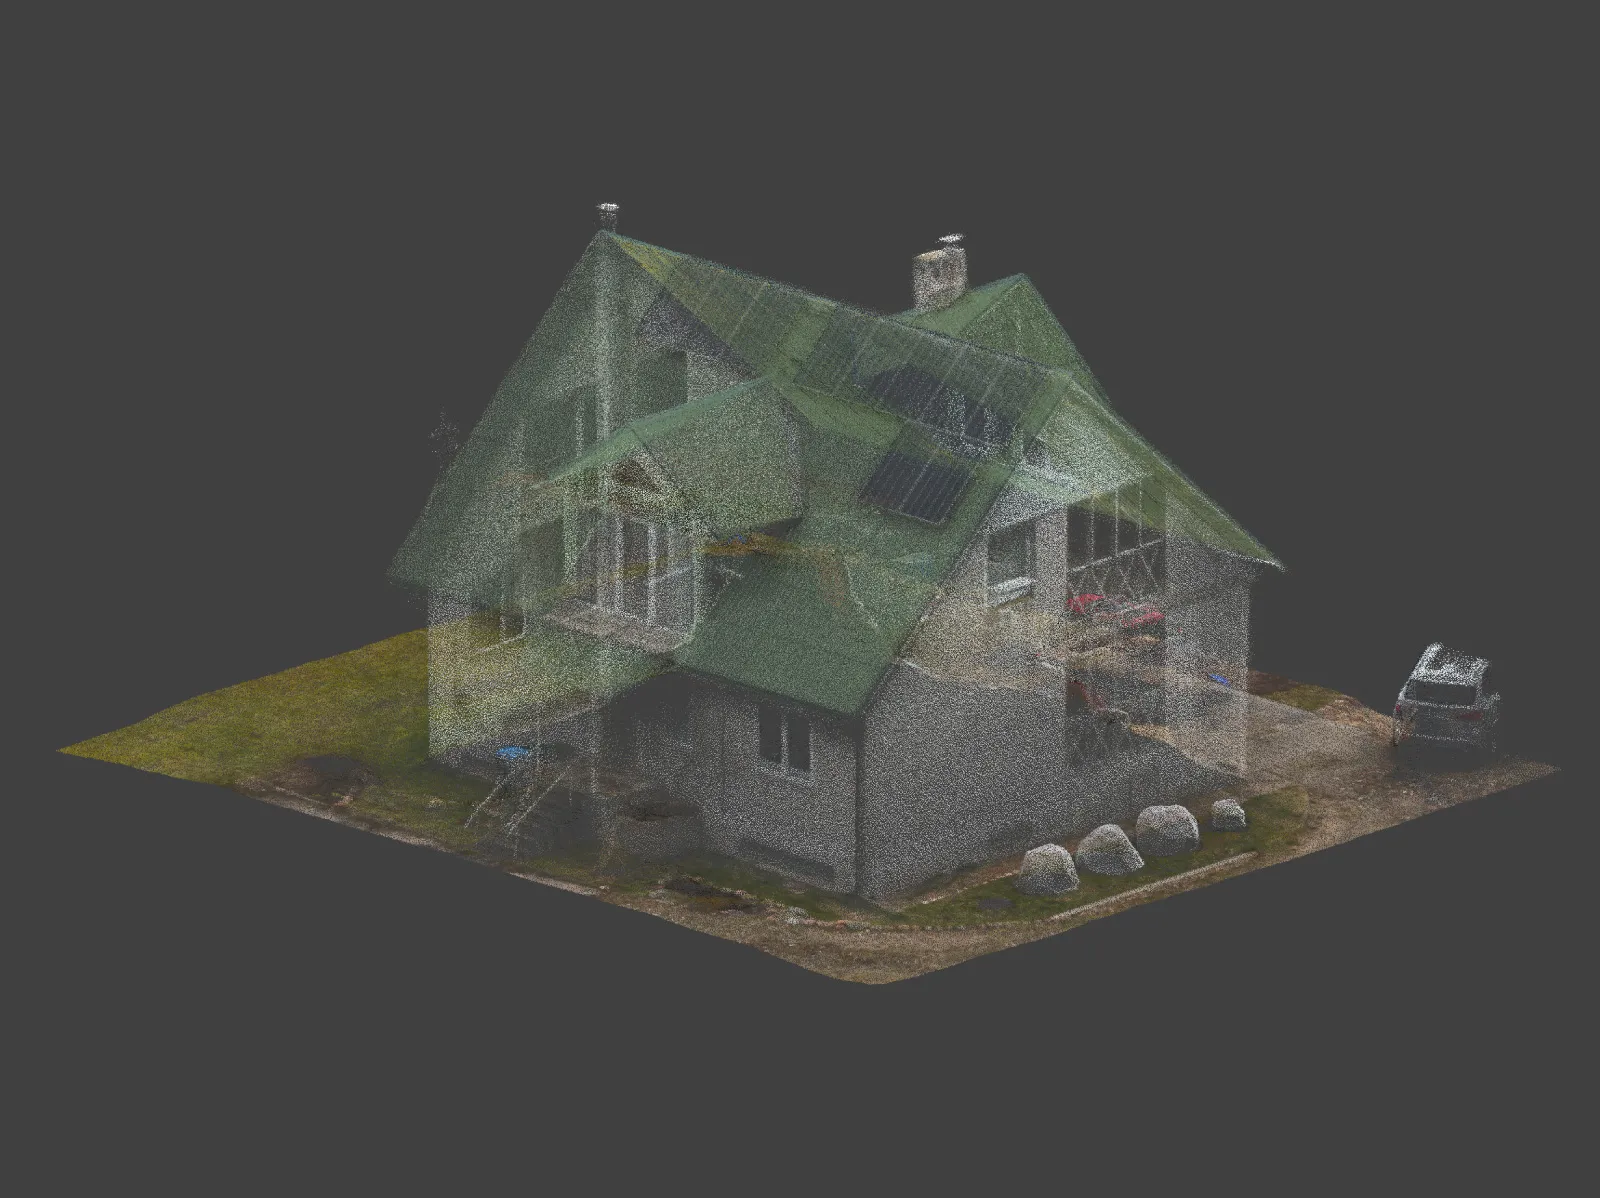 We can isolate the roof itself to make a model of it. With the processing side of the workflow complete, we can measure and inspect the roof. Our inspection module is a streamlined approach to checking out the photos where a spot on the 3D model is visible—this is called a projection. Using that, we can visually inspect any place on the roof with the maximum possible detail.
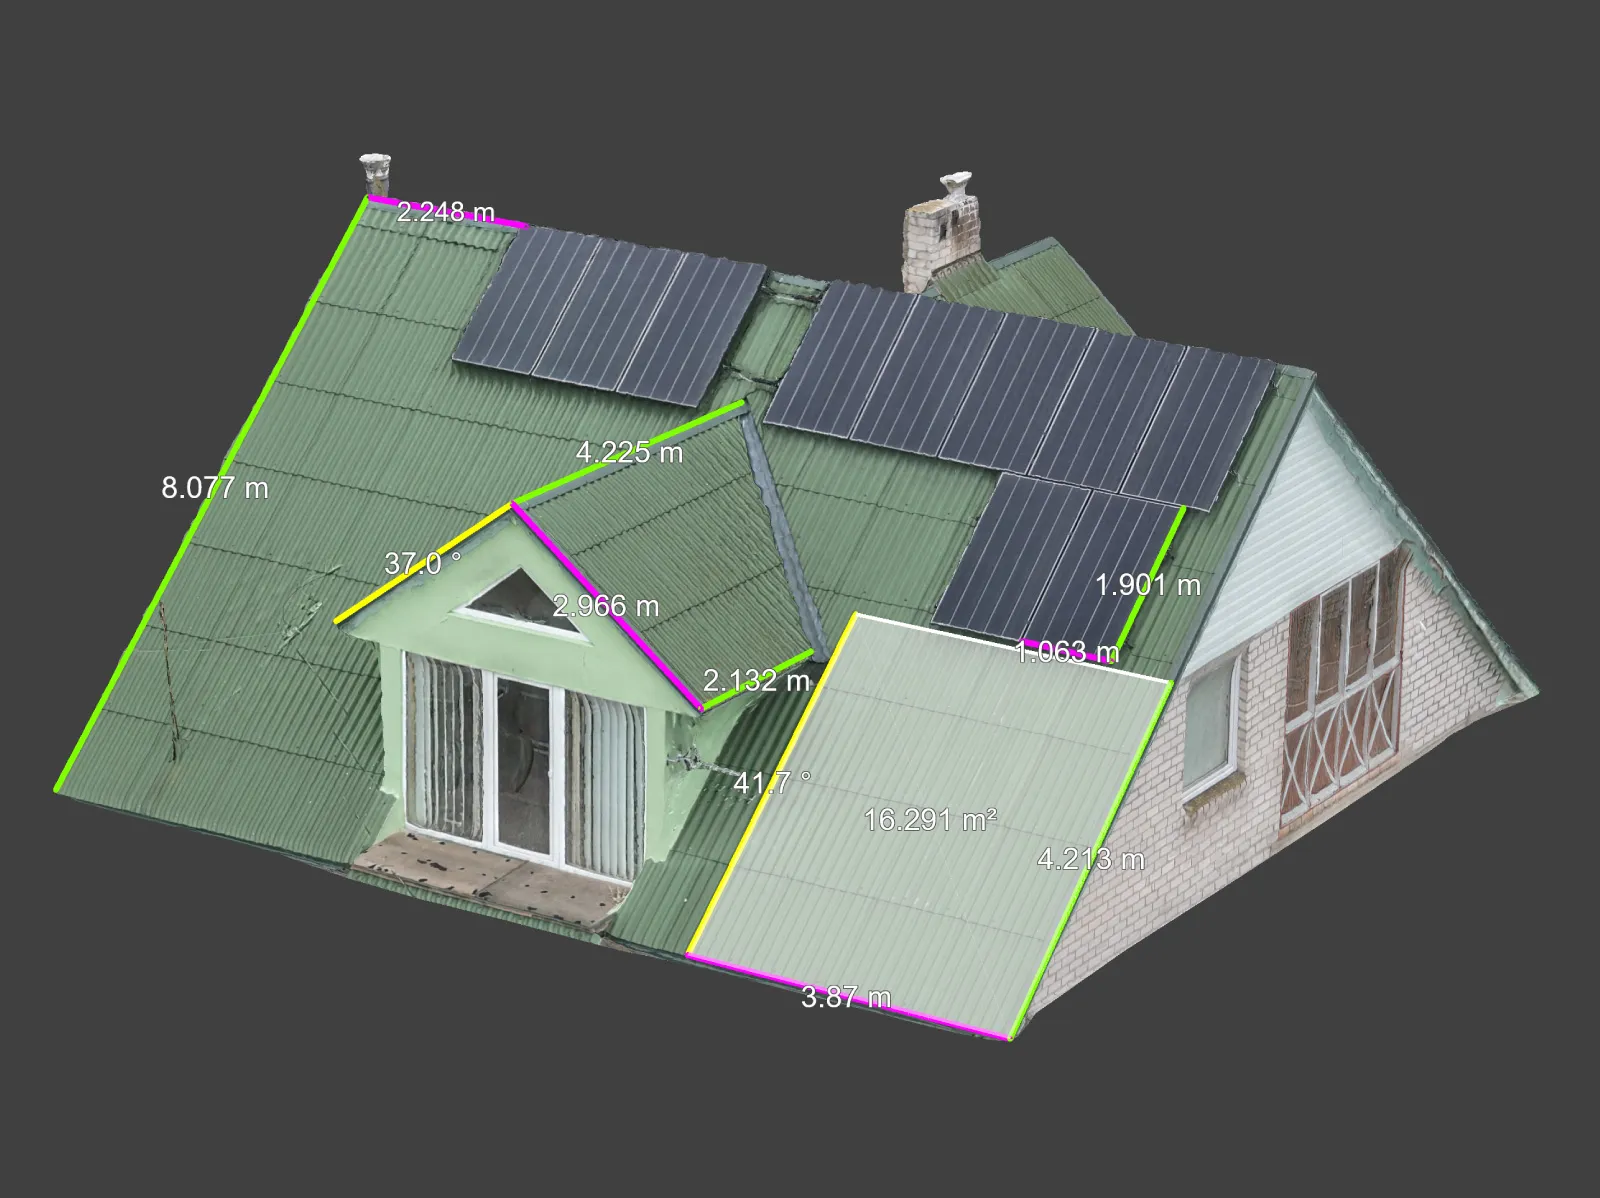
 We can also measure the empty part of the south-facing side of the roof and see how many panels of the same type we can fit in. Linear measurements in successful projects are often within ±10 millimeters of error, so many people in the field trust good photogrammetry projects to provide sufficient precision.
 We can generate reports, export CAD lines, export 3D models, or even share entire projects to display the data. This model is also slated to be exported to PVSOL if any simulations or more accurate previews of the new panel are necessary.
Conclusion
Gone are the days of using ladders and tape measures to get an accurate, factual roof measurement—or trusting old schematic drawings and arriving to see an entirely different actual object. Our solution is straightforward to use and covers you from data acquisition to analysis. All you need is some experience and a modern DJI drone. The entire workflow takes a few hours to complete, and you'll have a digital twin with proper scale and position in the palm of your hand.
Photographer - Drone Pilot - Photogrammetrist. Years of experience in gathering data for photogrammetry projects, client support and consultations, software testing, and working with development and marketing teams. Feel free to contact me via Pixpro Discord or email (l.zmejevskis@pix-pro.com) if you have any questions about our blog.
Related Blog Posts
Our Related Posts
All of our tools and technologies are designed, modified and updated keeping your needs in mind
DJI Lito X1 for Roof Photogrammetry: Solar and Inspection Use Case
Small drones are the best tool for residential and even commercial roof photogrammetry. They are quiet, attract less attention, are easier to fly fully within regulations, and they are affordable.
Large Property Photogrammetry – Real Estate Development Use Case
Property scans are one of the most common use cases, especially for our software. Pixpro is affordable and works well with RTK data and ground control points when necessary.

Handheld Photogrammetry Construction Interior Scan Use Case
Interior 3D scanning can be useful in a myriad of ways. In this article, I present a scan of a residential building construction site, with its foundation walls and roof almost complete. Further construction will require some visualizations and design according to “the fact.”
Ready to get started with your project?
You can choose from our three different plans or ask for a custom solution where you can process as many photos as you like!
Free 14-day trial. Cancel any time.