.svg@webp)
Measuring Building Facades with Photogrammetry
| Industry | Construction, Inspection |
| Objective | Measure the facade elements of a newly built house: walls, window finish, terrace ceiling, roof |
| Drone | DJI Phantom 4 pro |
| Flight Data | Camera angulation: Various: from 45oto 0o to 30o Grid: Manual Vertical Height: from 5 m to 30 m Duration: 19min |
| Dataset Size | 299 images |
| Data Processing | 40 min using medium software settings |
| Hardware | Intel i7 8700, 16 GB of RAM, dual Radeon rx580, SSD drive |
Inspection and acceptance of the executed works
The construction industry is known for its complexity. One construction project will have a number of organizations engaged. The client can be a property developer, a private company or an individual. At different stages the works will be carried out by different entities: construction consultants, main contractors and subcontractors. Main contractor ensures that the finished building reflects the quality laid out in the project brief, is on time and within budget. Building facades with photogrammetry means measuring building facades from images which can be of great help.
Unfortunately, sometimes none of these criteria are met. Going over the original agreed budget is one of the main issues. How can you check if the main contractor completed the works as he states? How can you do it in a quick and competent way?
Building analysis from pictures – it’s a fast, accurate and safe way to check the building’s exterior works.
Building facades with photogrammetry: data gathering
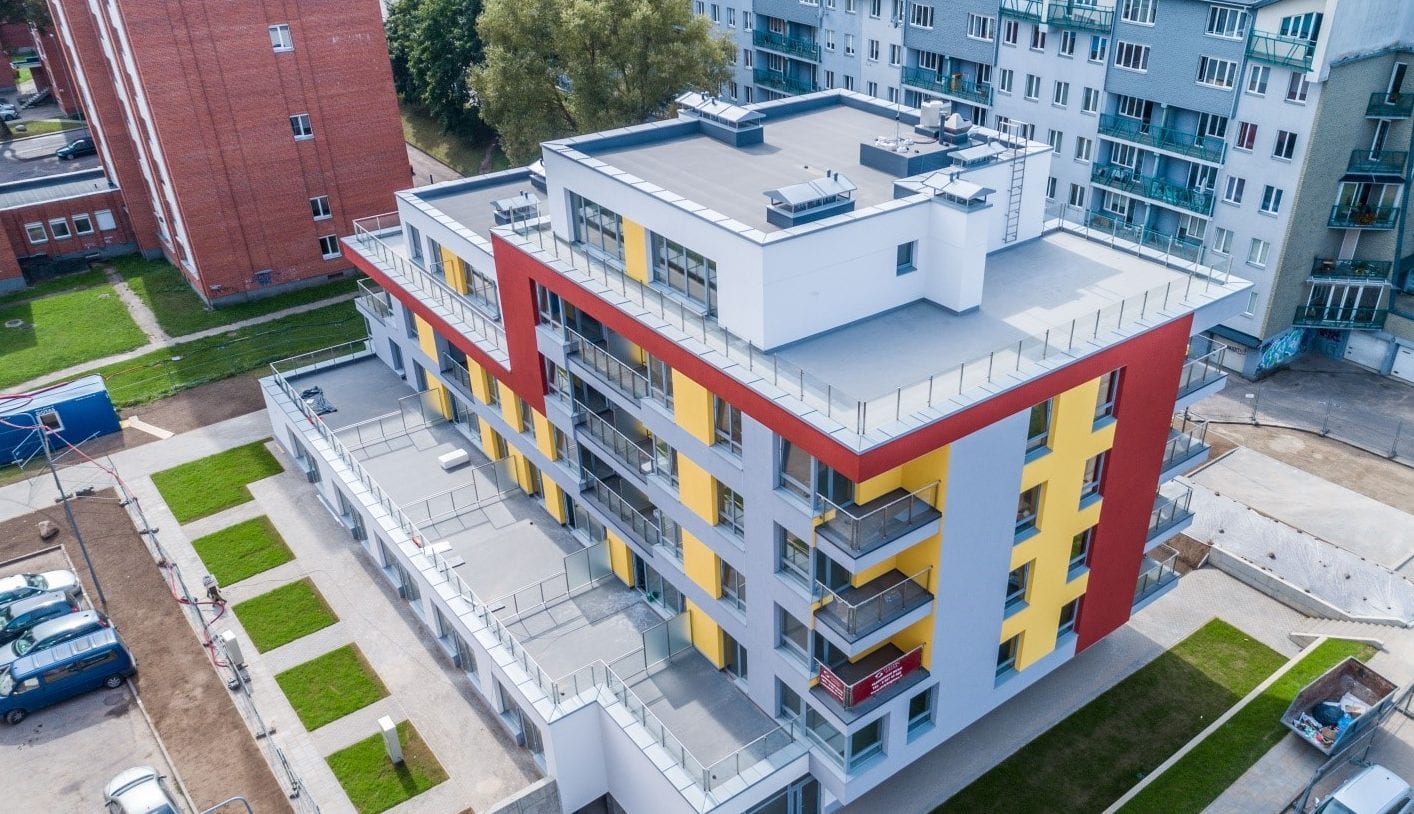
In this particular use-case, the analysis was carried out for two facades, the roof and the immediate surrounding area. In order to achieve this, 299 photos were taken using a DJI Phantom 4 Pro drone, equipped with a 20-megapixel, 1-inch imaging sensor camera.
To gather as much information as possible about the different elements of the facade (i.e. the ceiling of the balcony), the drone was flown manually, in a vertical trajectory, up to a height of 30 meters above ground. Drone camera angle was adjusted several times. But even with these specific requirements, this task was completed in 20 minutes.
Building facades with photogrammetry: data processing
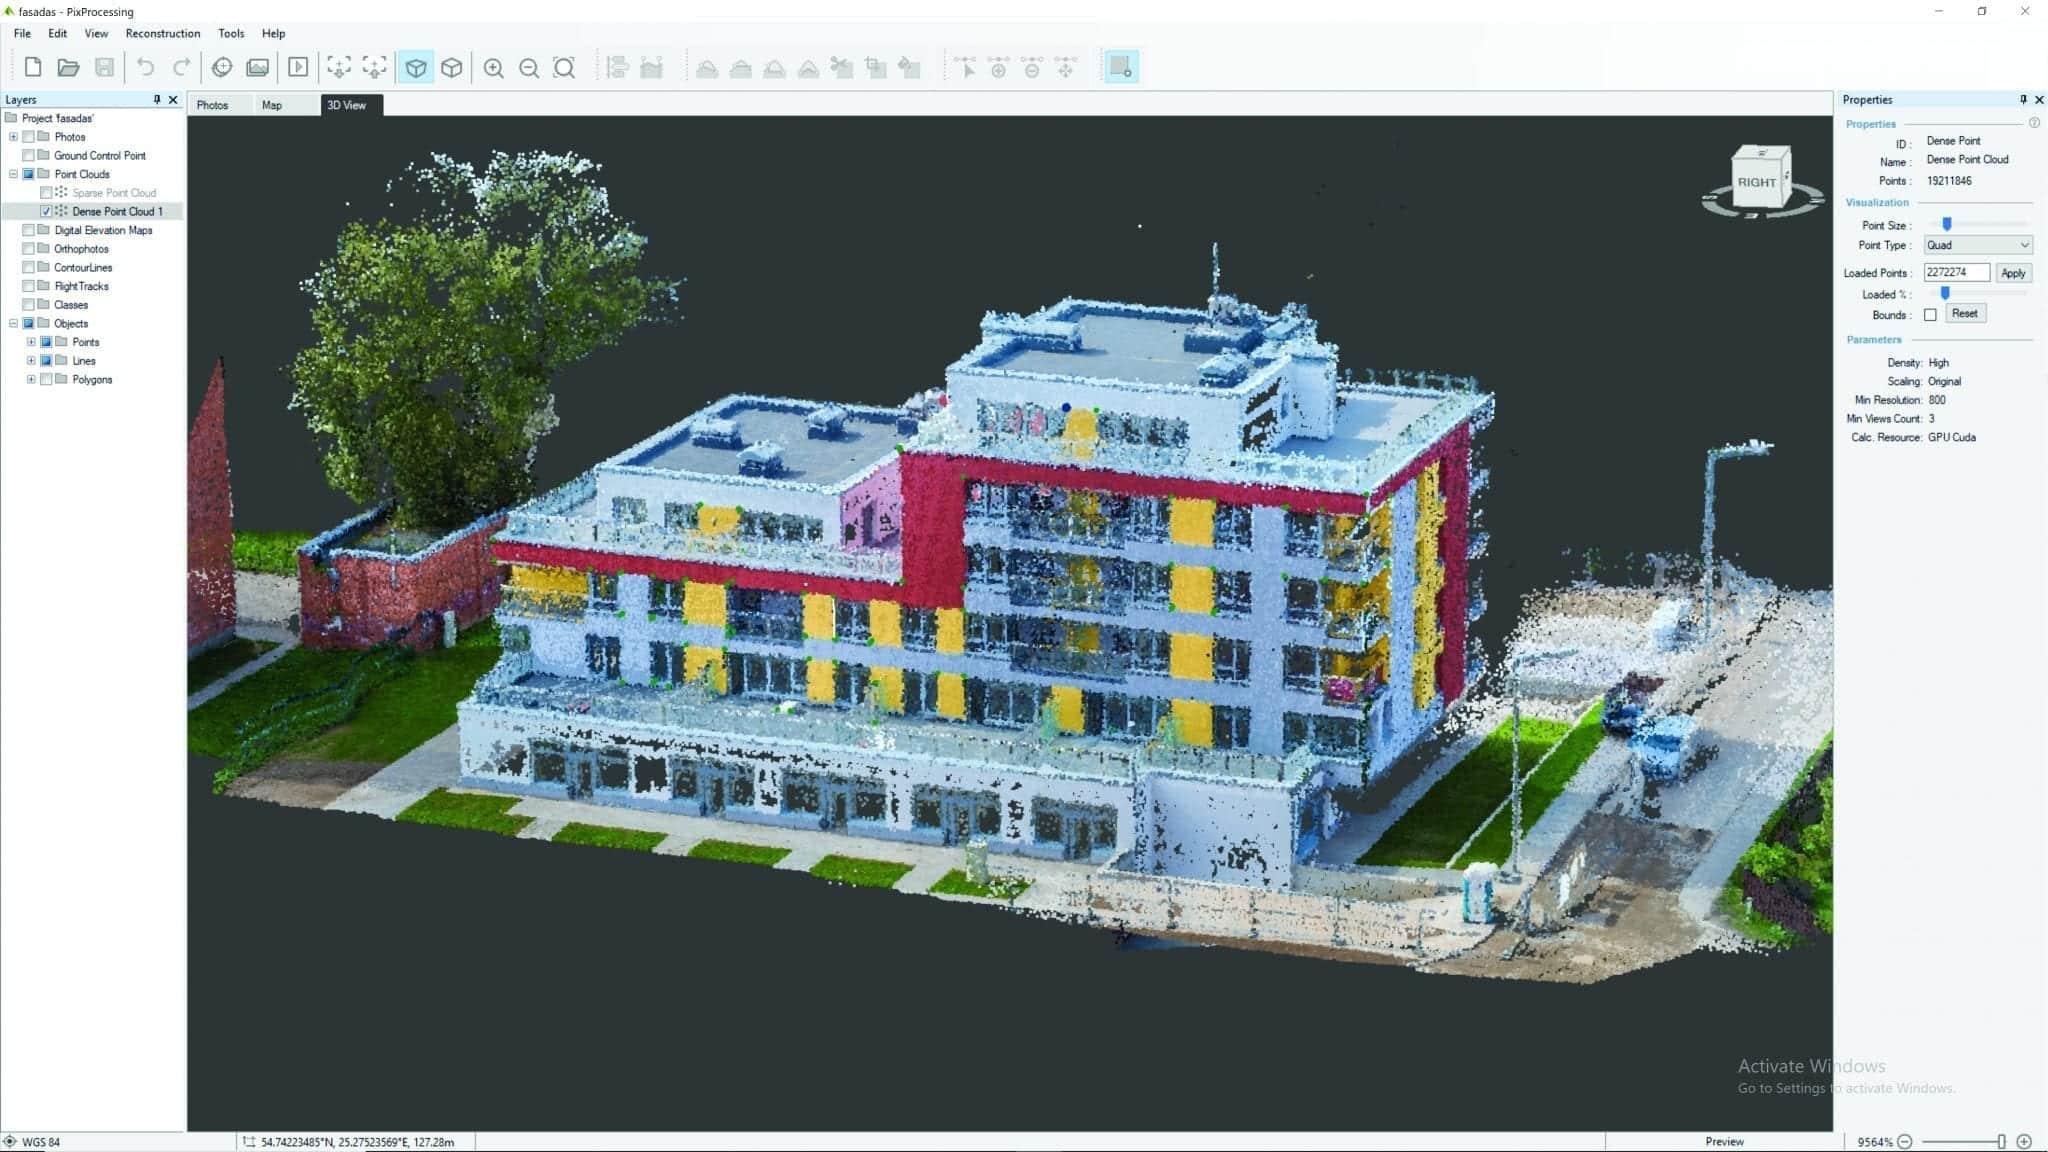
Using Pix Pro software (with medium settings), the reconstruction of the building in 3D took 40 mins. In order to conduct a detailed analysis of individual elements, a Dense Point Cloud had to be generated.
Building facades with photogrammetry: data analysis
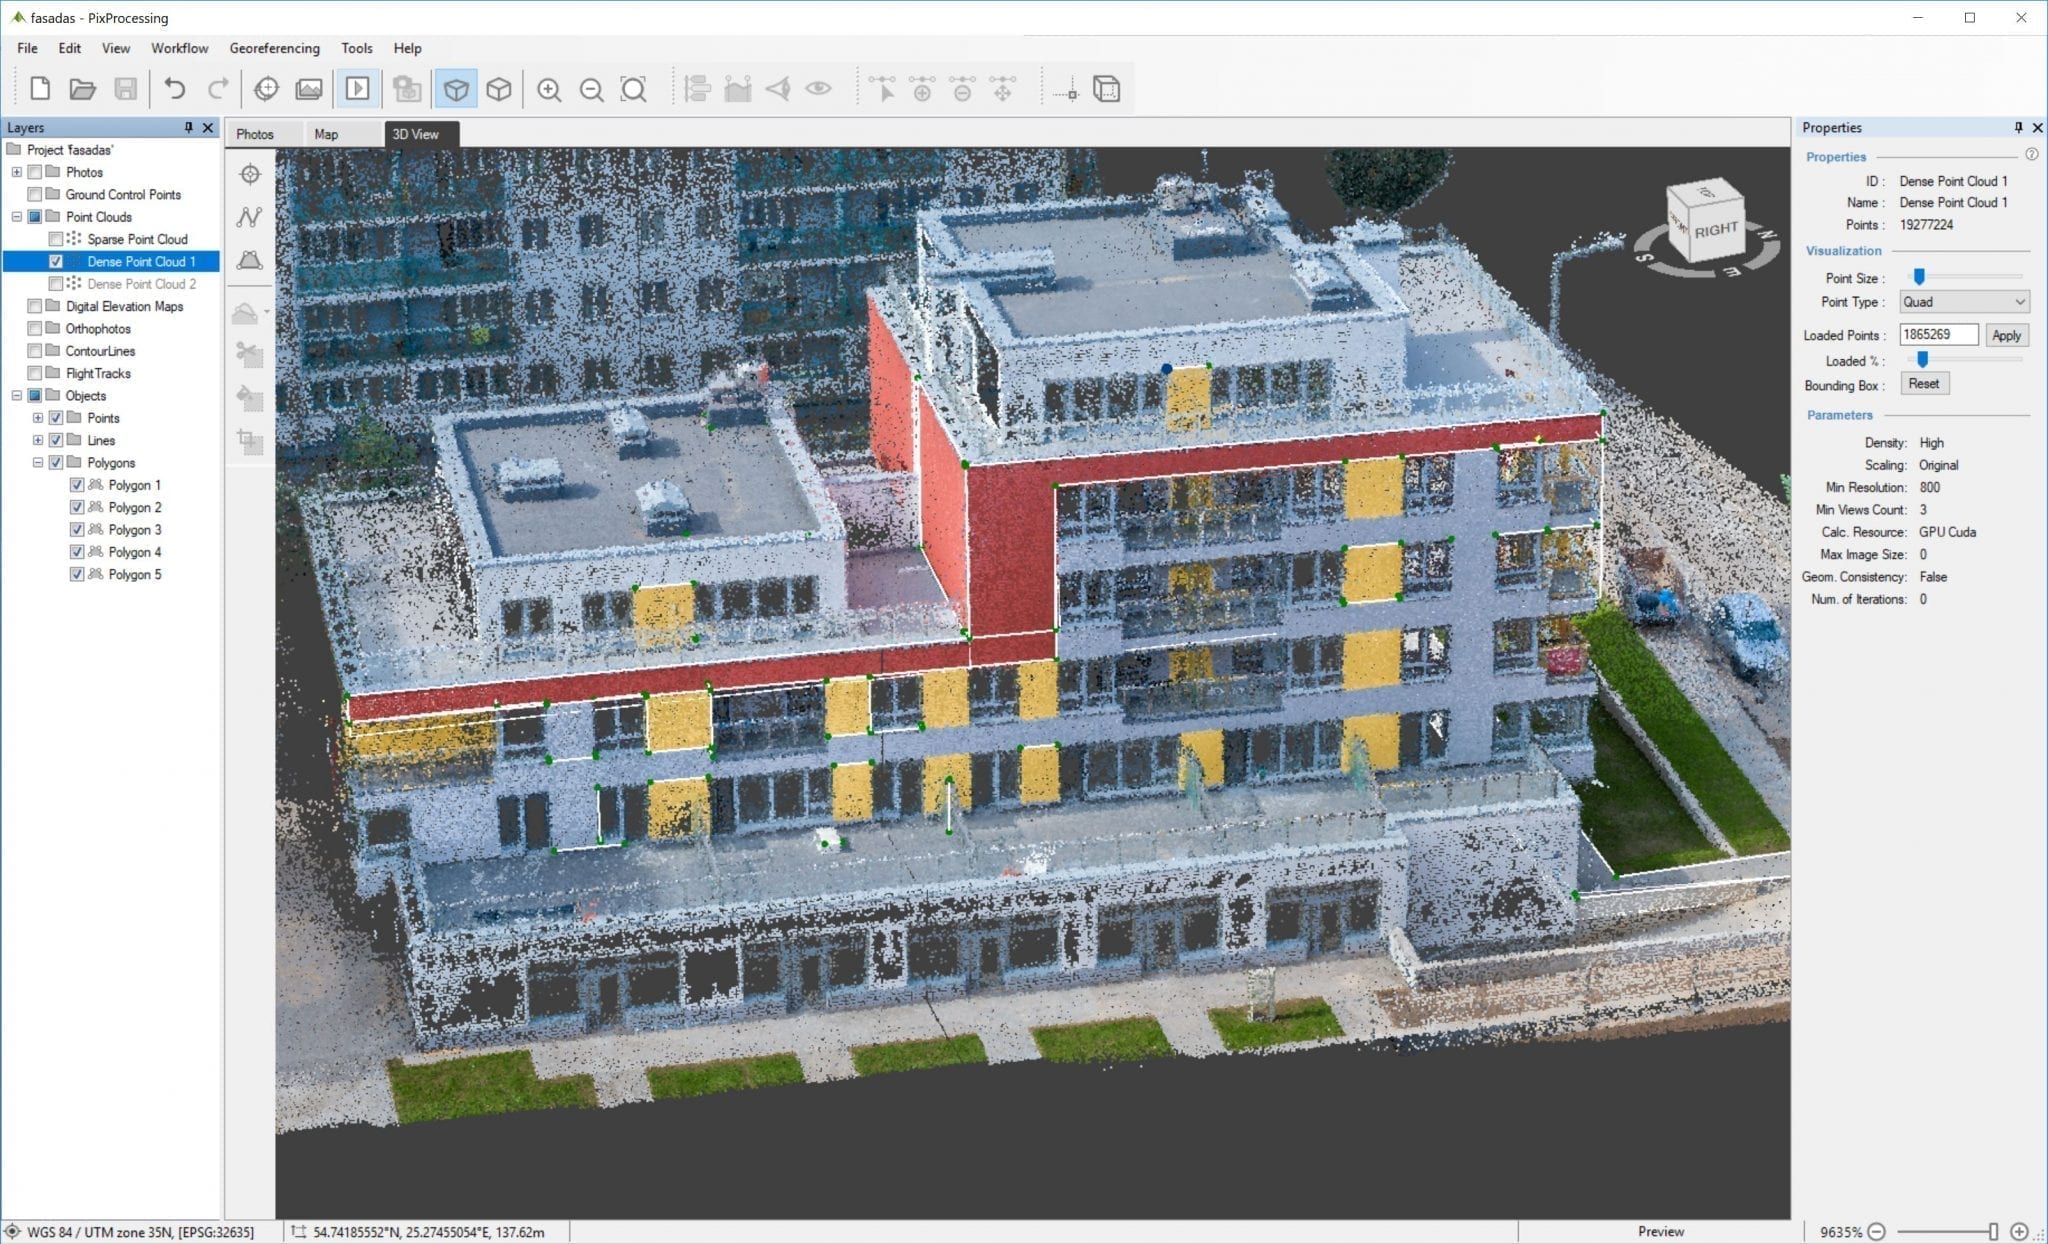
PixPro software allows you to mark the points of an object with great precision (the accuracy is up to the centimeter). All it takes is to mark the point in 3 different photos and the software accurately calibrates that point automatically.
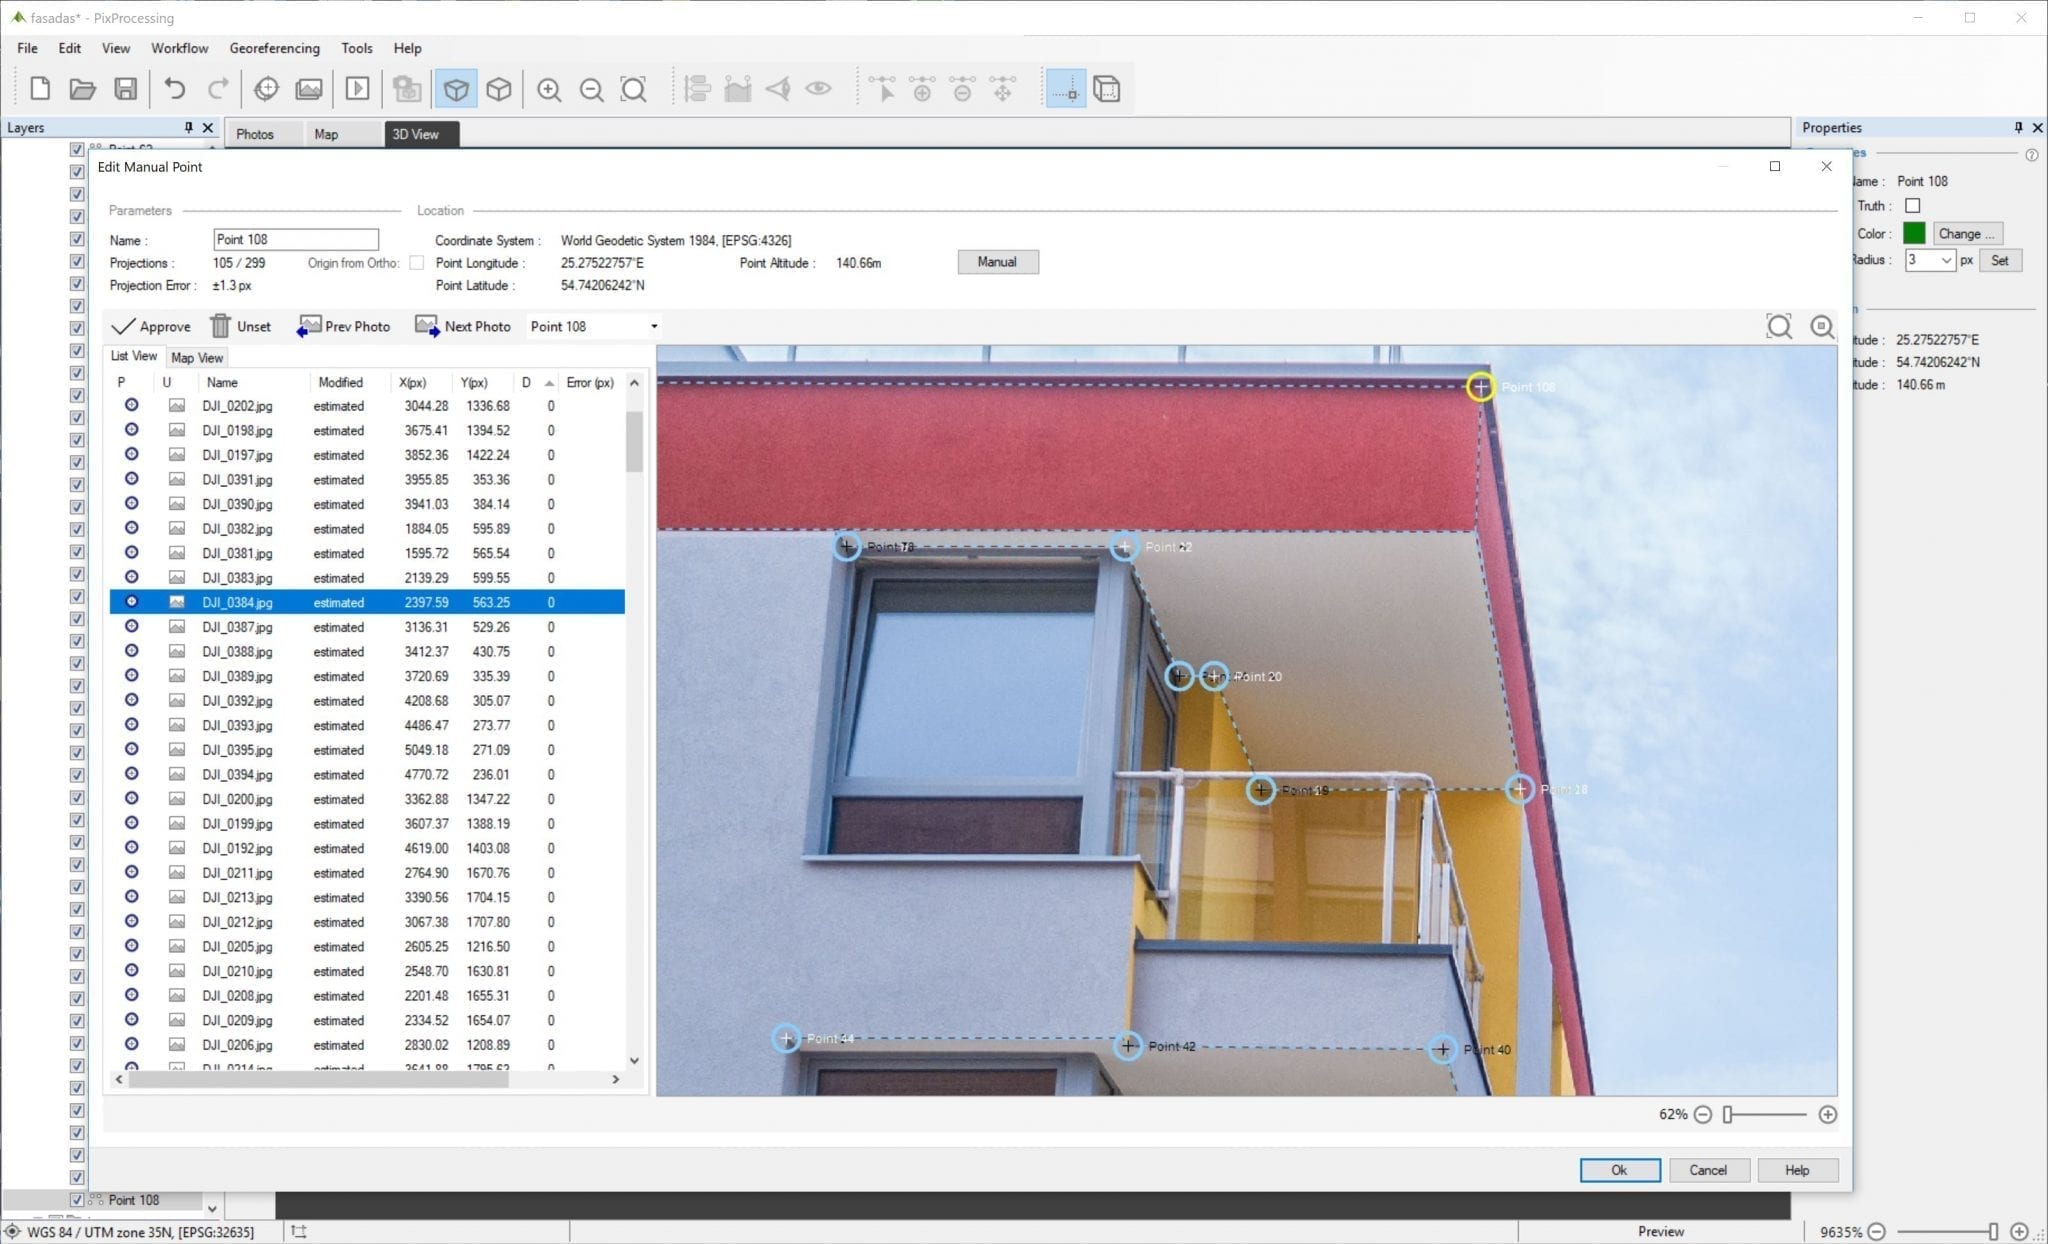
This accurate point placement, allows you to mark even the obscured areas – for example the balcony ceiling or the window trim.
By connecting points using lines, you can measure the sides of individual objects. And by connecting lines to create polygons, you can measure the surface area. Surface area can be calculated for symmetrical and asymmetrical geometrical shapes. It’s especially useful for uncommon projects.

All selected lines, points or their combinations can be exported to AutoCAD with a single click. The resulting file will contain all the measurements and geographical data, as such the project designer will not need to draw them from scratch and save a significant amount of time.
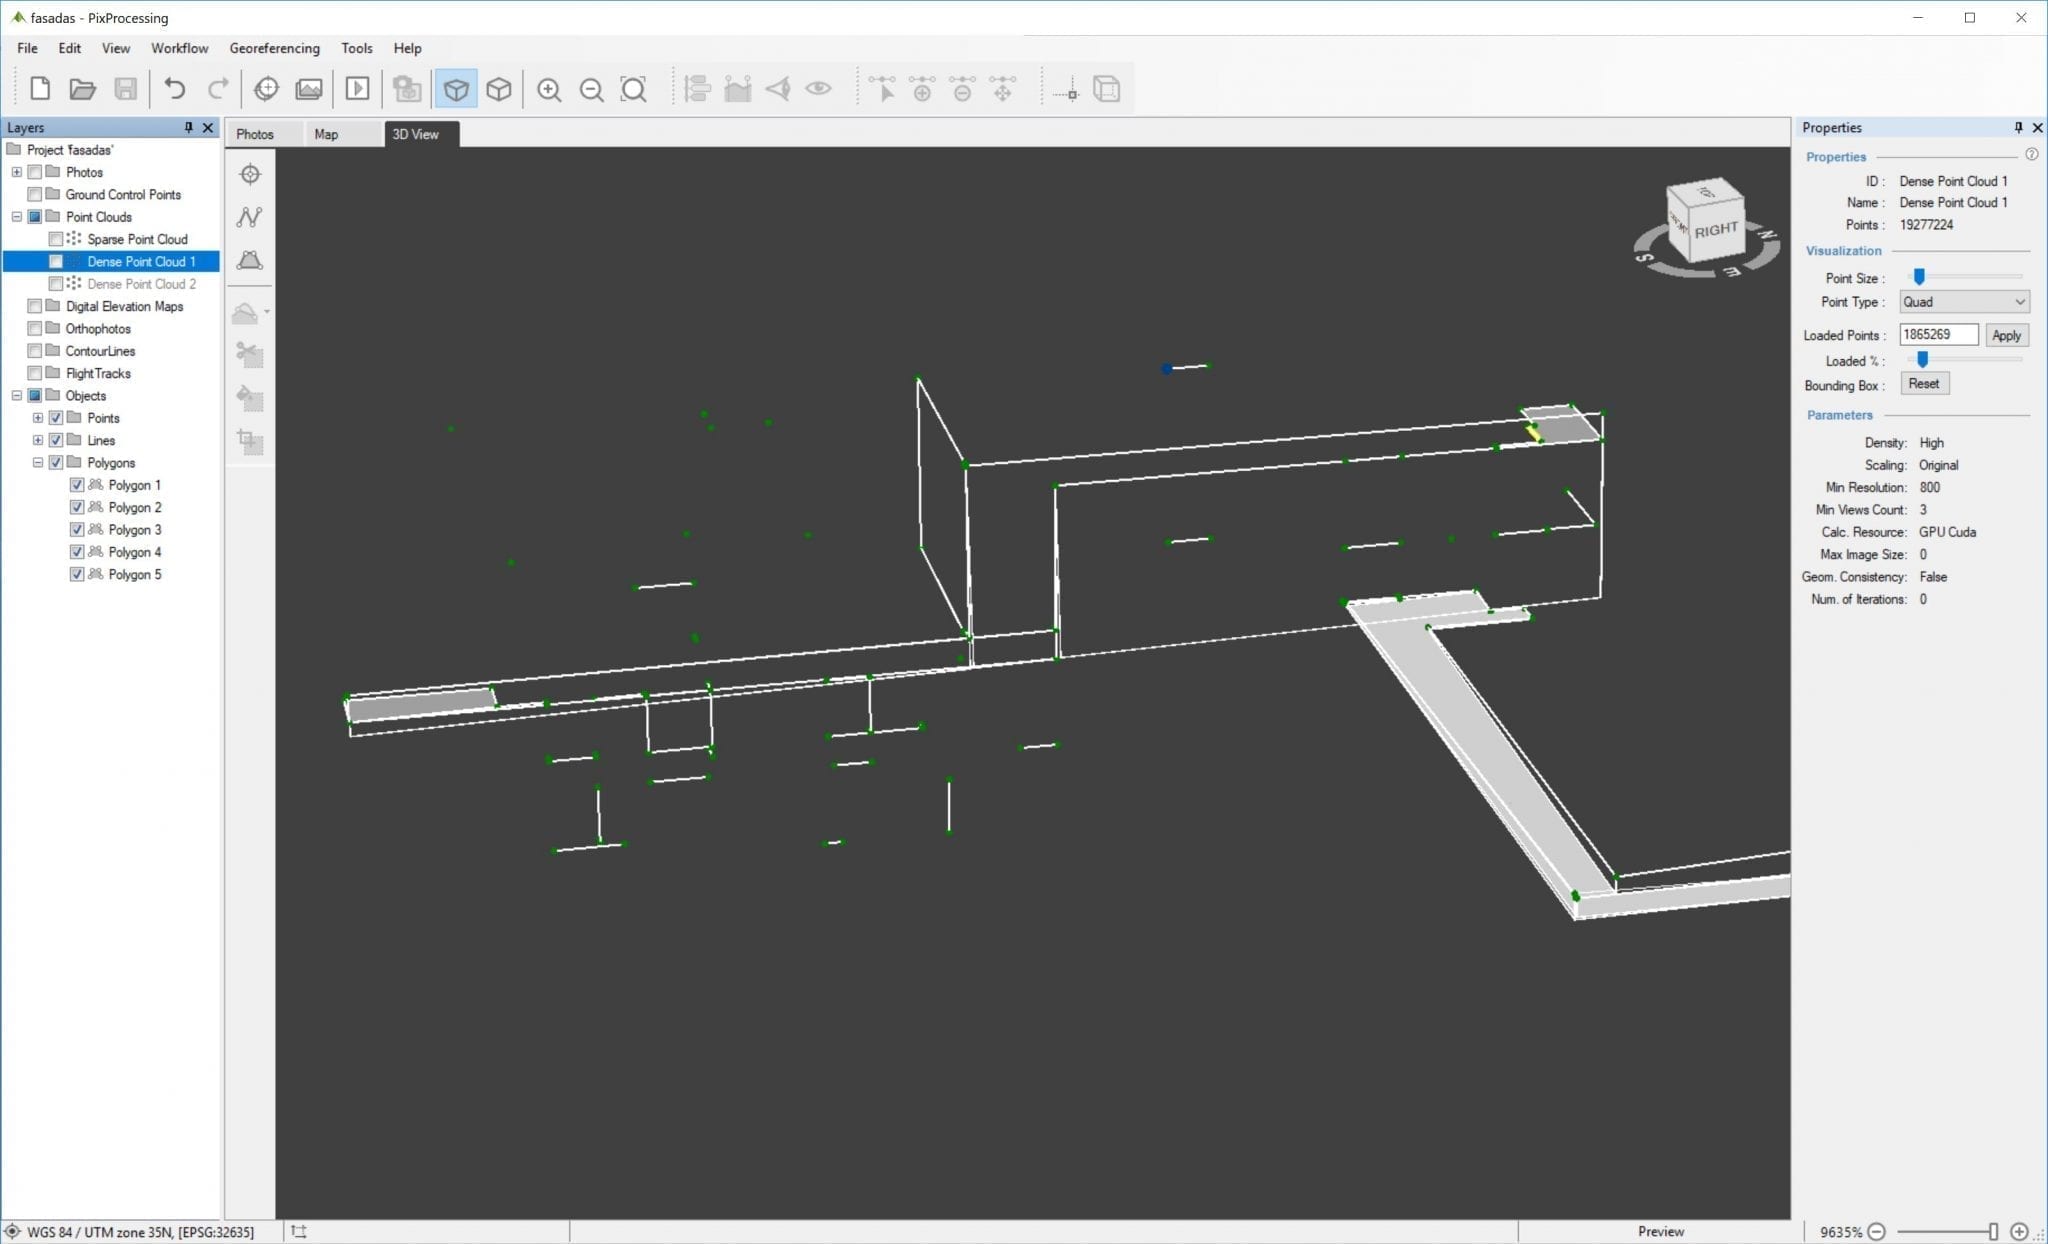
You can easily check the surface area of a roof, accurate placement of its individual elements, even the pitch in comparison to the horizon. Since the software is capable of presenting the information with the accuracy to the centimeter, even a small deviation in measurements shall be eliminated.
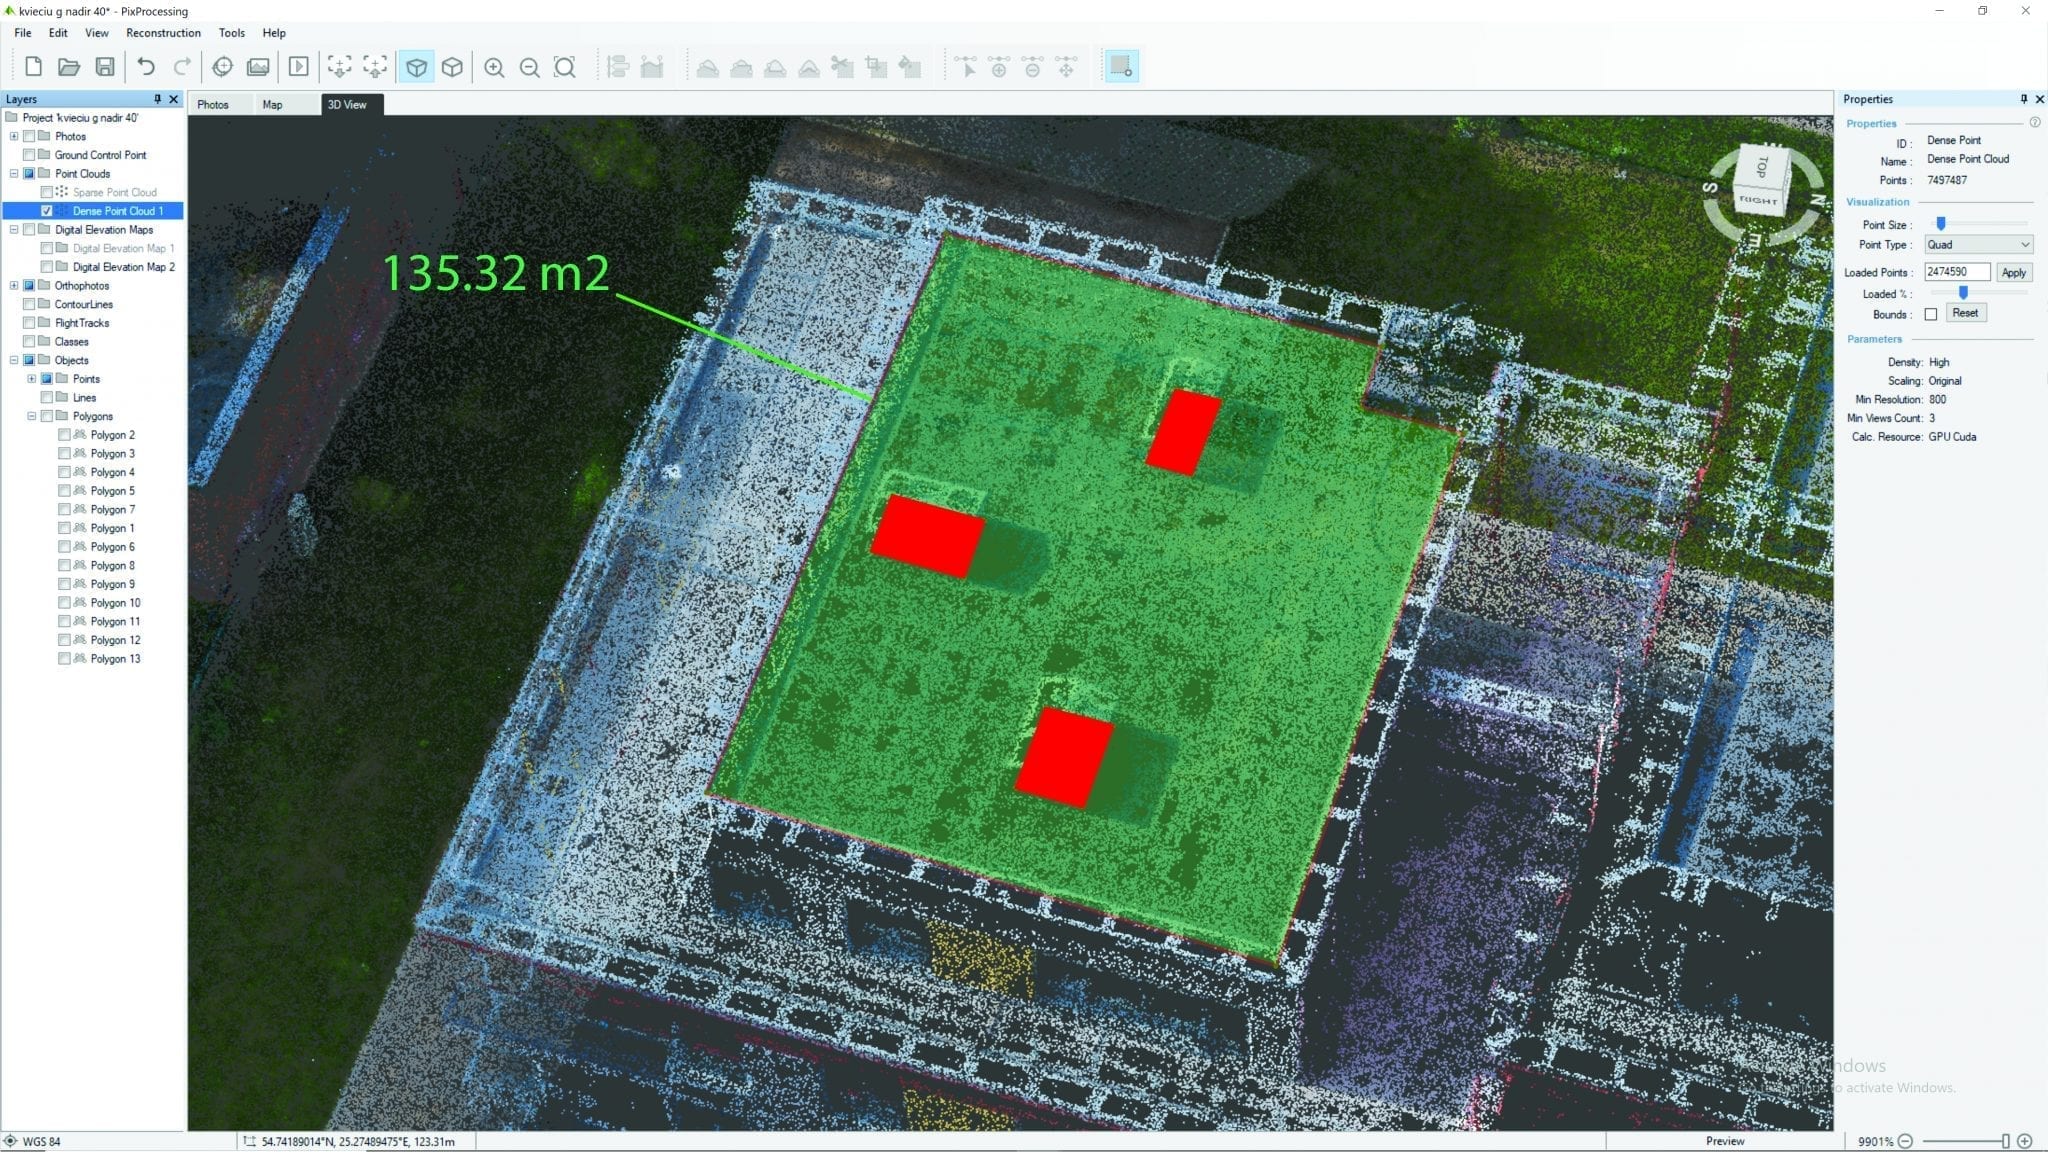
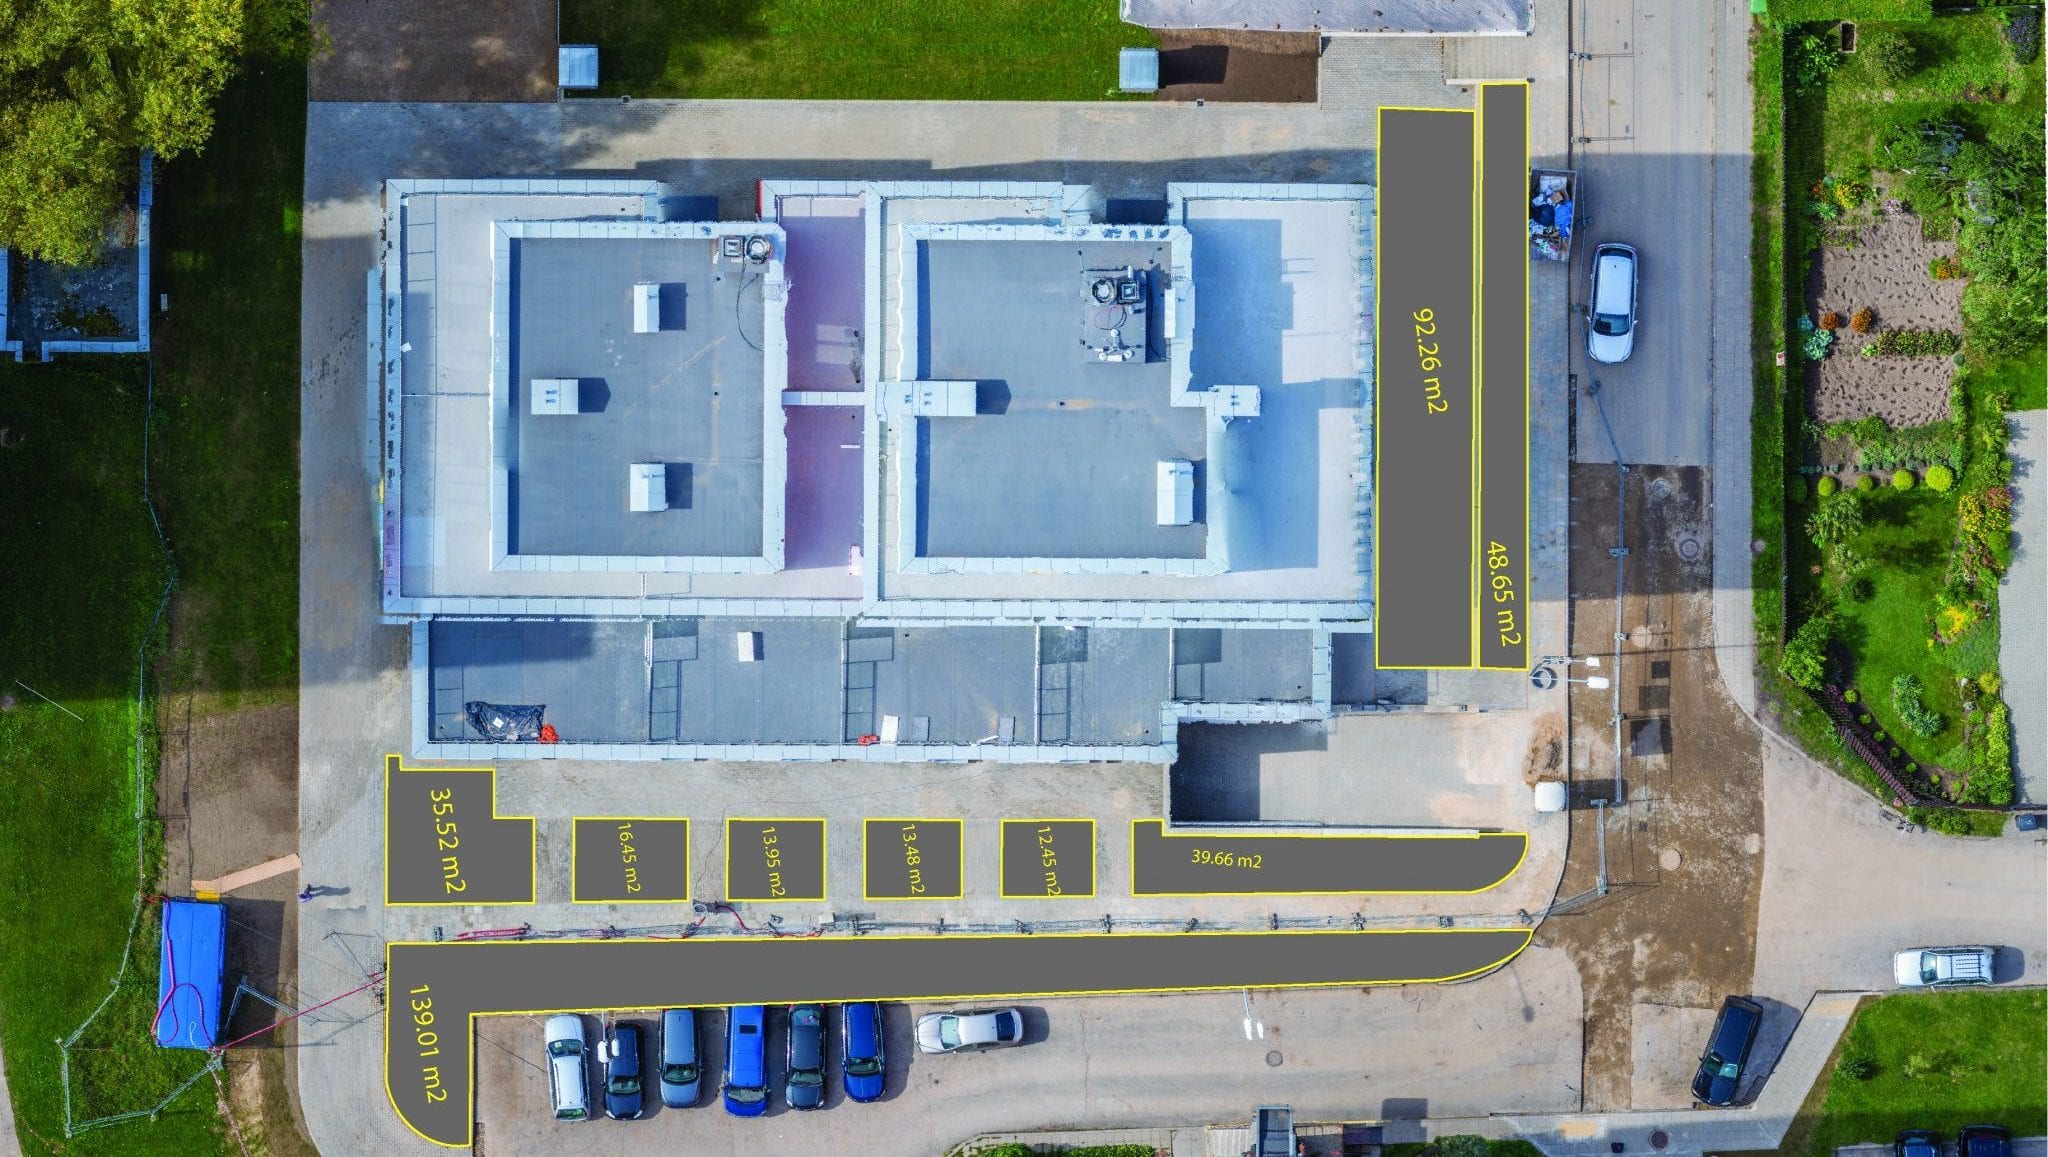
The work acceptance includes the building and its surrounding area. The best way to carry out those measurements, is by turning the 3D model at a downward angle of 90 degrees. This way you can avoid the noises from the surrounding objects or inaccurate point selection due to a different projection angle. All you need to do is outline the desired object (I.E. the pavement or the lawn patch) and the software will present accurate measurements.
Benefits of photogrammetry in construction
Pixpro provides extremely accurate, time saving and most importantly – safe way of inspecting building facades with photogrammetry.
It took around 1 hour to generate a detailed 3D model of the two facades and the roof (the travel time is not included).
Such innovative method highly facilitates measuring hard-to-access objects and locations, i.e. terrace ceilings or window finishing.
The Pixpro software integration with the AutoCad software makes it easy and fast to design and visually manage projects.
The collected information presents an enduring value. It can be accessed at any point to produce measurements for elements that may not have been relevant at first. You do not need to go back on site.
This innovative method of object analysis eliminates any direct contact between the worker and the object, thus increasing the safety of your employee. Everything can be performed remotely.
Related Blog Posts
Our Related Posts
All of our tools and technologies are designed, modified and updated keeping your needs in mind
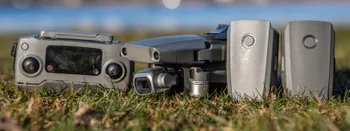
Buying a Used Drone - Mavic 2 Pro in 2024
Buying used gear is an excellent way to save money and obtain something that may not be on sale anymore. With drones reaching the 4th or 5th technological generation, the used drone market is becoming more extensive.
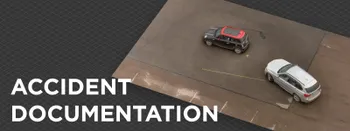
Quick Vehicle Accident Documentation with Photogrammetry
Photogrammetry is the ultimate form of documentation. If you are adept at doing photogrammetric scans, you can gather photographic data, resulting in a 3D scene that you can measure. Invaluable when the dependability of the data means solving disputes between people during legal processes.
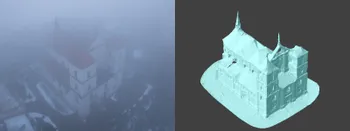
Weather Conditions for Photogrammetry - Rain and Fog
Winter in the northern hemisphere can be a severe limiting factor for millions of jobs. Including us - photogrammetrists who do aerial photogrammetry. In this blog post, we push the limits of wet weather and do some tests in heavy fog conditions and during light rain.
Ready to get started with your project?
You can choose from our three different plans or ask for a custom solution where you can process as many photos as you like!
Free 14-day trial. Cancel any time.