.svg@webp)
DJI Mini 5 Pro: Timed Shot During POI Tracking for Orbital Photogrammetry
 Lukas
Zmejevskis
Lukas
Zmejevskis
The Short Version
If you only have a minute:
-
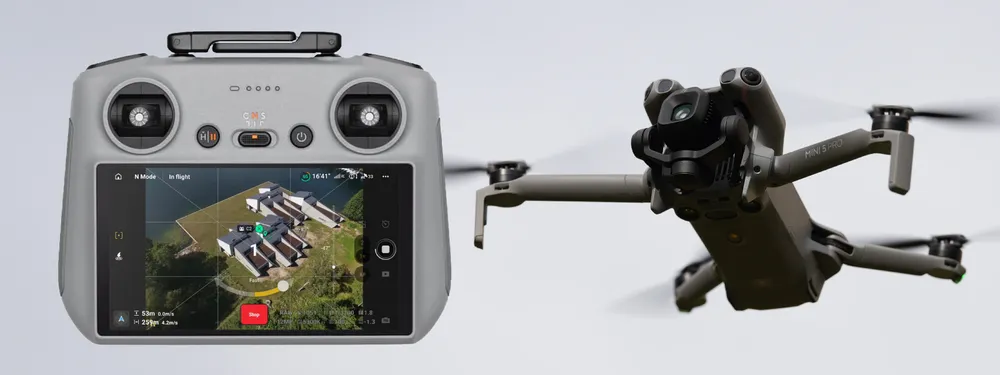
The DJI Mini 5 Pro can now run timed shot (interval capture) during POI tracking, something the other new DJI drones, including the Mavic 4 Pro, still cannot do.
-
That combination is hands-off orbital 3D scanning: the drone flies the circle and takes the photos on its own.
-
Orbits are one of the best flights for photogrammetry because they cover the subject and hold overlap, and there are four ways to fly one: manual, POI tracking, hyperlapse, and Pixpro Waypoints.
-
POI tracking is quick to start but has no numeric speed setting, hyperlapse is a little more precise, and Pixpro Waypoints is the most precise and repeatable but needs preplanning.
-
For a clean scan: do a dry run to check the centering, use a 2 second interval, and aim for at least 36 photos per orbit, more for larger subjects.
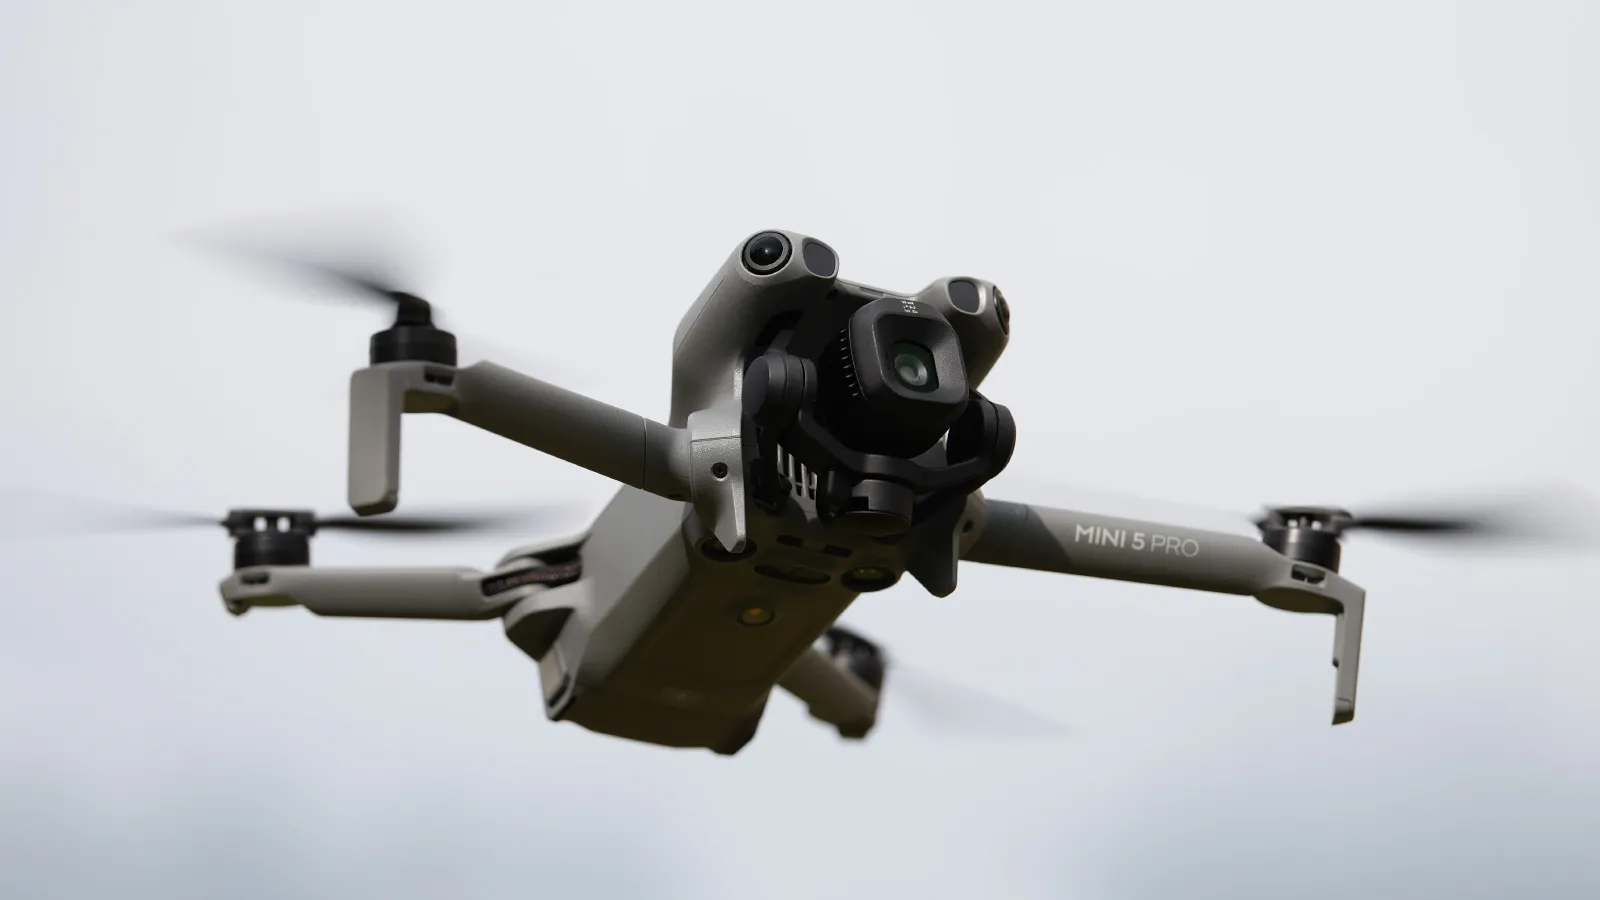
The DJI Mini 5 Pro is the best sub 250 gram drone ever made, by far. DJI has no competitors that come close, and this little flying camera is as capable as the legendary Phantom 4 Pro, the drone that made the whole industry take imaging quality and content creation seriously. That also makes it one of the best tools for photogrammetry. And a small recent update pushes that further, because being able to run timed shot during POI tracking is a genuinely handy way to make quick orbital scans. Let me explain.
 Why This Is Worth a Post
None of the other newest-generation DJI drones can do timed shot capture during POI tracking. Timed shot is just interval capture, where the drone takes a photo every set number of seconds. POI tracking is one of the tracking modes you reach after selecting a subject, either by drawing a box on your screen or tapping a highlighted subject. POI means point of interest, and the mode orbits the drone around that marked point. So it is flying an orbit. And if you can take photos at an interval while the drone flies around your subject, you have orbital 3D scanning.
 Why Orbits Work So Well for 3D Scans
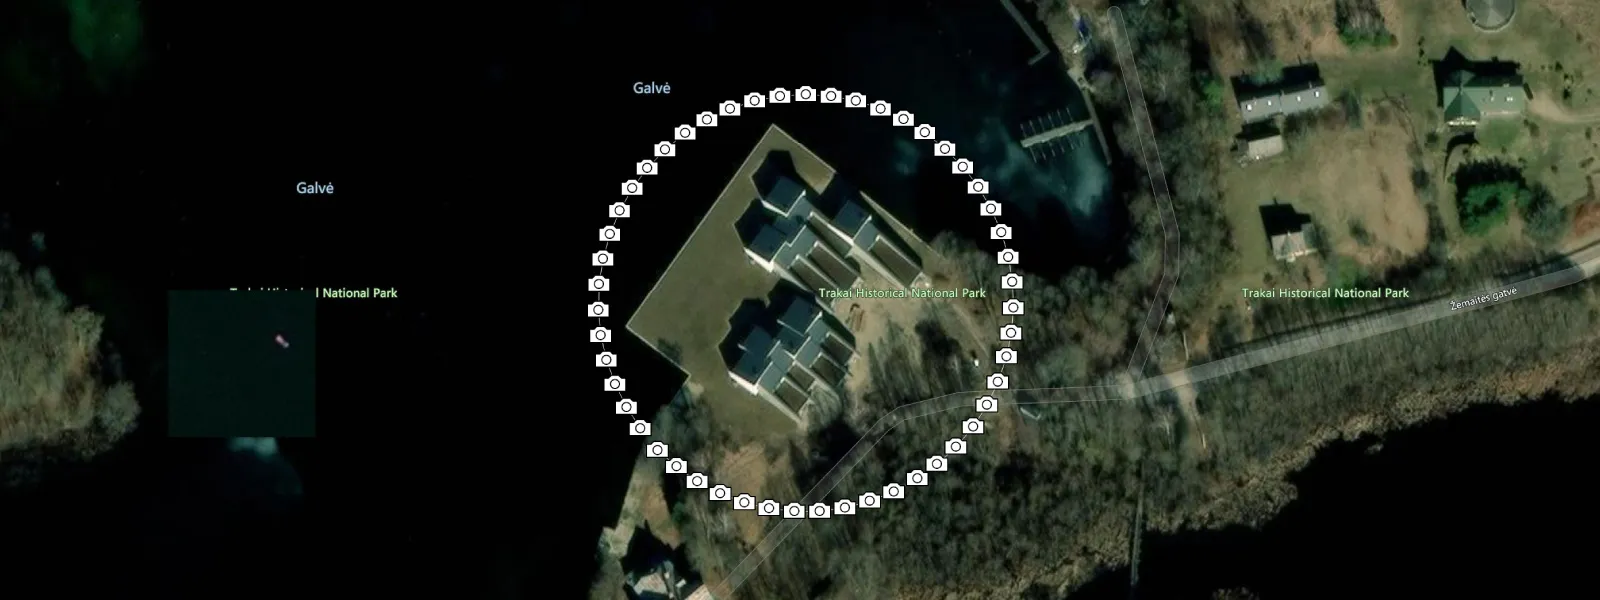
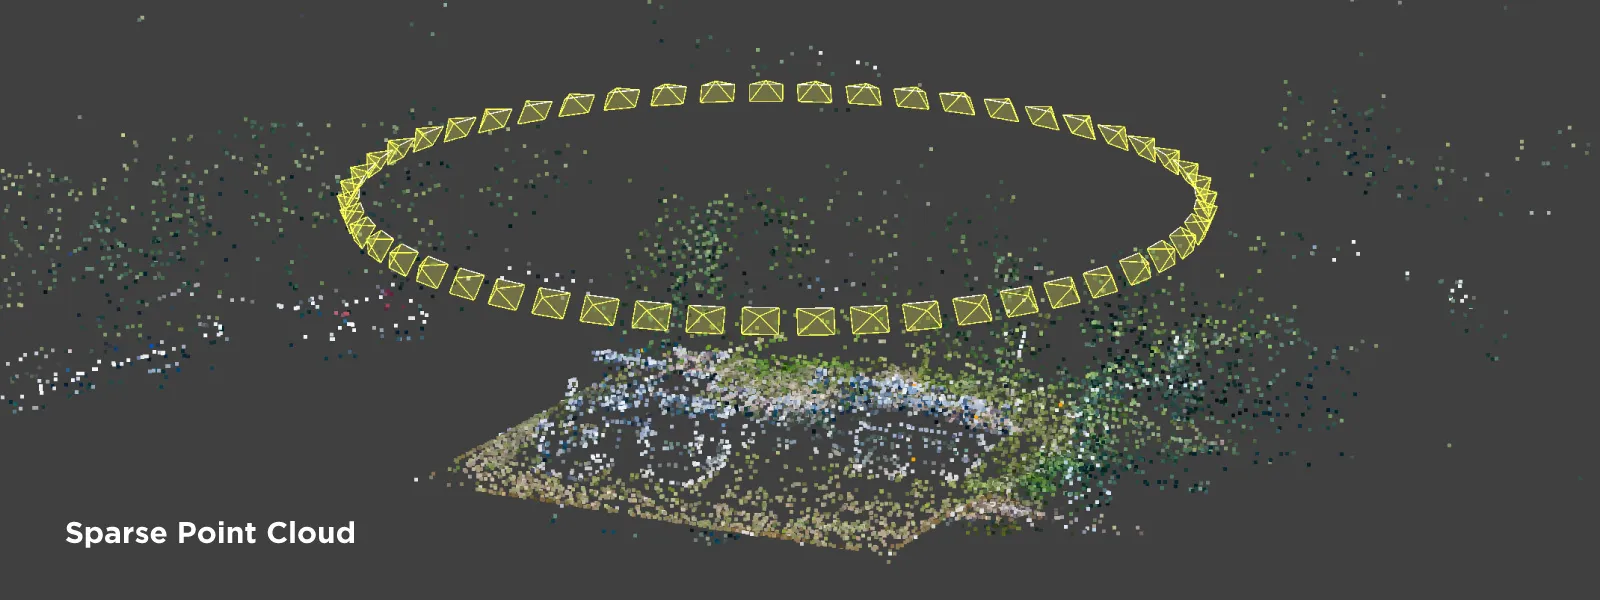
Orbits are one of the best types of flight for 3D scans. We use them on roofs, buildings, and towers, across every kind of use case, from solar designs to game assets. They cover the two things we need when turning simple photos into 3D models: subject coverage and maintained overlap. We even use orbits inside large-area scans to add oblique data, in elongated scans to reduce the bowing effect, and as multiple orbits to cover large areas efficiently and with good results.
 Four Ways to Fly an Orbital Scan
You can fly an orbital scan in essentially four ways:
-
Full manual. You fly the circle by hand, keeping the subject in frame, with the camera set to interval capture, or you press the shutter yourself.
-
POI tracking. The drone tracks the subject and flies a clean circle around it, with timed shot enabled for capture. Once you start it, you do not have to touch the controller.
-
Hyperlapse mode. Very similar: you select the subject, choose the speed and photo interval, and the drone flies a clean circle around it, capturing at the set interval. There is more on this method in the hyperlapse guide.
-
Pixpro Waypoints. With our workaround service for DJI drones, you can set the orbit center precisely, keep full camera tilt control, see the estimated photo count, and save the plan for repeatable reuse.
 The Pros and Cons of Each
The manual approach is tedious and takes concentration, experience, and a bit of skill. If you are a seasoned pilot, there is no issue at all: use cine mode to cap your speed and you can produce perfect results almost instinctively.
 The more nuanced difference is POI tracking versus hyperlapse circle mode. With POI tracking you cannot set the speed precisely, since there is only a little arrow with no numerical speed value before you launch the orbit. With hyperlapse you can set the speed exactly, and if you are comfortable with numbers you can quickly work out which setting gives you a good number of photos per orbit. A POI scan is a little quicker to start, while the hyperlapse circle is a little more precise once you have some experience.
 Pixpro Waypoints is the most precise and consistent of the lot, but it does require using the service and preplanning the flight. A lot of the time that makes it the best option by far, but when you are not sure about your subject or where it sits on the map, it is just one option among the others. So the tracking and hyperlapse modes are the more flexible choices, while Pixpro Waypoints is the more consistent one.
The Feature in Practice
So why talk about POI timed shot now? Because DJI quietly allowed timed shot to run during POI tracking for the first time, on the newest-generation drones. Even my Mavic 4 Pro cannot do it, since it never got the update that allows it. Which does make me a little mad.
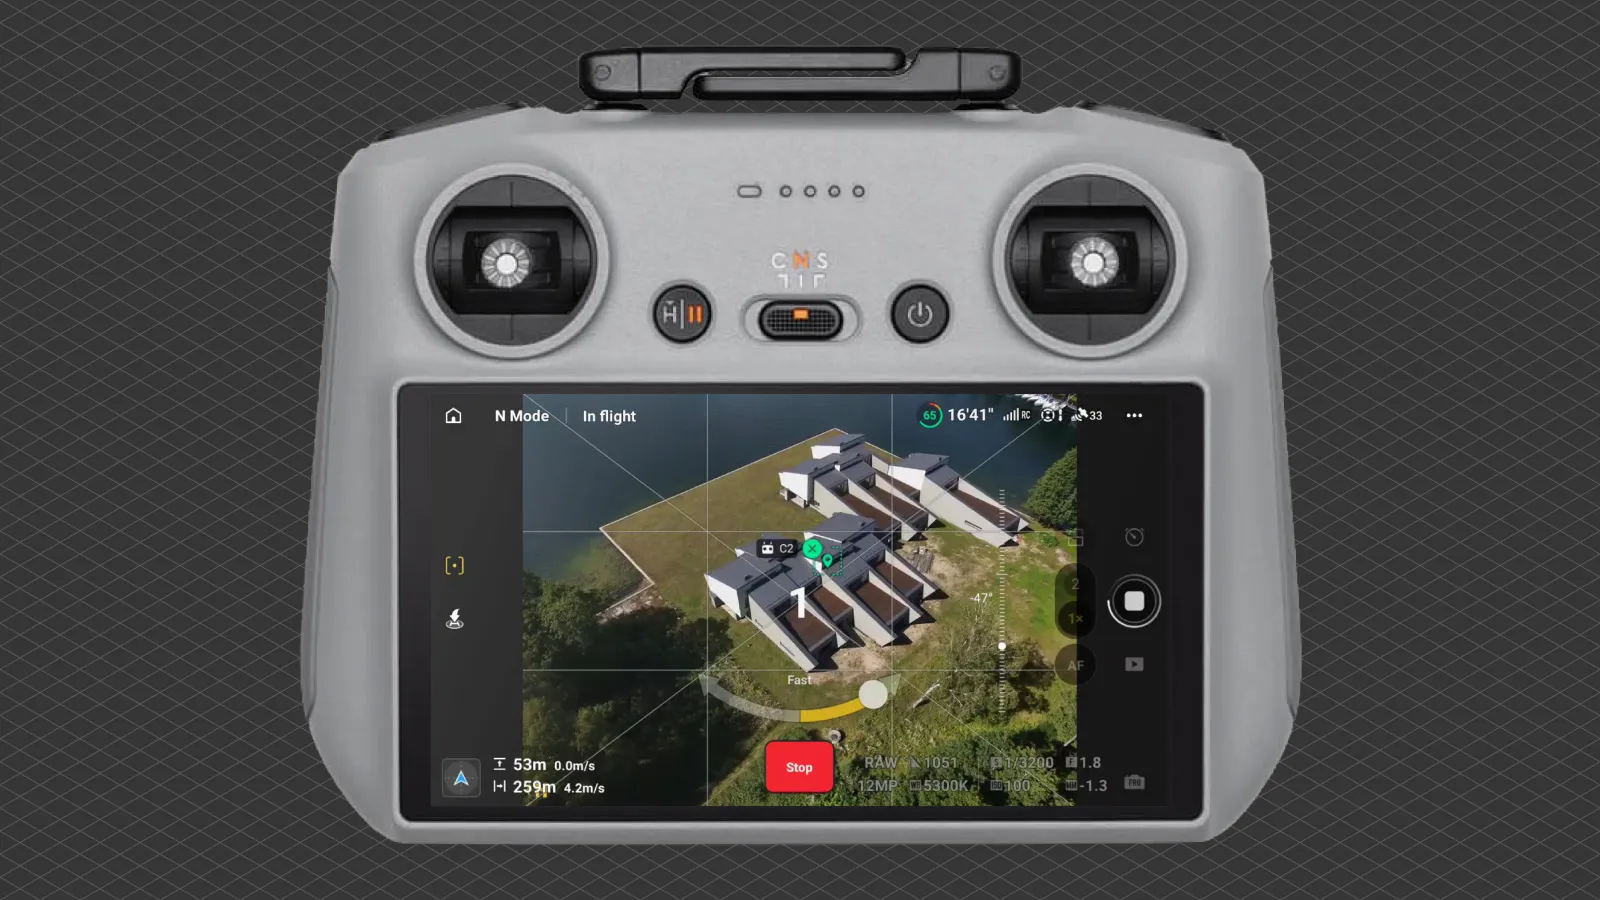
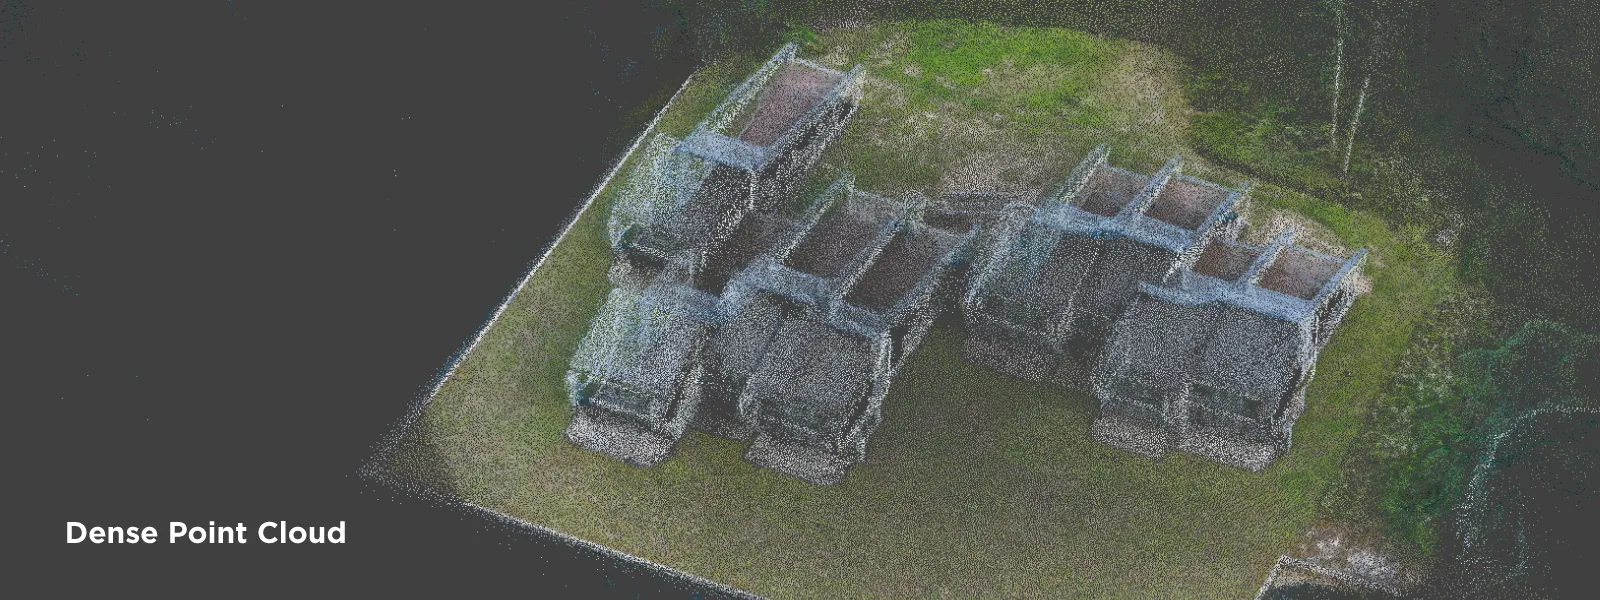
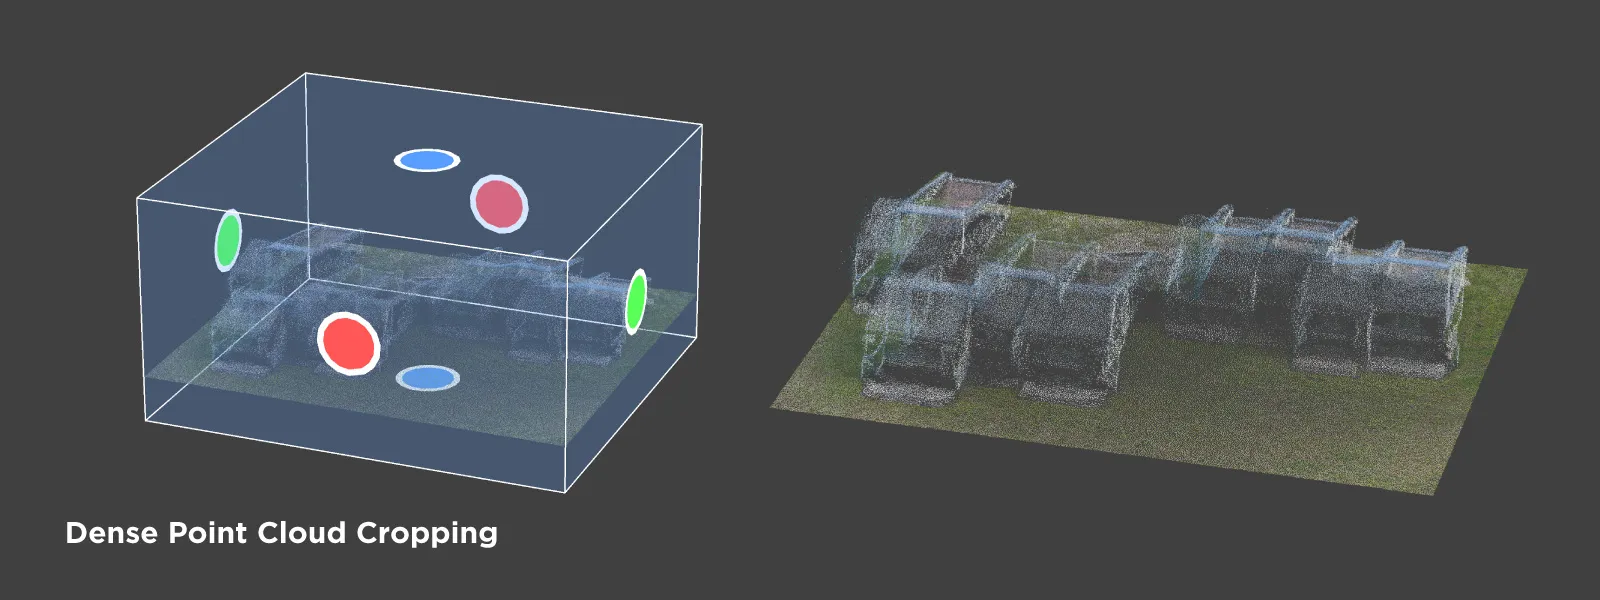
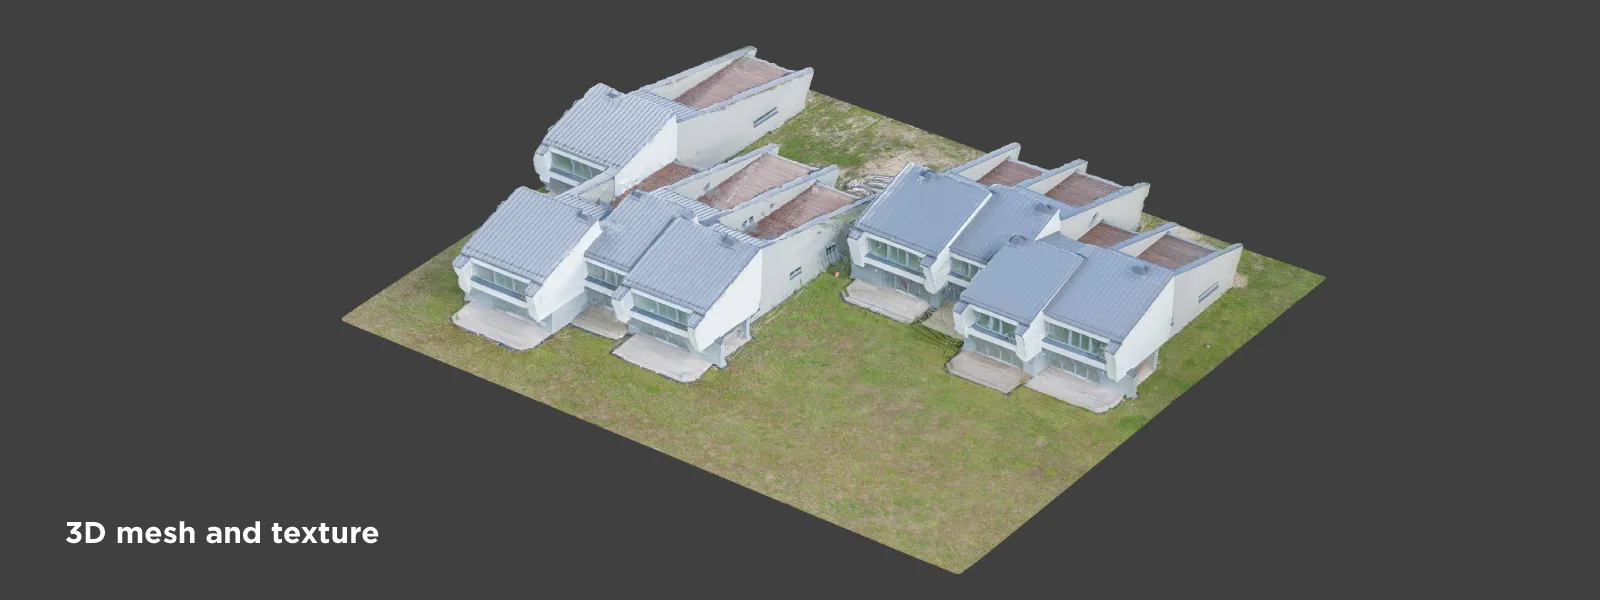
The Mini can, though, so we can use it. I put together a small example, a scan of a compound of a few buildings on a lakeshore. Using it is simple: draw a box around whatever you want to scan, then start the orbit and the capture by tapping the small arrow that appears and launching timed shot.
To get the most out of the feature, a few tips from me:
-
Spin around the subject once without taking photos to check the centering. It often ends up a little offset and the subject drifts out of frame, so a dry run before the real scan helps a lot.
-
Use a 2 second interval and a speed a bit above the midpoint of the arrow. Orbits are forgiving enough for quicker scanning.
-
If you see the drone drifting, you still have some stick control. Experiment with that if you plan to do a lot of these scans, but do not overdo it, since it affects overlap wherever you add input.
-
Aim for at least 36 photos per full spin as a rule of thumb. The larger the orbit and the subject, the more photos you need, but do not take so many that there is barely any movement between shots.
 Conclusion
None of this is revolutionary, and it does not need to be. Timed shot during POI tracking is a small feature, but it is the kind of small feature that quietly makes life easier. Point at a roof or a monument, tap the arrow, and let the drone fly the orbit and take the photos while you watch. For quick, one-off orbital scans it is now the fastest hands-off option the Mini 5 Pro has, sitting neatly alongside hyperlapse, manual orbits, and Pixpro Waypoints for when you need real precision and repeatability.
It also adds one more line to an already long list of reasons the Mini 5 Pro is the sub 250 gram drone to own for photogrammetry. That a pocket-sized drone can fly proper hands-off orbital 3D scans while a flagship like the Mavic 4 Pro still cannot tells you where the smart money is. Draw the box, tap the arrow, and go collect your model.
Frequently Asked Questions
Can the DJI Mini 5 Pro take photos while orbiting a subject?
Yes. With timed shot enabled during POI tracking, it flies a circle around your marked subject and captures a photo at your set interval automatically, which is exactly what you need for an orbital 3D scan.
What is the difference between POI tracking and hyperlapse for orbital scans?
POI tracking is quicker to start but gives you no numeric speed control, only a small arrow. Hyperlapse lets you set the speed and interval exactly, so it is a little more precise once you are used to the numbers.
How many photos do I need for an orbital drone scan?
At least 36 per full orbit as a rule of thumb, and more for larger subjects or wider orbits. Do not go so dense that there is barely any movement between shots, since that adds processing time without adding detail.
Can other DJI drones do timed shot during POI tracking?
For now, only the newest generation. Even the Mavic 4 Pro cannot, because it never received the update that allows it, so check your own drone's current features before planning a scan around it.
Photographer - Drone Pilot - Photogrammetrist. Years of experience in gathering data for photogrammetry projects, client support and consultations, software testing, and working with development and marketing teams. Feel free to contact me via Pixpro Discord or email (l.zmejevskis@pix-pro.com) if you have any questions about our blog.
Related Blog Posts
Our Related Posts
All of our tools and technologies are designed, modified and updated keeping your needs in mind

Most Asked Photogrammetry Questions Part 5 - From Capture to Delivery
We are back with another installment of our photogrammetry FAQ series. These are ten more questions we hear often, from people getting started and from users already deep into their projects.
 Pixpro Team
How to Make a Clean Roof Orthophoto for Solar Installations
Most roof scans are for a 3D model or a quick inspection. Every so often an engineer or a solar designer asks for something more specific: a true orthophoto of the roof, a straight top-down image they can measure and pull into their CAD workflow.
Pixpro Team
Portrait Orientation in Photogrammetry: When It Actually Helps
Is there anything to gain by scanning in portrait instead of the usual landscape? Sometimes, a little. But orientation is one of the least important decisions you make on a scan, and it is worth understanding why before you give it any more thought than that.
Pixpro Team
Ready to get started with your project?
You can choose from our three different plans or ask for a custom solution where you can process as many photos as you like!
Free 14-day trial. Cancel any time.