.svg@webp)
Photogrammetry with DJI Mavic 3 – Orbital Scanning
 Lukas
Zmejevskis
Lukas
Zmejevskis
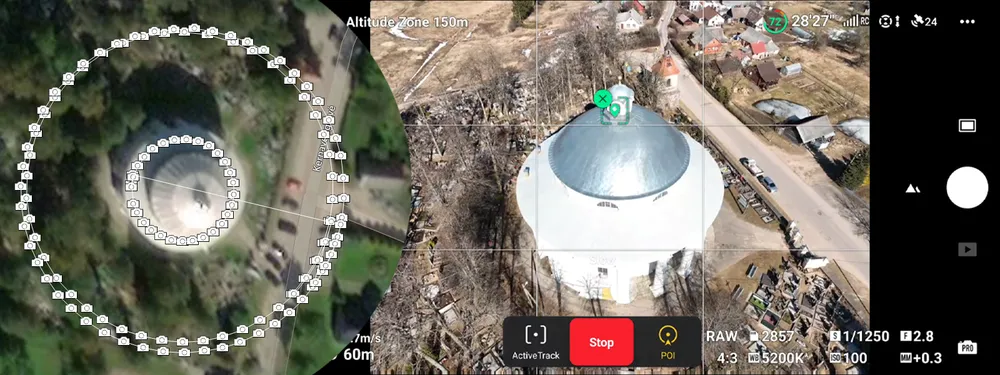
With no SDK available – manual Orbital Scanning techniques can be crucial if you want to utilize your Mavic 3 camera for photogrammetry. In the previous article, we discussed using currently available functions for nadir scanning. Now we are going to take a look at semi-automatic orbital scanning capabilities.
Orbital Scanning
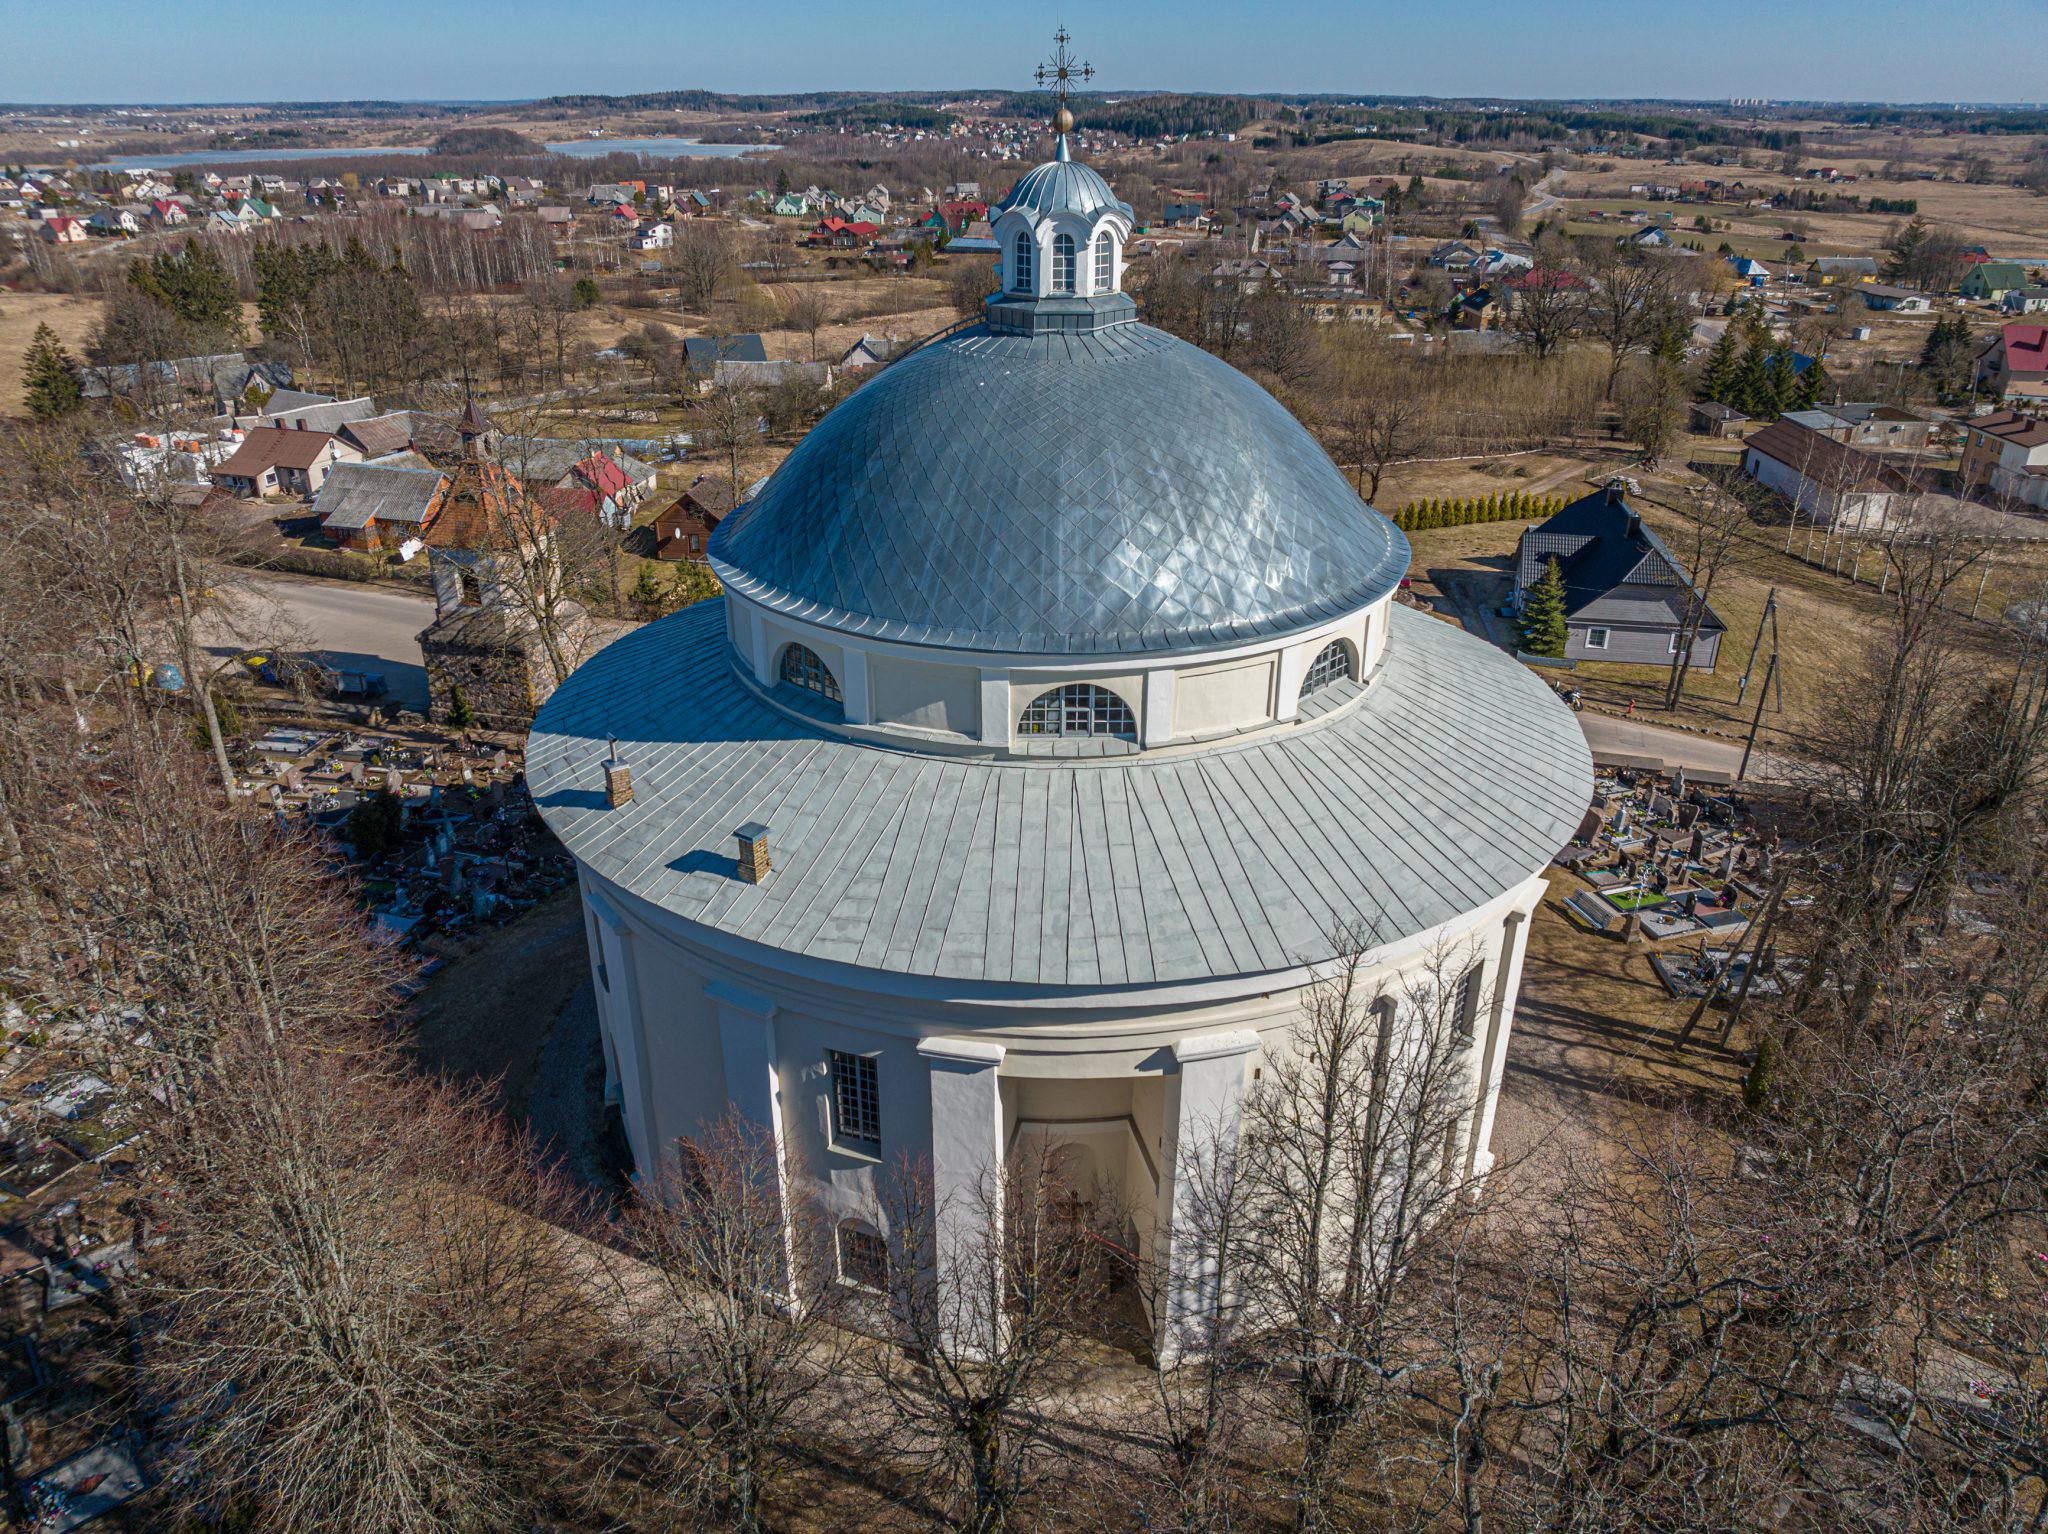
Orbital scans are best for isolated, small to medium-sized objects. In our case, we chose a church roof with some facade detail captured too. The church is round, which makes it unusual and perfect for our testing purposes.
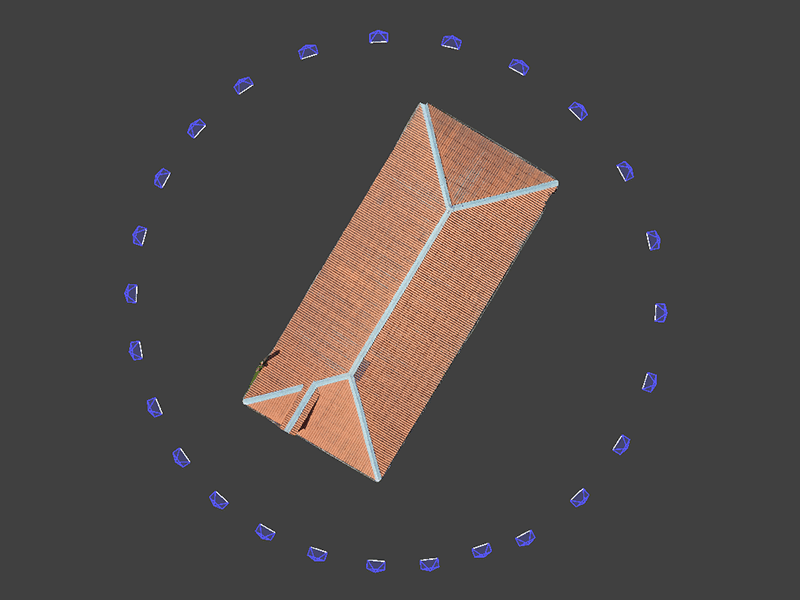
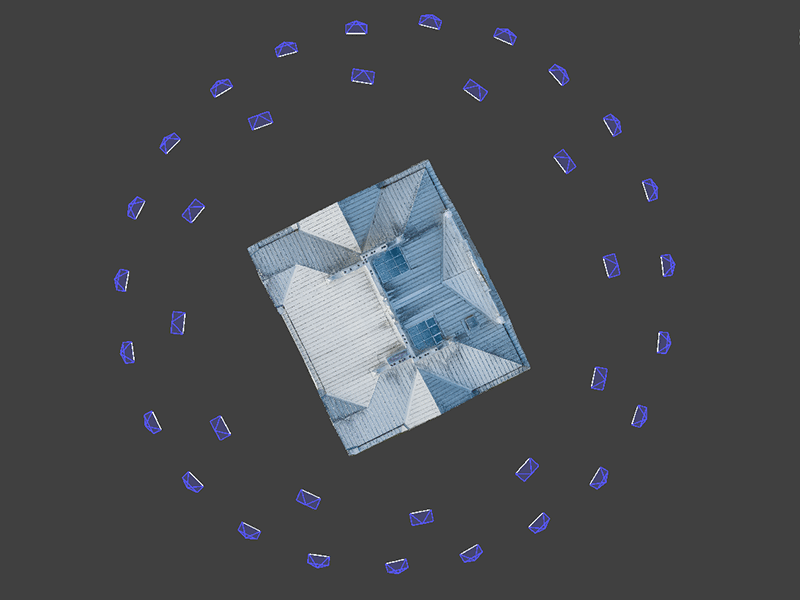
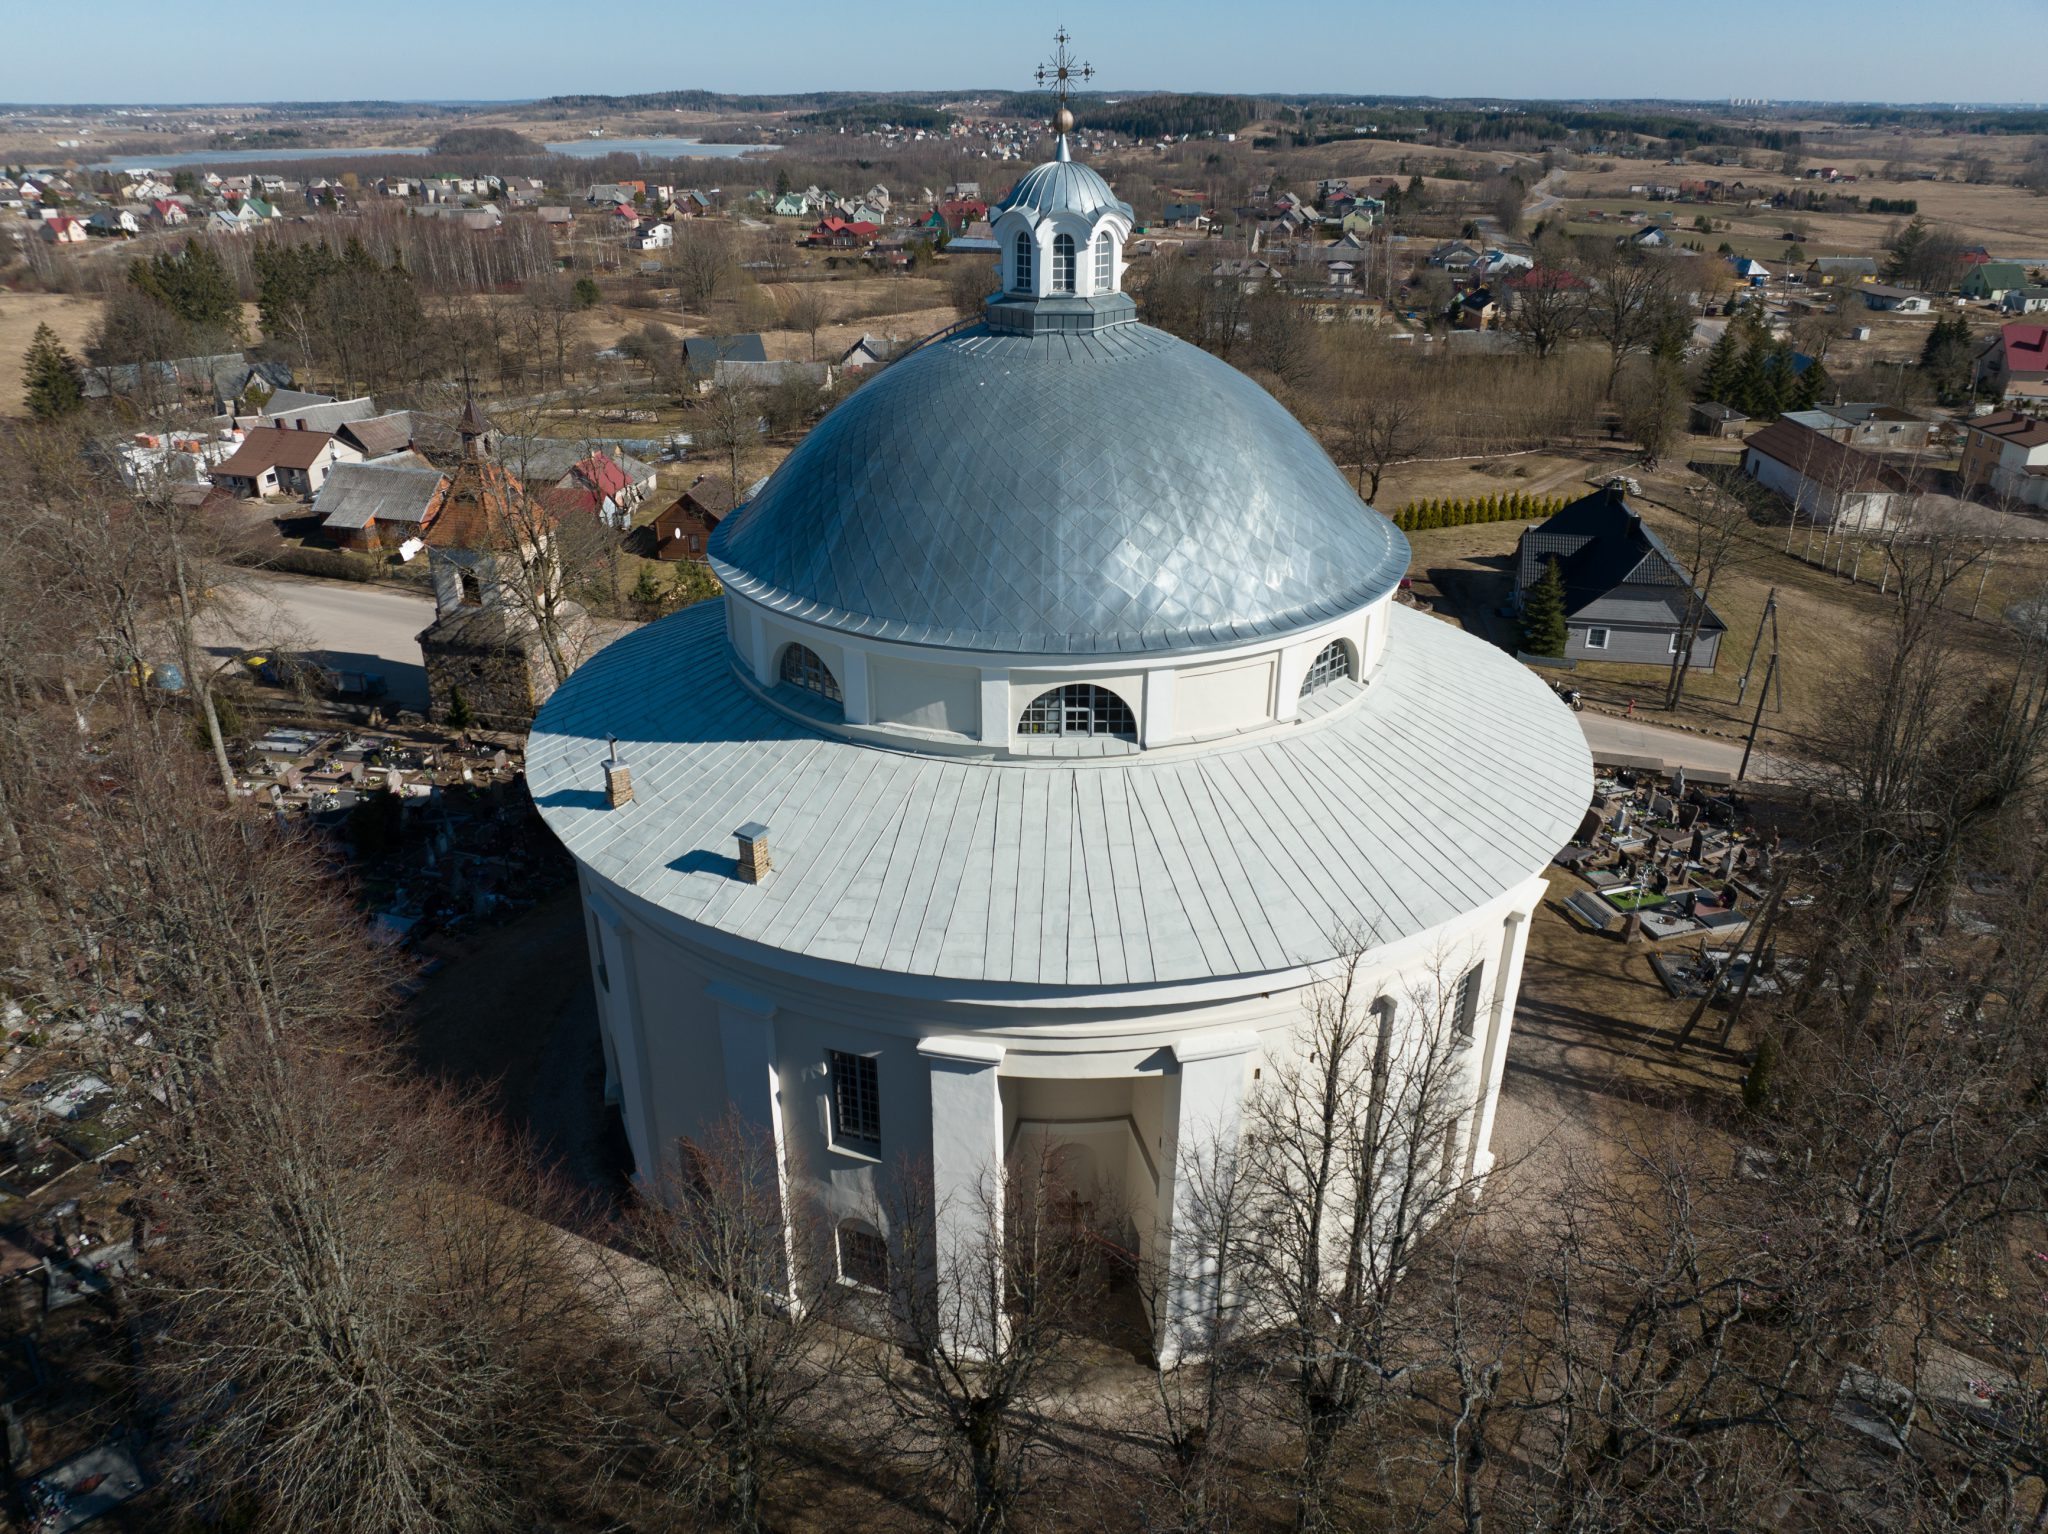
Few orbital scan examples. You can also check our blog post about roof inspection.
POI Mode for Orbital Scanning
POI mode has been around for a while in DJI drones. The approach used to be different, though. The point of interest was set in the previous versions using the drone’s GPS location by hovering over a spot and designating that spot as the POI. With the Mavic 3, we use the Active Track function as a base for POI flying.
First, we take off, fly and frame our subject, so it takes a large portion of our field of view, with the center part of the subject clearly visible. In our case, the center part is the steeple in the middle of the roof. We select the steeple by drawing a rectangle on the screen to engage active tracking. The app may recompose the shot, and three tracking modes appear on the bottom part of the screen. We choose the POI mode.
No Rush With in the POI Mode
Tap on the GO button, and the Mavic will start flying in the POI mode. Ensure that the circular trajectory will be free of obstacles and safe to fly. As the initial speed is always slow, you can evaluate the safety while flying in the POV mode. The obstacle avoidance is working, and you can increase the drone altitude at any time. During this mode, the remote controller sticks are operating as usual. If you move your camera up or down, the tracking mode will change to a designated spot tracking, it is fine, and we can proceed with image capture.
Software Cripples from DJI Continued
Now we check our exposure and photo format settings. We try to expose so that the shadow areas are still visible and the bright regions are not entirely white. We chose to shoot in raw for maximum quality. At this point, I would recommend using the time shooting mode. But to my complete surprise, timed shooting is not available in the tracking modes. This is another artificially imposed software limitation that boggles the mind and makes the whole process more difficult than it should be. Older DJI drones such as Mavic 2 Pro do not have this limitation.
Processed raw vs not processed image
Capturing Images Manually
Fortunately, we have a timer of some sort – the progress circle around the shutter button on the app. This circle indicates that the photo is cleared from the buffer, which takes a second or two. Thus we choose a spot as our start of image capture and proceed with taking a photo whenever the progress circle clears. This makes the gaps between images consistent enough, and the overlap will be sufficient for 3D reconstruction. Once we reach the starting spot, we stop taking photos.
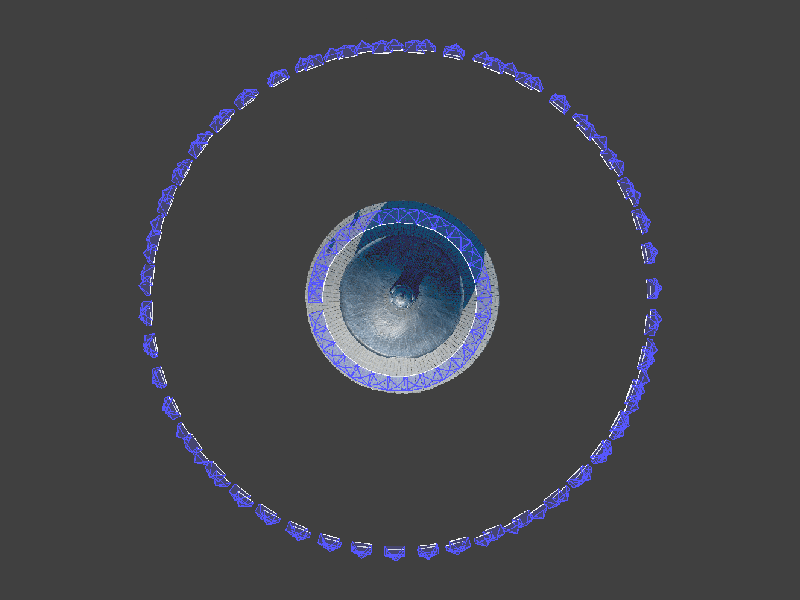
Multiple Orbits in Orbital Scanning
For a quick scan of the roof, a single orbit is enough. We can always add more orbits if we want to make a more detailed scan with more coverage. Once we finished capturing the images of the first orbit, the drone continued to circle around our subject. Using the remote controller sticks, we can adjust the altitude and the radius of the orbits. We can go lower to increase the facade coverage or go higher and closer to get more details on the steeple and the roof. Also, we can go closer to our subject to increase the overall quality. Make sure your trajectory is safe
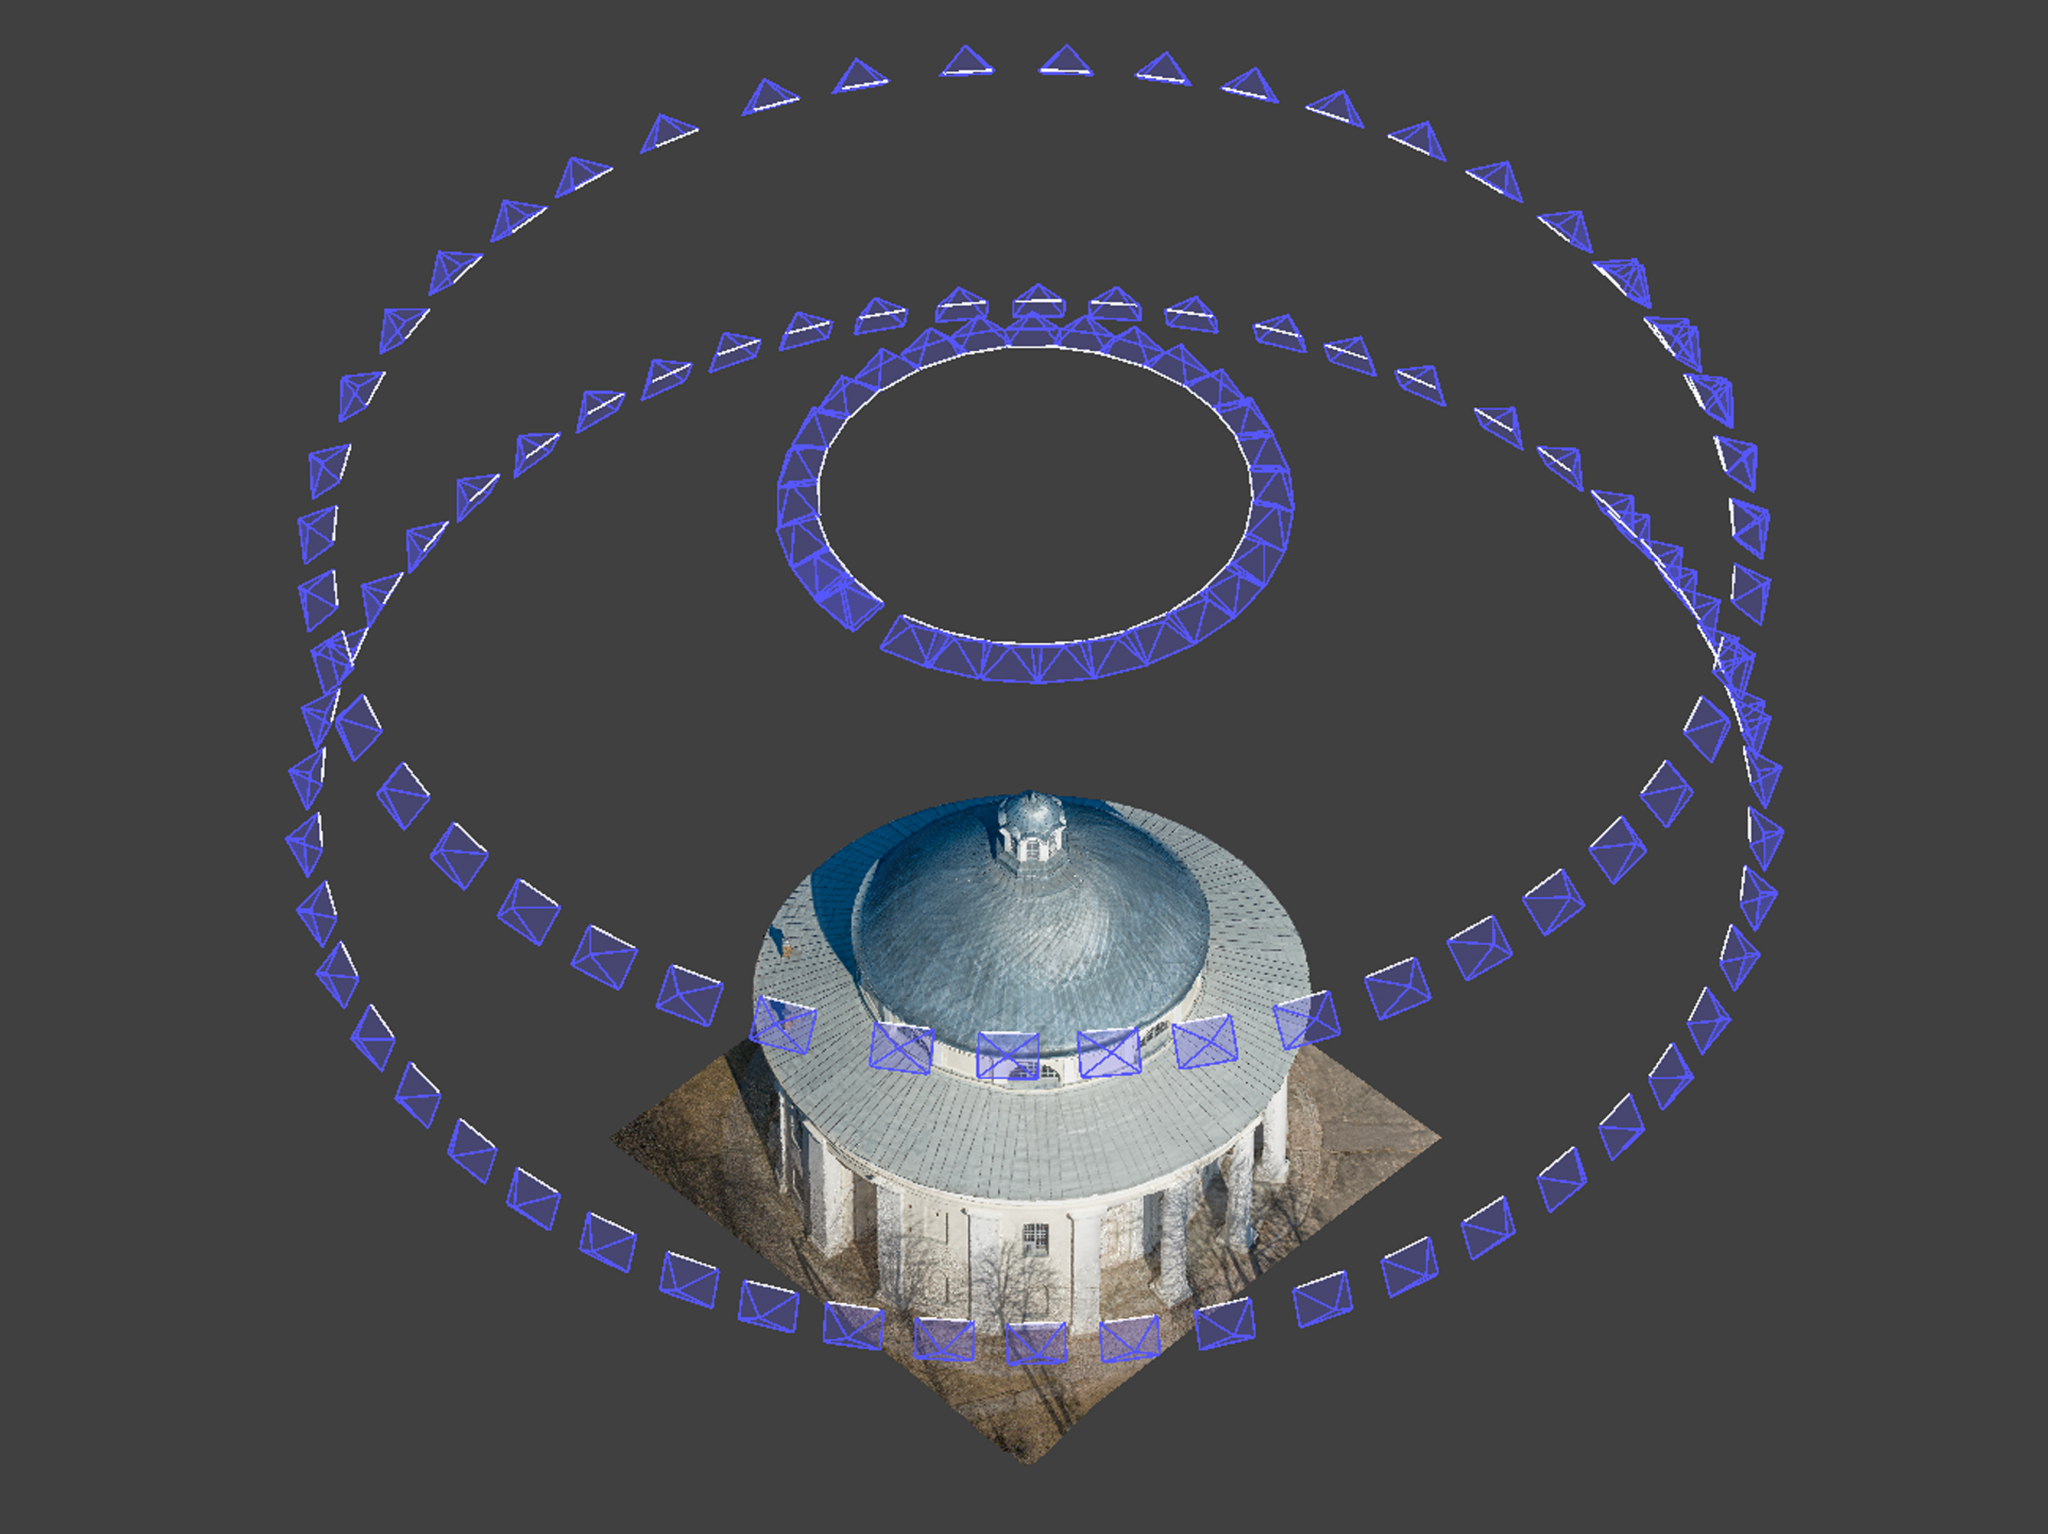
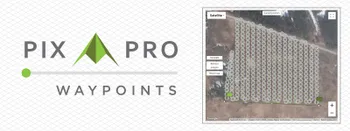
Camera positions preview in Pixpro software
Filtering and Processing Photos
With the fieldwork done, it is time to process the images. We shot raw, so we will be converting raw images to jpeg using Adobe Lightroom Classic. After the conversion, we make sure that there are no irrelevant or identical images in our set. This can be done in the Pixpro software using the photo manager. Orbital sets are generally easy to reconstruct and provide good single object reconstruction. All done with the basic DJI Fly app.
Photographer - Drone Pilot - Photogrammetrist. Years of experience in gathering data for photogrammetry projects, client support and consultations, software testing, and working with development and marketing teams. Feel free to contact me via Pixpro Discord or email (l.zmejevskis@pix-pro.com) if you have any questions about our blog.
Related Blog Posts
Our Related Posts
All of our tools and technologies are designed, modified and updated keeping your needs in mind
Overlap Between Different Perspectives
Photogrammetry can be simple and rigid or complex and adaptable. Combining different scan patterns adds complexity to the work but improves detail and coverage. We often use examples of combined flights, of which the orbital + nadir grid is a classic. They provide great 3D structure while being easy
Pixpro Waypoints - Automated Photogrammetry Flights for Newest DJI Drones
The latest DJI drones are the most capable flying cameras on the market. If you need a tool like that or a competent machine for casual creation - DJI Mavic 3, DJI Mini 4, and DJI Air 3 series drones are the best.

Accuracy of Your Photogrammetry Project
Accuracy in photogrammetry is a multifaceted point of discussion. We can talk about absolute, relative, or even geometric accuracy, to name a few. No tool or technique can really prove anything beyond reproach.
Ready to get started with your project?
You can choose from our three different plans or ask for a custom solution where you can process as many photos as you like!
Free 14-day trial. Cancel any time.