.svg@webp)
Easy Roof Inspection with Pixpro, with or without Flight Planner for 3D Scanning
 Lukas
Zmejevskis
Lukas
Zmejevskis
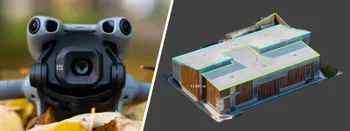
Roof inspection used to be a labor-intensive and dangerous task until drones with cameras became easily accessible. A flying camera is an invaluable asset and can be utilized to reduce roof inspection costs to a minimum.
Low cost roof inspection
Roof inspection costs now can be as low as a few hours of your time, or up to 30 minutes of hired drone photographers service if you do not own a drone. Our 3d photogrammetry software can be obtained for free for one month or subscribed for as low as 5 USD per month with cloud processing included. Drone images and Pixpro is everything that you need to inspect your or your clients roof from an otherwise unattainable perspective.
Our photogrammetric scan examples
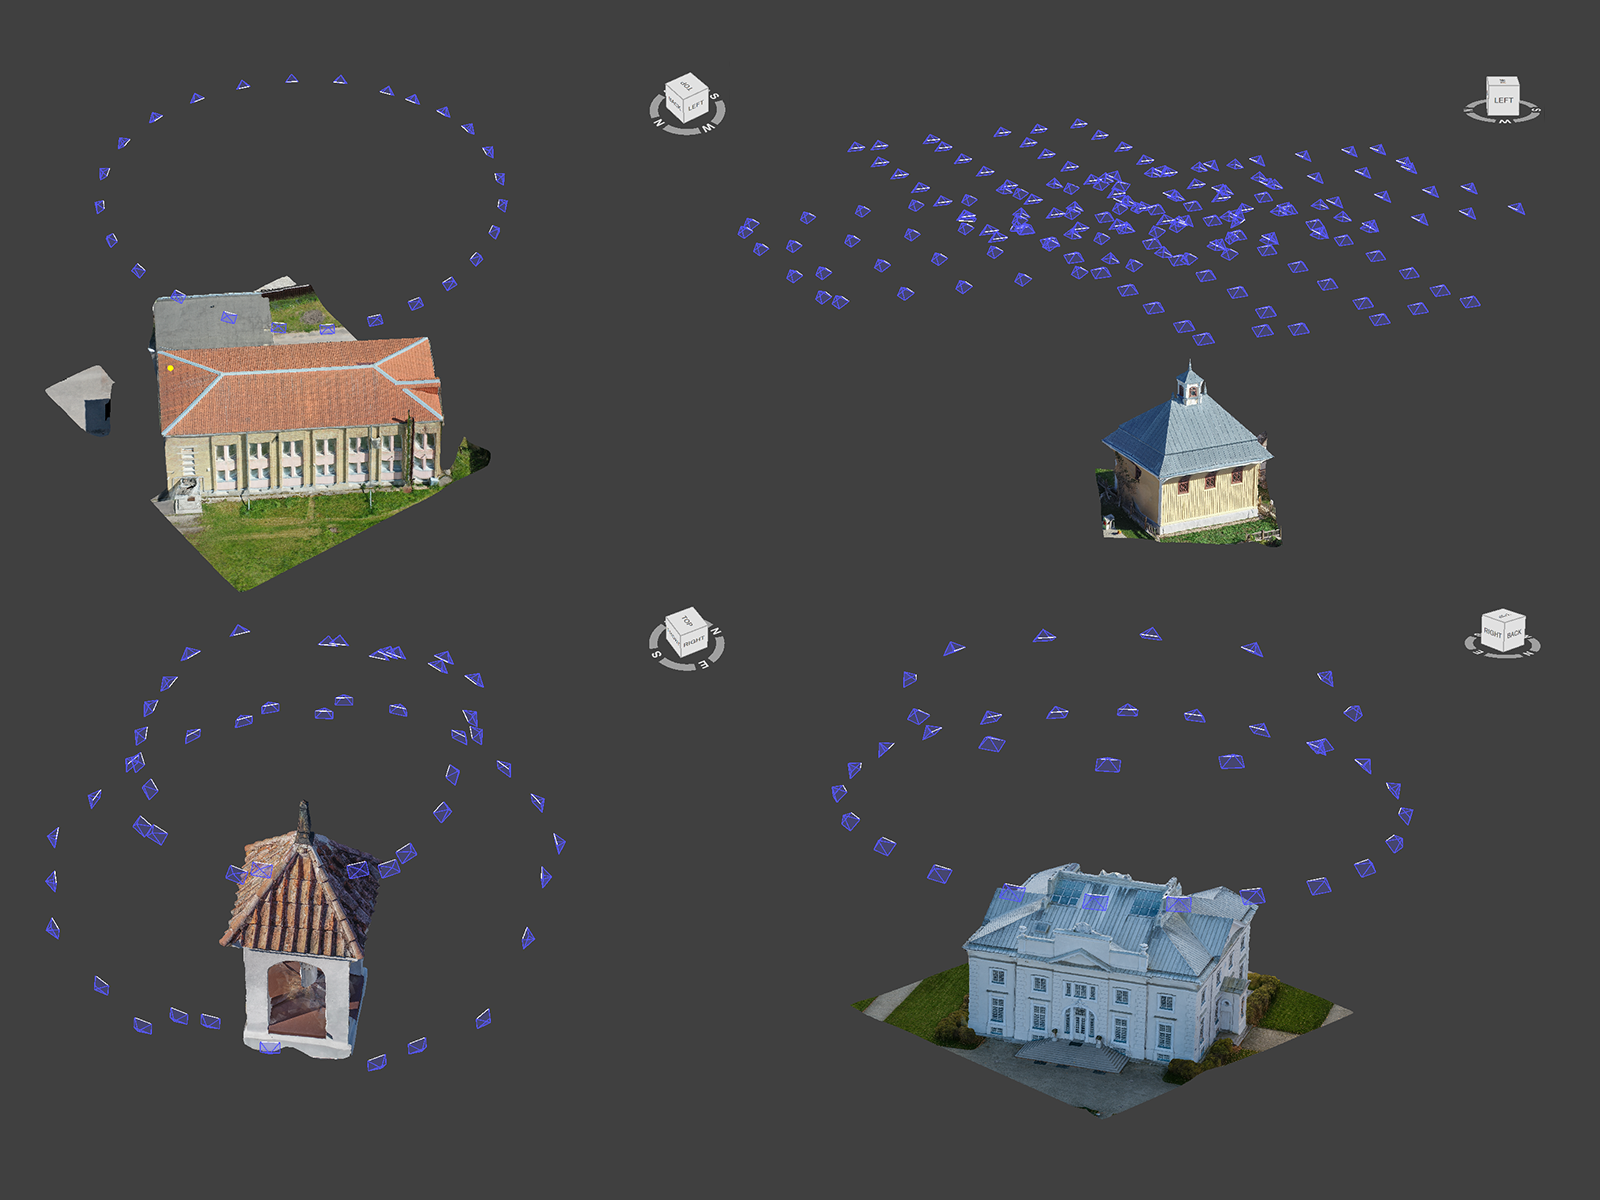
We made 4 different examples to showcase how roof inspection workflow can be done with simple drone photos and Pixpro.
| Project name | Red roof | Kenesa scan | Small shingles | Historic manor |
| Flight type | Hybrid | Automatic | Manual | Automatic |
| Flight time | 5 min | 13 min | 7 min | 7 min |
| Amount of images | 26 | 167 | 51 | 35 |
| Processing duration | 15 min | 2h 16min | 23 min | 19 min |
In all cases one must ensure the image quality and safety. Roof inspection is not possible and the 3D reconstruction will fail with blurry, out of focus or too dark/bright photos. To guarantee safety, always be familiar with the equipment and the rules of flying in your area, monitor the weather conditions, and surroundings.
Red roof scan example
This roof was scanned with a DJI Mavic 2 Pro drone, using the free and default DJI GO 4 app. A point of interest intelligent flight type was used, which is present in all consumer drones. In this flight type one sets the center point (which in our case is the center of the building roof) and then adjusts the drone to rotate around the point. The camera is set to face the subject, in our case – the roof, so it is centered and entirely in the camera’s field of view.
The camera is set to interval shooting mode, to take images every 2 seconds. The drone speed is adjusted to about 2 – 3 meters per second speed to achieve optimal results. 20 – 40 photos are usually required in an orbital type scan, to achieve good results. Just wait till the drone circles the point of interest at least a couple of times while taking pictures. If you need to, you can orbit the roof closer or take additional photos up close and include the latter in the 3D reconstruction part of the workflow.

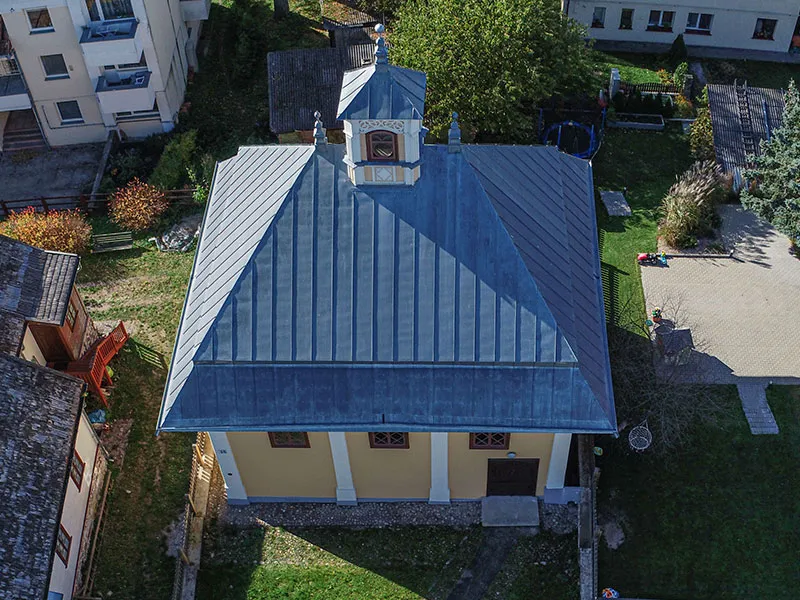
Kenesa roof inspection example
A historical house of prayer for Karaite people – Kenesa – was scanned with the DJI Phantom 4 RTK drone and its integrated piloting app. The multi grid scan type was used to get the full building reconstruction. Roof scan is a part of the reason why this flight was made, but if it were to be the only reason, much fewer photos would have been sufficient. Shutter priority was used when taking the photos with the maximum allowed flight speed for the given height.
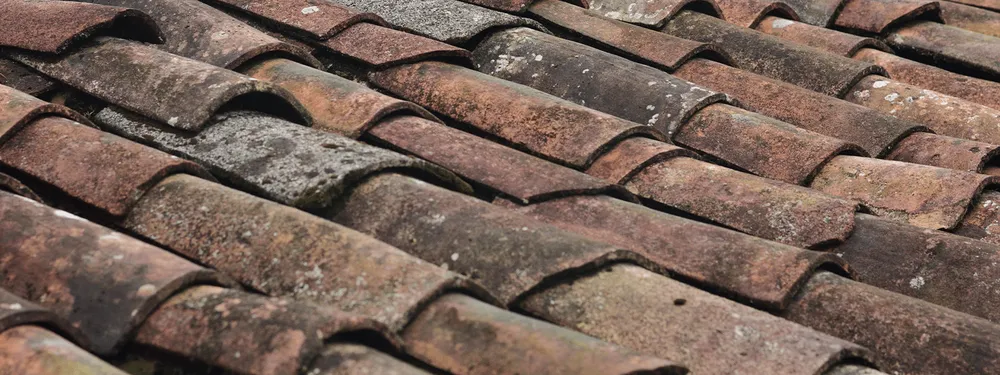
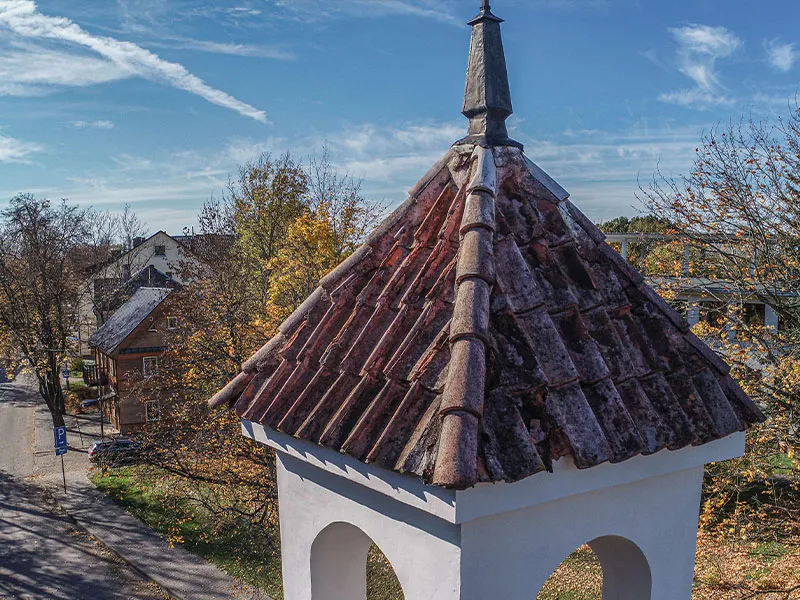
Small shingles detailed scan example
Roof of a small pillar type monument was inspected using a Phantom 4 RTK drone and fully manual flying. The object is too small for automated flights and the drone had to be very close to the object with the obstacle avoidance disabled. Images were taken going around the object at two different levels, while maintaining large overlap. We made sure that the full 360 degree scan was made for each level.
Historic manor roof inspection example
Historic 19th century manor was scanned using a Phantom 4 Pro drone using the Drone Duty flight planner app for Android. Orbital scan type was used where the center of the scanned area/object and the radius of the orbit can be specified. Drone duty automatically makes two orbits that are different heights which gives better 3D reconstruction results than a single orbit. All photo parameters and flight speed were selected manually, and additionally an automatic single grid scan was made for the same circular area.

Roof inspection with photogrammetry in Pixpro
Before processing, inspect the taken photos. All blurry or otherwise failed photos must be removed or redone. Also, if multiple orbits were made around a single object at the same level remove the excess photos, a one successful fly around is enough.
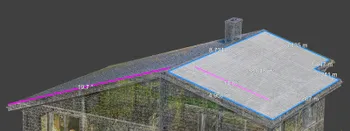
All example sets were processed in Pixpro using medium settings and 3D meshes were obtained. 3D mesh with its texture is a fully fledged 3D model and it is the easiest, and most intuitive way to do roof inspections. If the pictures have GPS information, which is usually the case with drones, the 3D model is also scaled and orientated properly, which means the model can be measured.


The best way to do inspection in Pixpro is to use a graphical point and view its projections. For example a point of interest or maybe a defect is identified in the mesh texture, then a point can be placed in the exact place of that defect. Once the point is placed its projections can be inspected. A projection is a site on each photo where the point is visible - projected on the 2D photo and 3D model equivalently.

• Point marked on a 3D mesh.

• List and preview of images selected point can be investigated in.
To see the projections of any graphical objects in Pixpro (points, lines, polygons) just double-click the object and the projection window will appear, alongside the list of all photos where the projection is visible.
Each projection can be seen from all possible angles and zoomed-in in the photos. Projections can also be edited and they will take precedence over the placement in the 3D window. This means that if you edit 3 or more projections, the object will relocate accordingly in the 3D window. This projection editing is used if an extremely precise positioning of the objects is required, usually for measurement purposes.
All graphical objects that were placed will remain in the project unless they are deleted, the projections will not change and each point has its position information saved. Graphical points and the 3D model itself can be exported, and shared.

Commercial and home use photogrammetry - conclusion
A handful of drone photos and Pixpro photogrammetry software will help to keep your roof inspections cost down and speed up. Either doing it for a client, friend or yourself it is easy and cheap if you are willing to take advantage of your drone, and Pixpro.
As a follow-up we will be taking a look at large commercial roof inspection and solar panel design in near future, join our mailing list to get the knowledge first.
Photographer - Drone Pilot - Photogrammetrist. Years of experience in gathering data for photogrammetry projects, client support and consultations, software testing, and working with development and marketing teams. Feel free to contact me via Pixpro Discord or email (l.zmejevskis@pix-pro.com) if you have any questions about our blog.
Related Blog Posts
Our Related Posts
All of our tools and technologies are designed, modified and updated keeping your needs in mind
3D Roof Scanning with the DJI Mini 5 Pro
Another entry in our ongoing exploration of roof photogrammetry workflows. This time, the subject is the DJI Mini 5 Pro — DJI's latest 250g drone with a 1-inch sensor, omnidirectional obstacle avoidance, and Pixpro Waypoints support.
Residential House Scan Use Case - Complete Exterior
Dealing with a moderately complex request: a brand-new home building scan for documentation and solar panel installation planning. I had no opportunity to preplan any flights – just grab the drone and head to the location, with only a few listing photos as reference.

Observation Tower Inspection – Dual Lens Hyperlapse
Orbital flights are fundamental in photogrammetric scanning, especially when working with isolated structures such as towers, chimneys, monuments, or small buildings. They allow for detailed, wrap-around imagery of a subject using relatively simple flight paths and minimal setup.
Ready to get started with your project?
You can choose from our three different plans or ask for a custom solution where you can process as many photos as you like!
Free 14-day trial. Cancel any time.