.svg@webp)
Top 10 Photogrammetry Misconceptions Part 2 – Advanced Myths
 Lukas
Zmejevskis
Lukas
Zmejevskis

A while back I published a list of the most common photogrammetry misconceptions I kept running into. That post focused on the basics: gear, megapixels, settings, and other things beginners often get wrong. Since then, I have seen plenty more misunderstandings, especially from people who have moved past the initial learning stage and into more serious work.
This second list targets the intermediate and advanced territory. These are the myths I hear from users who already know the fundamentals but have picked up assumptions that hold them back. If Part 1 was about getting started, Part 2 is about getting better.
1. More Ground Control Points Always Means Better Accuracy
More is not always better. Ground control points help anchor your model to real world coordinates, but poorly distributed or poorly measured GCPs can introduce errors instead of fixing them. A handful of well placed and accurately surveyed points will outperform a dozen sloppy ones.
Placement matters more than count. Spread them evenly across the project area, include some elevation variation, and always measure them with the best available method. Quality of the measurement data is equally as important, most RTK rovers will alert if the errors are not within specification but if your particular one does not - you have to control that. Quality beats quantity every time.
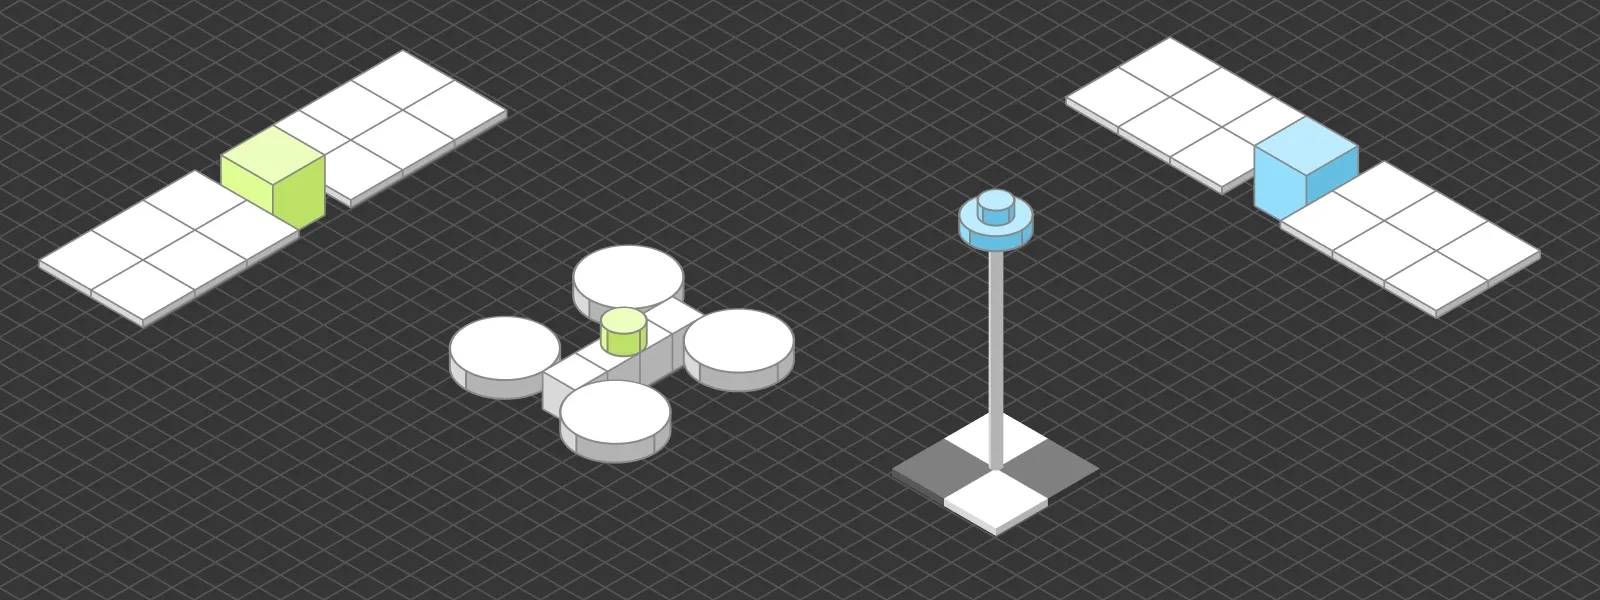
 2. RTK Eliminates the Need for Ground Control Points
RTK data and ground control points serve overlapping but fundamentally different roles in photogrammetry. RTK gives each photo an accurate position from the drone itself, meaning the reference data lives behind the camera. GCPs are physical points placed directly in the scene, surveyed with high precision, and visible in the images themselves.
That distinction matters. Any position recorded behind the camera has to pass through the camera and lens system before becoming part of the 3D reconstruction. Calibration offsets, lens distortion, IMU drift, and timing between GPS fix and shutter release all introduce small errors. GCPs skip all of that. They sit on the scene, get detected in the imagery, and are tied to coordinates that were measured independently with survey grade equipment. That directness makes them inherently more accurate as a reference.
For most projects, RTK alone is good enough, especially if the drone is well calibrated and the conditions are stable. But for demanding work, GCPs remain the more reliable anchor, and they also serve as independent check points to verify that the RTK chain produced the accuracy it claims. The two are complementary, not interchangeable.
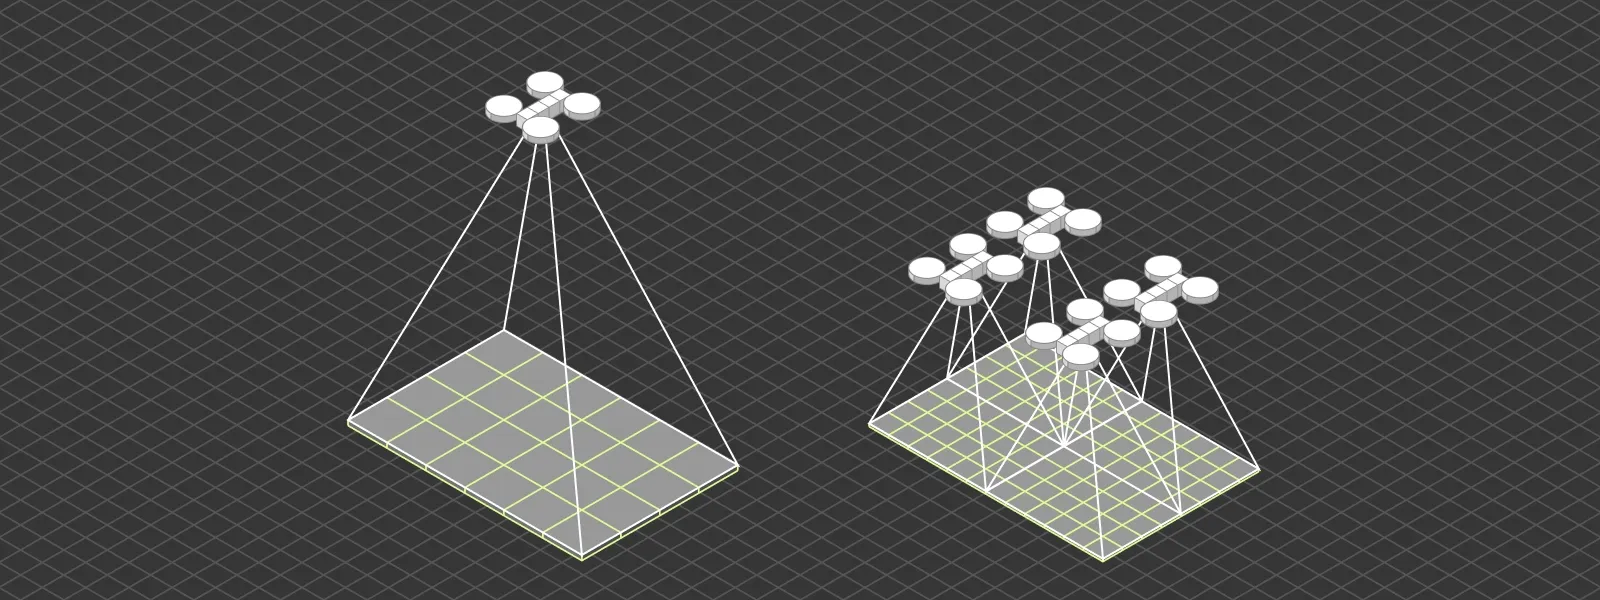
 3. Flying Higher Saves Time Without Costing Accuracy
Flying higher covers more area per battery, which sounds like free efficiency. The reality is more nuanced. Overall project accuracy, in terms of how well the model is positioned and how consistent it is internally, can be perfectly good at both high and low altitudes as long as the fundamentals are in place. Good overlap, sharp images, proper capture, and reference data matter far more than altitude alone.
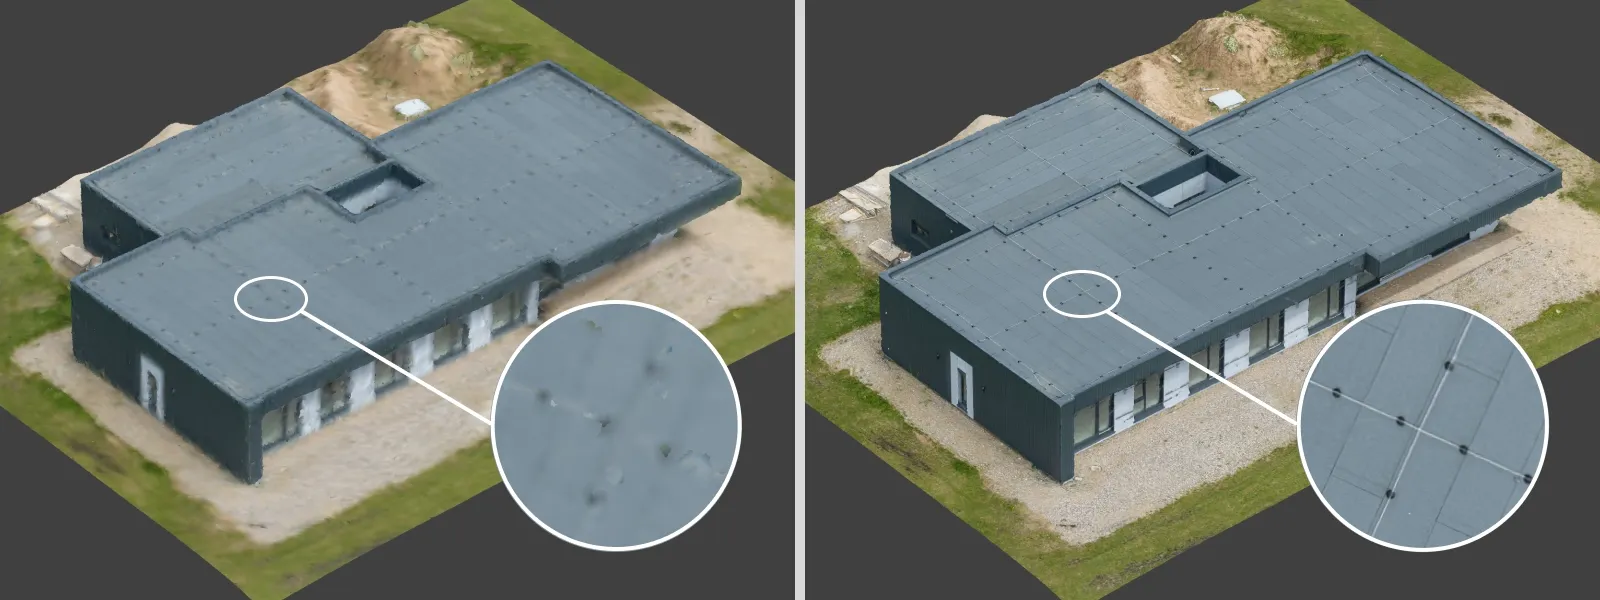
What flying higher really costs is detail. Ground sampling distance (GSD) increases with altitude, meaning each pixel represents a larger area on the ground. That directly affects how far you can zoom in, how small a feature you can identify, and how precisely you can measure fine elements. If your project needs to resolve millimeter cracks, small roof components, or detailed geometry, altitude becomes a limiting factor.
For broad area mapping, volumetric calculations on large features, or general site documentation, flying higher is a reasonable choice. For inspection work, detail sensitive measurements, or any output where someone will want to zoom in later, a lower drone altitude is the right call. The distinction is not about whether the model is accurate, but about what you can actually do with it afterward.
 4. The Sparse Point Cloud Is Just a Preview
Many users treat the sparse point cloud as a placeholder to skip past before the "real" processing begins. It is not. The sparse cloud is the foundation for everything that follows. If your alignment is weak, your camera positions are off, or tie points are clustered in the wrong places, the dense cloud built on top of it will inherit those problems.
Always inspect the sparse cloud before committing to dense processing. A few minutes of review can save hours of wasted computation and tell you whether your capture was actually sufficient.
 5. Texture Quality Depends on Mesh Quality
A blurry or low resolution texture does not automatically mean the mesh is bad. These are two separate outputs generated from different parts of the processing pipeline. You can have a perfectly clean mesh paired with a poor texture, usually caused by low resolution source images, insufficient texture atlas size, or suboptimal export settings.
If your model looks off, check whether the issue is geometry or texture before blaming either. They are fixed differently, and misdiagnosing the problem wastes time.
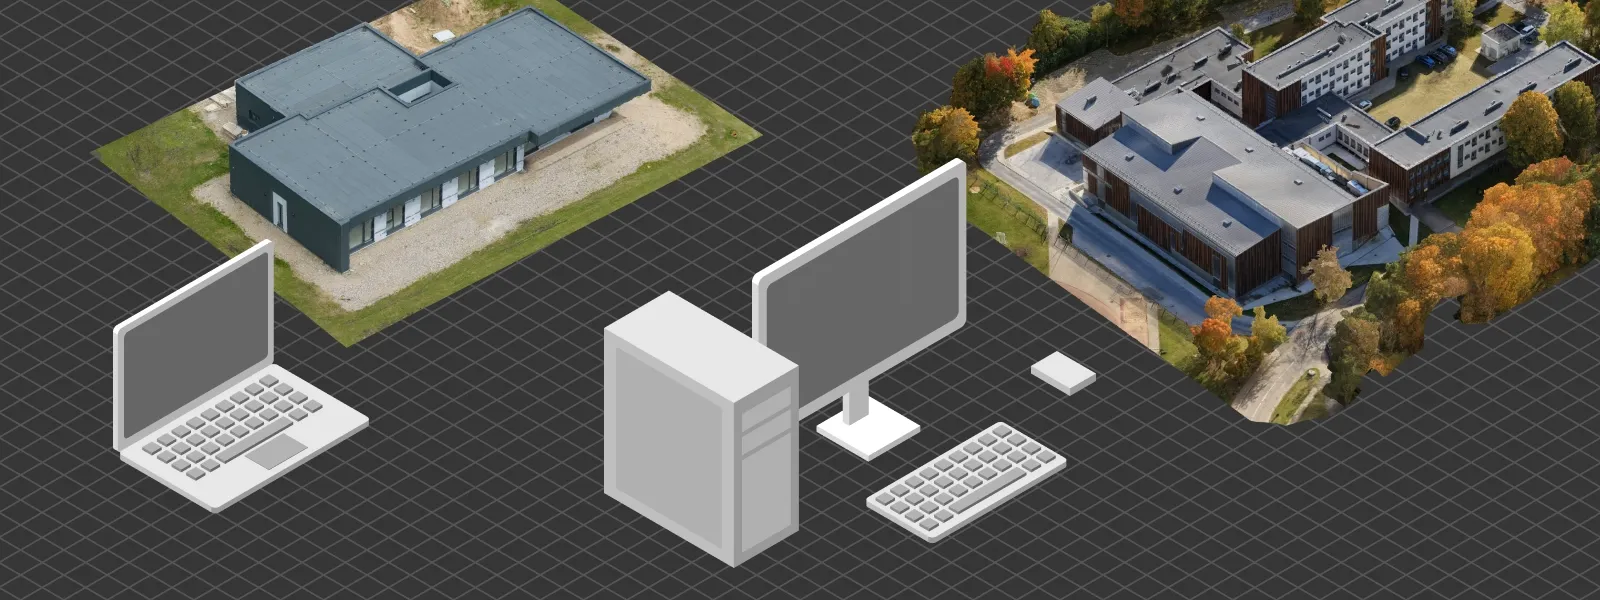
 6. Bigger Projects Need More Powerful Computers
Up to a point, yes. Beyond that, hardware is not the bottleneck. Workflow decisions matter more. Cropping early, splitting large datasets into manageable chunks, running dense cloud generation at appropriate resolutions, and using cloud processing when local hardware is not enough can all solve problems that throwing money at a new workstation cannot.
A well organized project on modest hardware will outperform a poorly managed project on a top tier machine. Smart workflows scale further than raw compute.
 7. Photogrammetry and LiDAR Produce the Same Kind of Output
Both methods produce point clouds, but the similarity ends there. Photogrammetry derives points from image matching, which means accuracy depends on visual features, lighting, and overlap. LiDAR uses direct laser measurements, which gives it different accuracy characteristics, better performance in low texture environments, and the ability to penetrate light vegetation.
Choosing between them depends on the scene, the required accuracy, and budget. Treating the two as equivalent leads to wrong expectations on both sides.
Read more: 3D Scanning vs. Photogrammetry Part 1 - The Theory
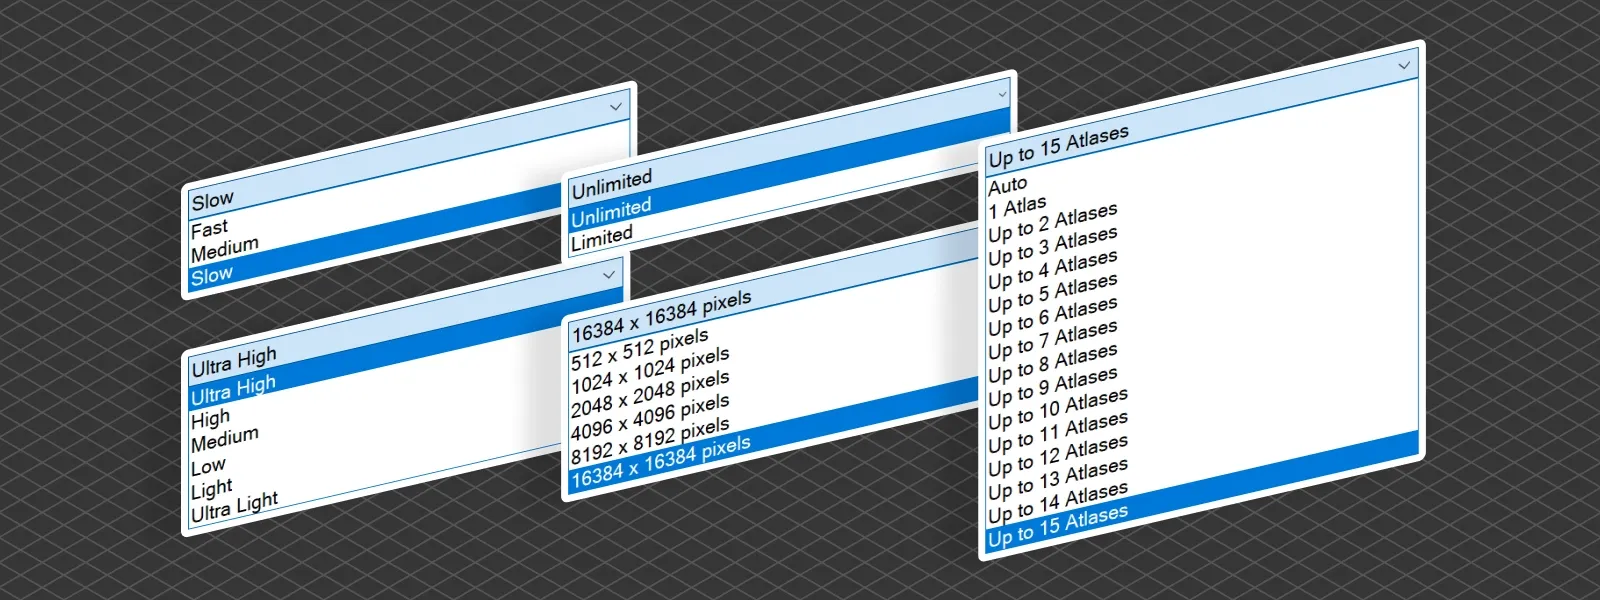
8. Highest Processing Settings Always Give Better Results
Maxing every slider is rarely the right move. Highest settings mean longer processing times, heavier files, and often more noise, not more detail. The software amplifies whatever is in the input data, including artifacts and inconsistencies.
Good results come from matching processing settings to your actual needs. A fast preview with medium settings often tells you everything you need to know, and final outputs should be calibrated to the delivery format. Higher is not better. Appropriate is better.
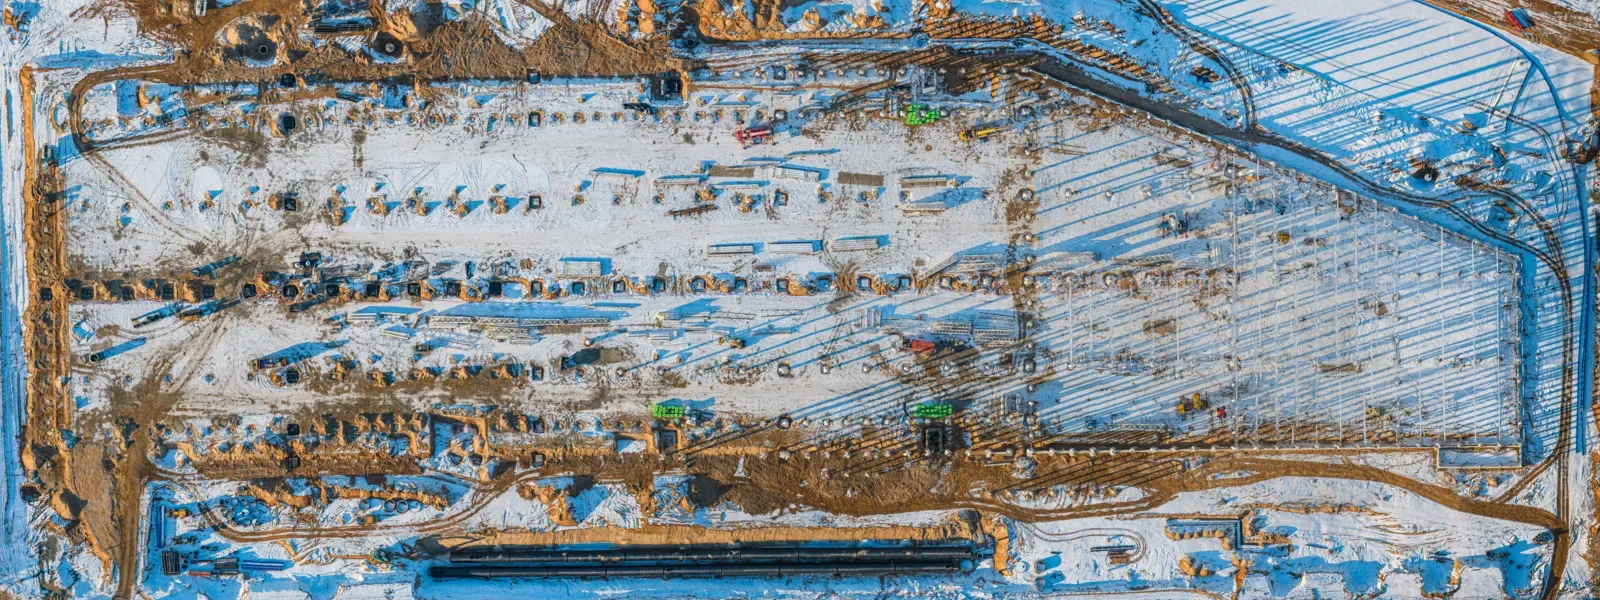
9. Orthophotos Are Just Flat Drone Photos Stitched Together
This is one of the more persistent misconceptions. A true orthophoto is not a panorama. It is an image generated from a 3D reconstruction, corrected for terrain and perspective so every pixel sits at its correct geographic position. That is what makes it measurable.
A simple photo mosaic might look similar at a glance, but it is not geometrically accurate and cannot be used for reliable measurements. The 3D model behind a true orthophoto is what gives it its value. Without that underlying geometry, you have a stitched panoramic image, not a map.
10. You Can Fix Bad Photos in Post-Processing
Unlike traditional photography, photogrammetry does not really benefit from heavy image editing. Adjusting exposure, sharpening, or applying noise reduction before processing often makes results worse, not better. The software relies on consistent, natural image data to match features across photos. Altered images break that consistency.
Shoot it right the first time. If the capture is poor, the only reliable fix is to go back and recapture. No post-processing workflow will rescue a dataset that should not have been submitted for reconstruction in the first place.
Conclusion
Misconceptions in photogrammetry tend to shift as you grow. Early on it is about gear and settings. Later it is about workflow decisions, processing choices, and understanding what the software is actually doing under the hood. Hopefully this list clears up a few of the ones that trip people up once they move past the basics in their photogrammetry workflow. As always, the best way to learn is to scan, fail, adjust, and try again.
Photographer - Drone Pilot - Photogrammetrist. Years of experience in gathering data for photogrammetry projects, client support and consultations, software testing, and working with development and marketing teams. Feel free to contact me via Pixpro Discord or email (l.zmejevskis@pix-pro.com) if you have any questions about our blog.
Related Blog Posts
Our Related Posts
All of our tools and technologies are designed, modified and updated keeping your needs in mind
How to Make a Clean Roof Orthophoto for Solar Installations
Most roof scans are for a 3D model or a quick inspection. Every so often an engineer or a solar designer asks for something more specific: a true orthophoto of the roof, a straight top-down image they can measure and pull into their CAD workflow.
Portrait Orientation in Photogrammetry: When It Actually Helps
Is there anything to gain by scanning in portrait instead of the usual landscape? Sometimes, a little. But orientation is one of the least important decisions you make on a scan, and it is worth understanding why before you give it any more thought than that.

A Short History of Photogrammetry: From Balloons to Drones
Photogrammetry feels like something the drone era invented. It did not. The idea of pulling measurements out of photographs is roughly 170 years old, which makes it older than the airplane and a lot older than the computer.
Ready to get started with your project?
You can choose from our three different plans or ask for a custom solution where you can process as many photos as you like!
Free 14-day trial. Cancel any time.