.svg@webp)
What Actually Affects Photogrammetry Accuracy?
 Lukas
Zmejevskis
Lukas
Zmejevskis
Photogrammetry accuracy is one of those topics that seems straightforward at first. You take photos, run them through software, and expect accurate results. In reality, it does not quite work like that. You can have a high end drone, high resolution images, and still end up with a model that is slightly off. At the same time, you can use relatively basic gear and get surprisingly accurate results if everything else is done correctly.
The reason for this is simple. Accuracy in photogrammetry is not defined by a single factor. It is the result of multiple decisions made during capture and processing. Some of these are obvious, others are easy to overlook. In this article I will go through the factors that actually affect photogrammetry accuracy, based on real world workflows and practical use.
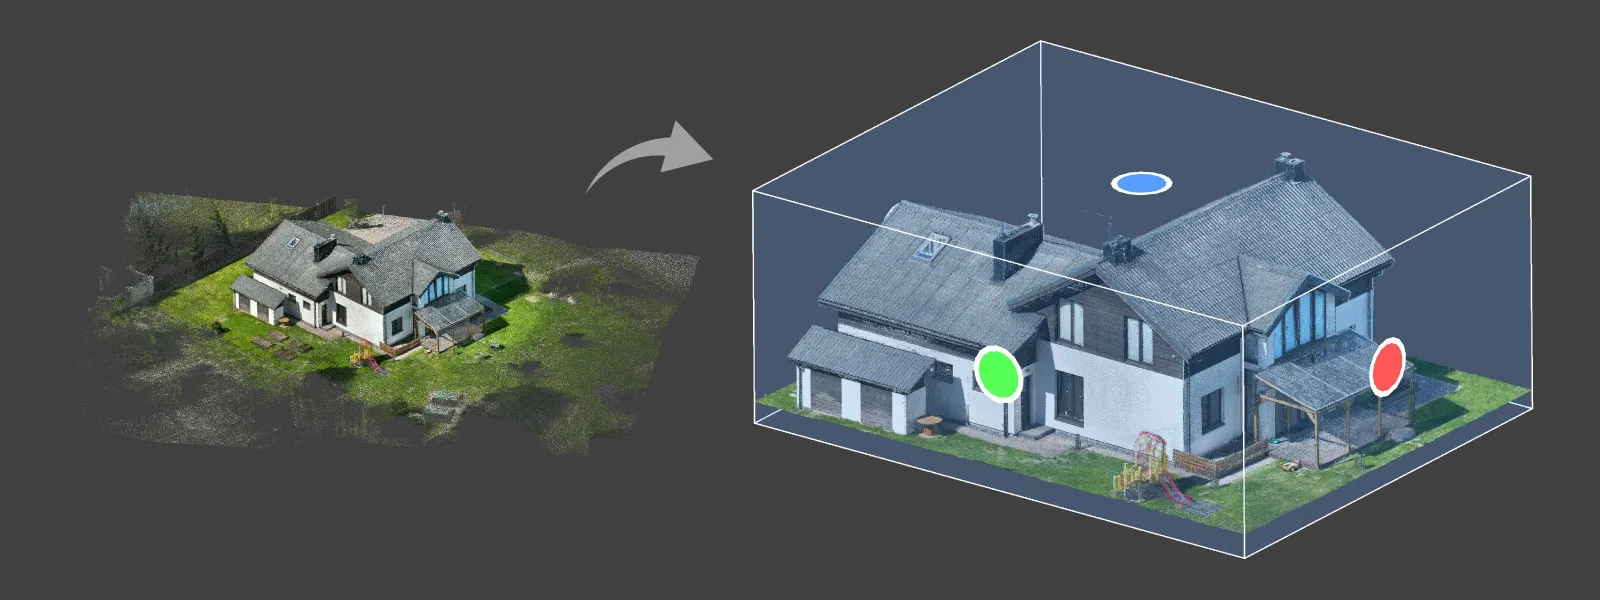
Absolute vs Relative Accuracy
We have discussed this topic in the past, but it is worth repeating because it is one of the most misunderstood concepts in photogrammetry.
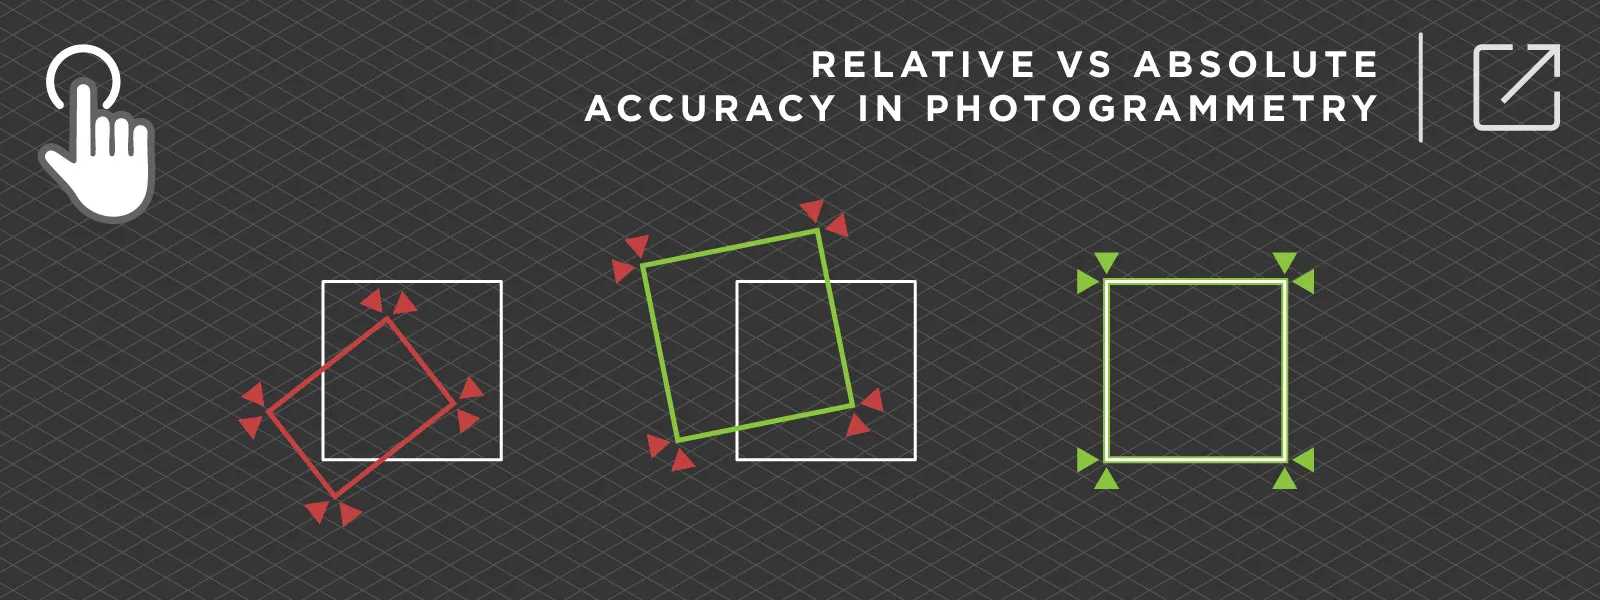
Relative accuracy means that your model is internally consistent. Distances, proportions, and shapes are correct relative to each other. If you measure two points within the model, the result can be very accurate.
Absolute accuracy is different. It means that your model is correctly positioned and aligned in the real world coordinate system.
This is where confusion often happens. You can produce a visually perfect model with excellent relative accuracy, but if it is not referenced properly, it will not match real world coordinates. It may be shifted in all axes.
In practice:
-
Relative accuracy comes from good overlap, good images, and proper capture
-
Absolute accuracy comes from ground control points, RTK data, or other reference systems
If your goal is visualization or basic measurements, relative accuracy is often enough. But if you are working with surveying, construction, or any kind of engineering workflow, absolute accuracy becomes critical.
 Overlap and Coverage
Overlap is the most important factor. Photogrammetry works by matching features between images. If there is not enough overlap, the software simply does not have enough information to reconstruct the 3D scene correctly.
The usual recommendation is around 80 percent overlap for grid flights. That works well in most cases, but it is not a universal rule.
 If the scene is complex, you will need more overlap. If the scene has low texture, you will need more overlap. If you are doing orbital scans, you are no longer thinking in terms of forward overlap, but angular overlap instead.
Too little overlap breaks the reconstruction completely. Too much overlap, on the other hand, slows everything down and can introduce redundancy. Taking thousands of nearly identical images does not improve accuracy. It just makes processing heavier.
 Camera and Image Quality
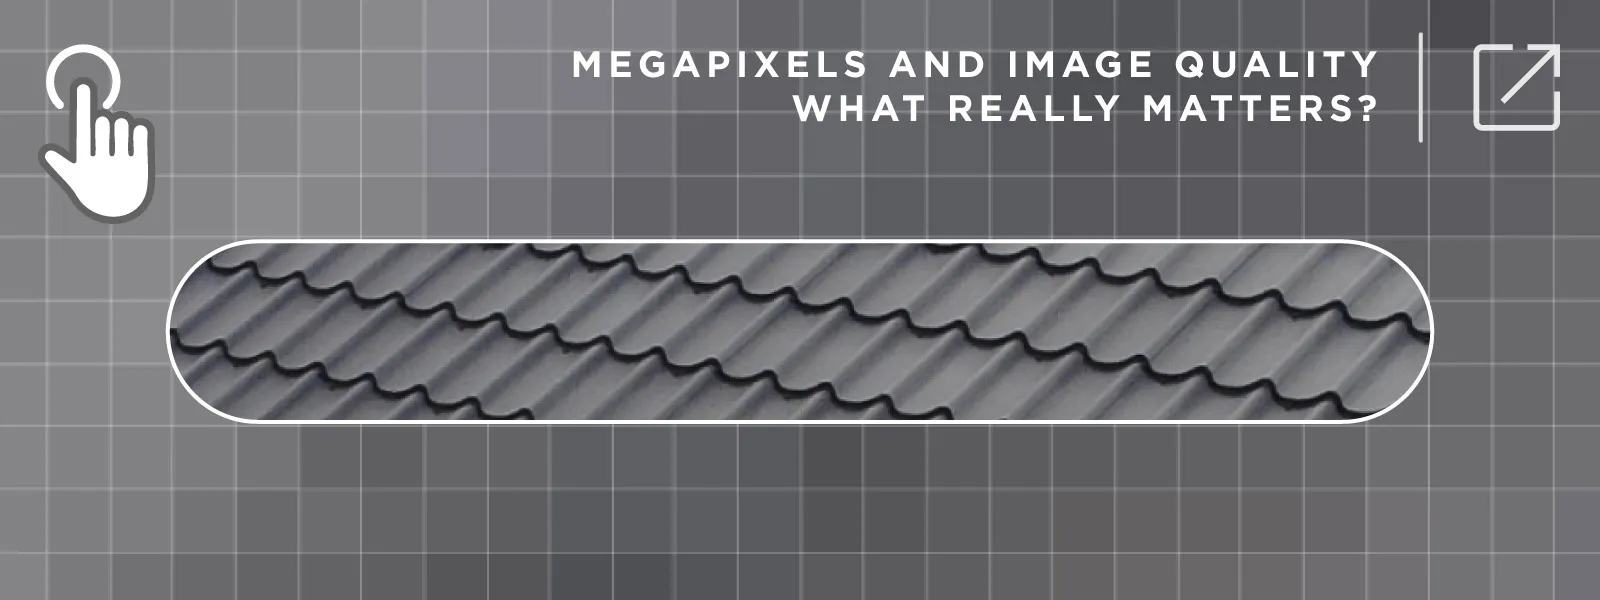
Camera quality matters, but not in the way most people expect. More megapixels do not automatically mean better results. What matters much more is image quality in practice.
Sharpness is critical. Motion blur ruins data very quickly. Even a small amount of blur reduces the ability of the software to find and match features.
Exposure consistency is just as important. If your images vary too much in brightness or contrast, feature matching becomes less reliable.
A sharp and well exposed 12 megapixel image will outperform a blurry 50 megapixel one every time.
 Flight Height and Distance
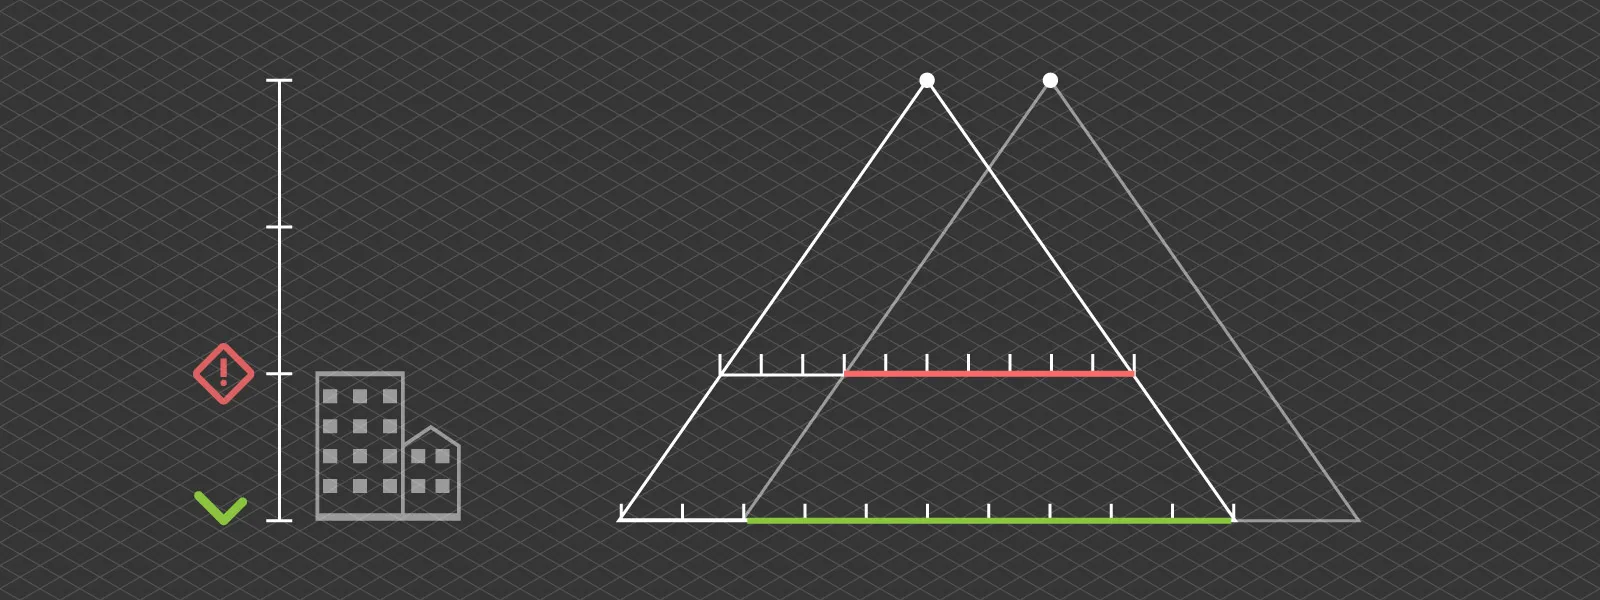
Flight height directly affects how much detail you capture. Detail does not mean accuracy, until it does.
Flying lower gives you better ground resolution and higher potential accuracy. The tradeoff is that you need more images to cover the same area, which increases both flight time and processing time.
Flying higher allows you to cover large areas quickly, but you lose detail. At some point, you simply do not have enough information in the images to achieve high accuracy measurements and visual representation at that scale.
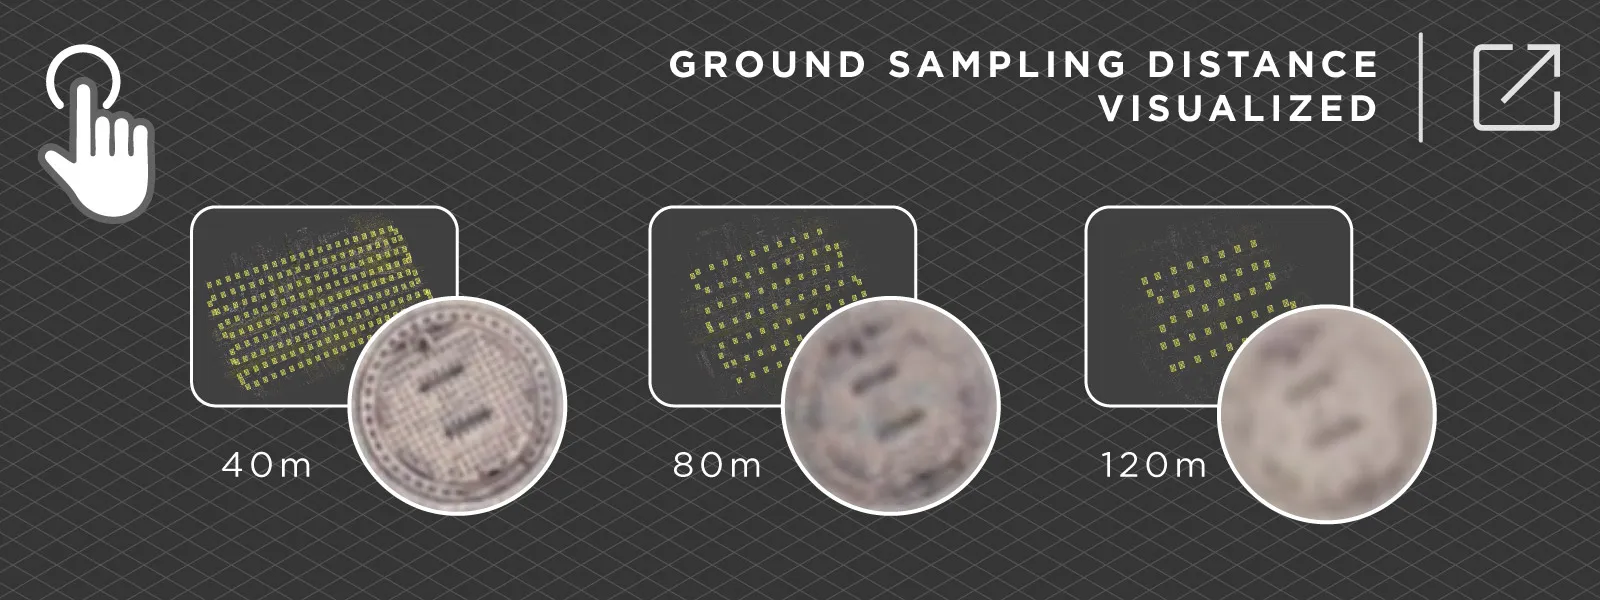 This is always a balancing act. There is no single correct height. It depends on what you are trying to achieve. If you plan to measure and inspect small details in a large project, there is no way around it, you need close proximity scanning.
If coverage and speed are the priority, you can fly higher, and if the fundamentals are sound, the overall structure and accuracy of the project will still be acceptable.
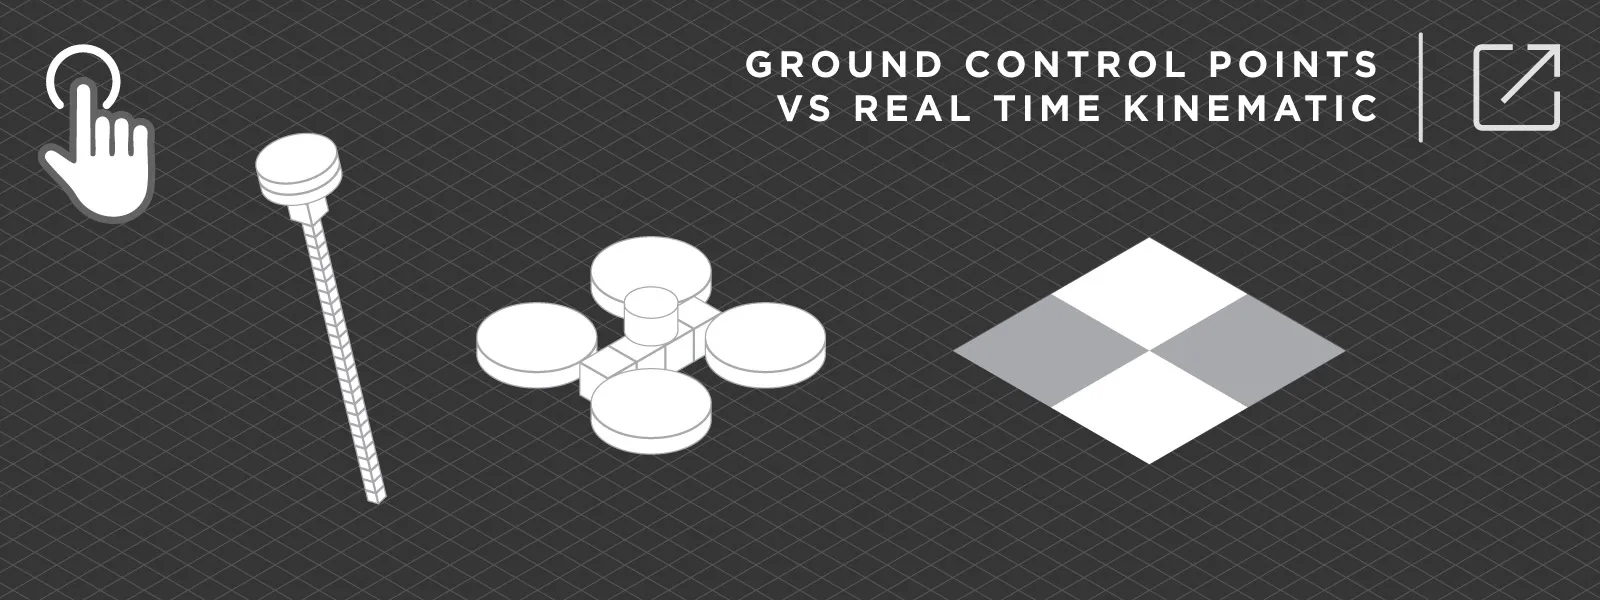
Ground Control Points and RTK
If you need absolute accuracy, this is where it actually comes from.
Without any reference, photogrammetry produces good relative accuracy. The model looks correct, but it may not be positioned correctly in the real world. Ground control points and RTK data solve this problem.
They anchor your model to real coordinates, remove drift, and significantly improve vertical accuracy, which is often the weakest point.
Without RTK or control points, you can produce a visually perfect model, but it may be offset from the real world coordinate system by a noticeable margin. Standard GPS is good enough for relative measurements like distances and volumes to a degree, but RTK level data ensures proper positioning and extremely accurate measurements.
 Lighting Conditions
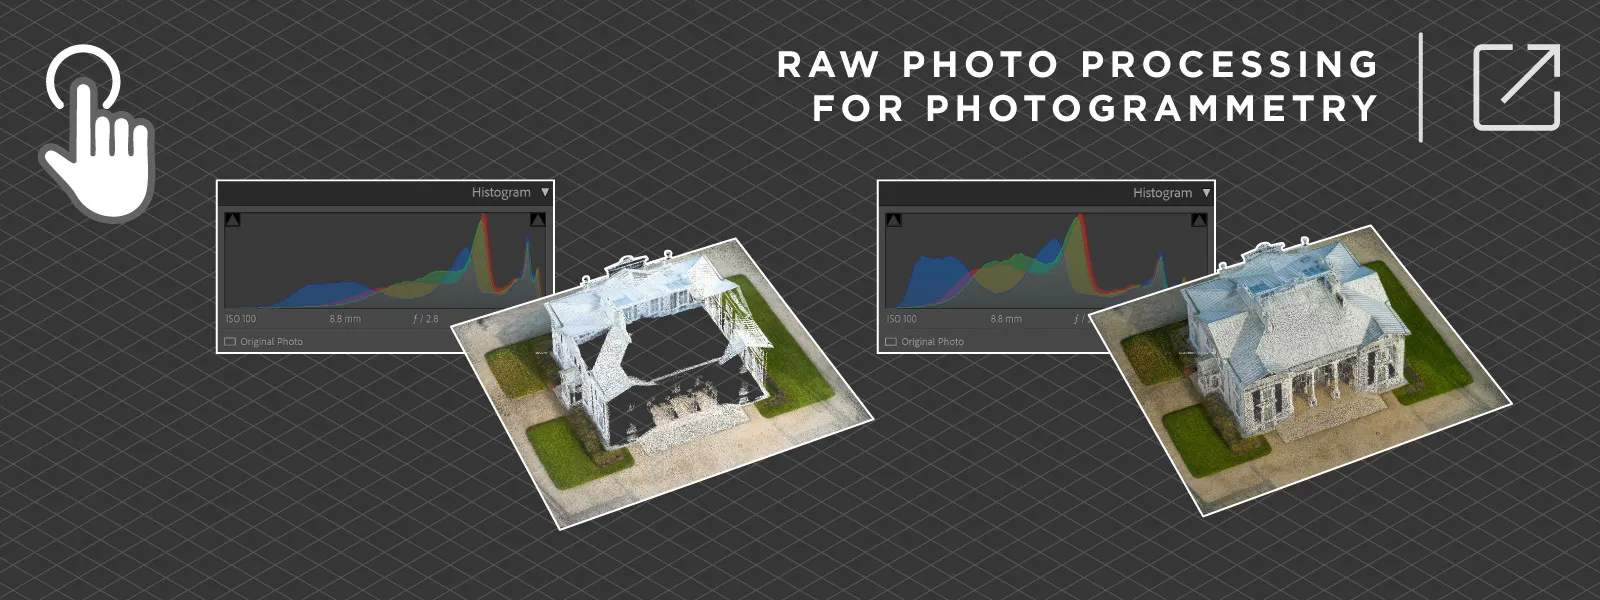
Lighting has a bigger impact than most people expect. Photogrammetry relies on detecting and matching features. Poor lighting means poor image quality, and it makes this process harder.
Strong shadows can hide detail. Overexposed areas remove information completely. Trying to recover those areas later introduces noise.
The ideal condition is soft, even lighting. Slightly overcast weather is often better than direct sunlight.
You can still get good results in harsh conditions, but you need to be more careful with your capture. This is where basic photography skills come into play, such as using RAW images, manual exposure, or exposure compensation.
 Scene Characteristics
Some scenes are simply harder to scan than others.
Water is a good example. It moves, reflects light, and does not provide stable features. Glass behaves similarly, reflecting the environment instead of showing actual geometry. Snow is another classic problem. A uniform white surface has almost no texture, which makes feature matching very difficult.
Repetitive patterns can also cause issues. Large areas with identical features can confuse the software and lead to incorrect matches.
These are not limitations of a specific software. They are fundamental limitations of the photogrammetry method itself. If your scene contains these elements, you need to plan around that.
A practical approach is to include enough “scannable” areas in each image. This may increase the number of photos required, but it helps ensure that everything that can be reconstructed actually appears correctly in the final model.
Workflow Consistency
Consistency is one of the most underrated factors. However, you might not be thinking about what I mean when I say “consistency”.
Consistency is more of a general approach to how you work. It includes habits, checklists, and repeatable processes.
 Photogrammetry is not overly complicated, but it does require some discipline. I have seen both extremes, from expecting a single button to do everything, to overpreparing for very simple tasks.
The best approach is somewhere in the middle. Plan your capture, keep your workflow consistent, and allow room for trial and error. Experience plays a big role here.
Processing Choices
Processing settings do matter, but they are not a magic fix.
If your input data is poor, no setting will fully correct it. Processing only refines what is already there. It can improve alignment, reduce noise, and optimize outputs, but it cannot create detail that was never captured.
This is why it always makes sense to focus on capture first. Good data leads to good results with minimal effort later.
With Pixpro, and any other software, my main advice is simple. Do not process what you do not need. Crop your dense point cloud and avoid wasting resources on irrelevant areas. Then adjust mesh density and texture size according to your requirements.
 This saves time and gives you the results you actually need, while maintaining accuracy.
Conclusion
Photogrammetry accuracy is not controlled by a single setting or piece of equipment. It comes from a combination of decisions, most of which happen before processing even begins.
When something goes wrong, it is usually not the software. It is overlap, lighting, coverage, or missing reference data.
Most modern photogrammetry software, including Pixpro, is capable of producing accurate results. The difference is how good your input data is and how well you understand the process.
Once you get the fundamentals right, accuracy becomes predictable instead of something you hope for.
Photographer - Drone Pilot - Photogrammetrist. Years of experience in gathering data for photogrammetry projects, client support and consultations, software testing, and working with development and marketing teams. Feel free to contact me via Pixpro Discord or email (l.zmejevskis@pix-pro.com) if you have any questions about our blog.
Related Blog Posts
Our Related Posts
All of our tools and technologies are designed, modified and updated keeping your needs in mind
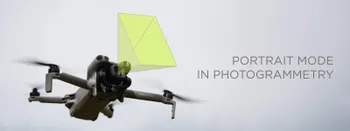
Portrait Orientation in Photogrammetry: When It Actually Helps
Is there anything to gain by scanning in portrait instead of the usual landscape? Sometimes, a little. But orientation is one of the least important decisions you make on a scan, and it is worth understanding why before you give it any more thought than that.
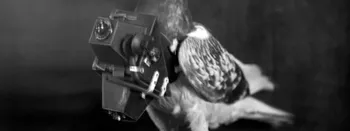
A Short History of Photogrammetry: From Balloons to Drones
Photogrammetry feels like something the drone era invented. It did not. The idea of pulling measurements out of photographs is roughly 170 years old, which makes it older than the airplane and a lot older than the computer.

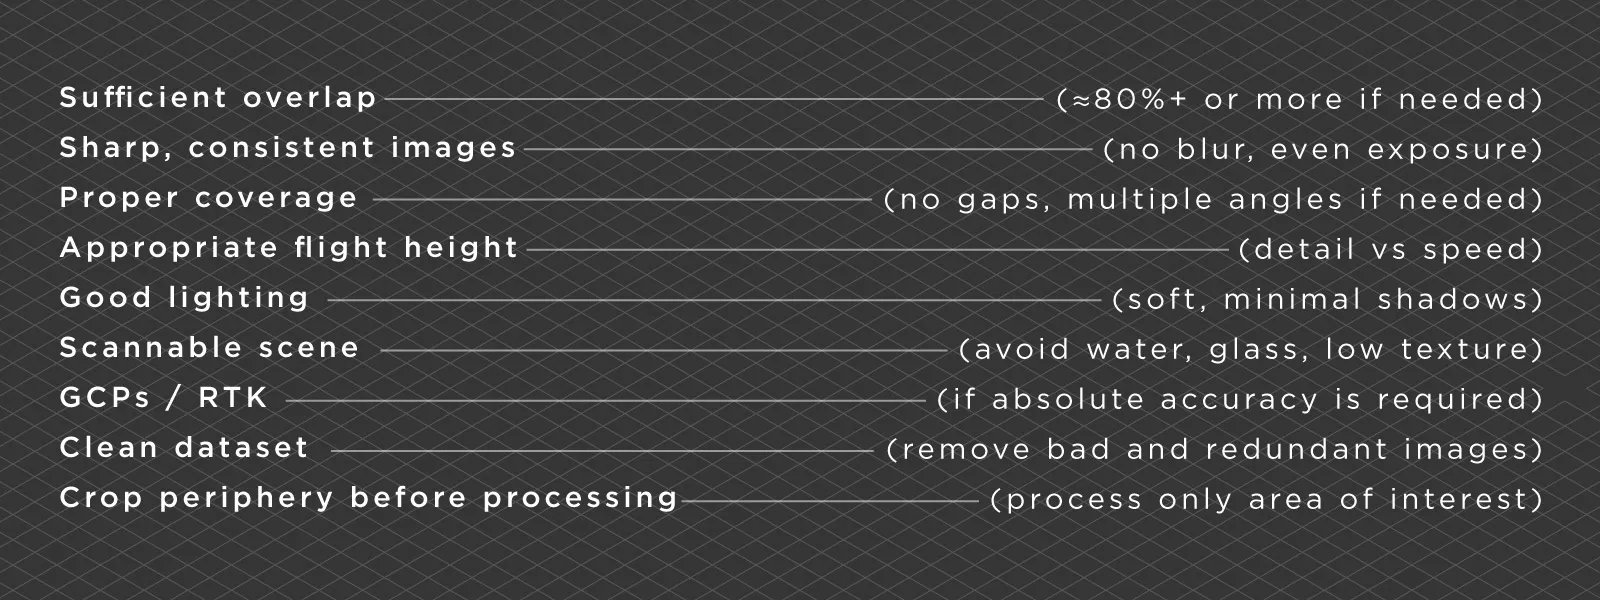
Photogrammetry Settings: A Practical Capture Checklist
This is a practical photogrammetry settings checklist built around that: the camera and drone settings I actually use, how to handle overlap and flight patterns, what to check before you start, and a cheat sheet at the end you can screenshot.
Ready to get started with your project?
You can choose from our three different plans or ask for a custom solution where you can process as many photos as you like!
Free 14-day trial. Cancel any time.