.svg@webp)
Photogrammetry Settings: A Practical Capture Checklist
 Lukas
Zmejevskis
Lukas
Zmejevskis

Most failed scans do not fail in the software, they fail at capture. Photogrammetry (building a 3D model from overlapping photos) rewards three things: good image quality, enough overlap, and full coverage of your subject. Get those right and almost any modern camera or drone will do the job. This is a practical photogrammetry settings checklist built around that: the camera and drone settings I actually use, how to handle overlap and flight patterns, what to check before you start, and a cheat sheet at the end you can screenshot.
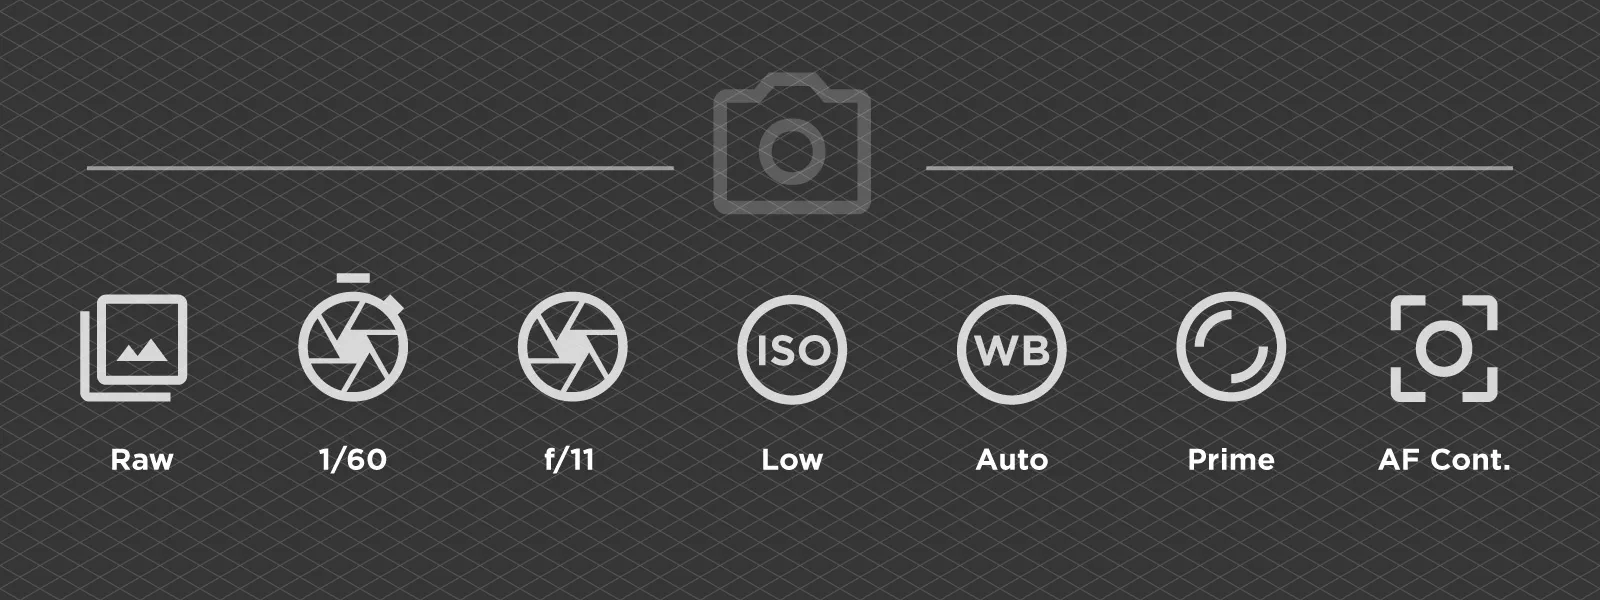
Camera Settings for Handheld Capture
Shoot RAW (the unprocessed file format that keeps the most detail) at full resolution. You can convert to JPEG later for processing. Shooting RAW is worth it with good smartphones and all cameras.
Your shutter speed needs to be fast enough to avoid motion blur. Handheld with a wide lens, 1/60th of a second is about the slowest you want; go faster if you are moving or using a longer lens.
Aperture controls depth of field (how much is in focus front to back). On almost any lens, f/11 is the sweet spot for deep, sharp focus, which is what you want for most terrestrial scans. Stop down further toward f/22 only for macro or small-scale subjects, where depth of field gets very thin. In dim conditions you may have to open up and let ISO or shutter make up the difference.
Keep ISO (the sensor's light sensitivity) as low as the light allows, since high ISO adds noise. Auto ISO while you control shutter and aperture is fine. White balance can stay on auto: if you shoot RAW it does not matter at all, and modern cameras handle auto well for JPEG too, especially in stable lighting conditions. Use continuous autofocus, refocus for each photo if your camera has no trouble focusing, to keep the subject sharp. Finally, use a prime lens if possible (a lens that does not zoom) where you can, never zoom mid-scan, which only provides unnecessary complications for the 3D reconstruction.
 Drone Settings for Aerial Capture
Same idea in the air. Preferably shoot RAW, at full, uncropped resolution. Avoid 16:9 photo modes, since they crop away pixels you paid for. If you do not want to or cannot shoot raw - that is fine, but you will need to be more careful with JPEG exposure and white balance.
Use shutter priority mode with a shutter speed of 1/250th or faster to kill motion blur from a moving drone. Auto settings are fine in good light. Do not fuss over aperture: many drones have a fixed one, and on the ones that do not, the default of around f/2.8 is fine, because at altitude everything is far away and in focus anyway. Prioritize shutter speed instead. Keep ISO low, and watch your bright areas so white roofs or pavement do not blow out (lose all detail). There is a whole post on managing that in photo dynamic range.
Leave white balance on auto here too. The one time it is worth fixing to a preset like cloudy or sunny is when you are flying a nadir mapping grid for an orthophoto, shooting JPEGs in changing light, where a consistent white balance keeps the color even across the whole map.
Set the gimbal (the motorized camera mount) straight down, called nadir, for mapping flat ground. To capture the sides of buildings or piles, tilt it to an oblique angle (the camera pointing diagonally down rather than straight down). About 45 degrees is a sensible default, while anywhere from 30 to 60 degrees is situationally useful depending on how tall and steep your subject is.
 Capture Geometry: Overlap, Height, Pattern
This is the part beginners underestimate. Overlap is how much each photo shares with the next one, and you want about 80 percent front and 80 percent side. Always 80/80. There is more on why in overlap between perspectives.
Flight height sets your GSD (ground sampling distance, the real-world size of a single pixel). Lower means finer detail but more photos and longer flights; higher covers more ground per battery with less detail. Let the detail you need pick the height, not the other way around. See ground sampling distance visualized.
For the pattern: orbit around isolated subjects like a roof, tower, or a single pile; fly a single grid over flat terrain and orthophotos; use a multi-grid for complex buildings and urban blocks.
Pattern matters most when you are after the sides of something. Oblique photos only help if you capture them from every side of the subject. A wall the camera never pointed at will not reconstruct, however many photos you have of the other faces. An orbit handles this on its own by circling the whole thing, which is why it is my default for anything with vertical sides. It is also why a double grid that only catches obliques with proper overlap from two directions never made much sense to me. Two sides is not coverage. If you want proper obliques, go all the way around with an orbit, or fly a multi-grid that actually hits all four sides.
 Settings for Automated Drone Flights
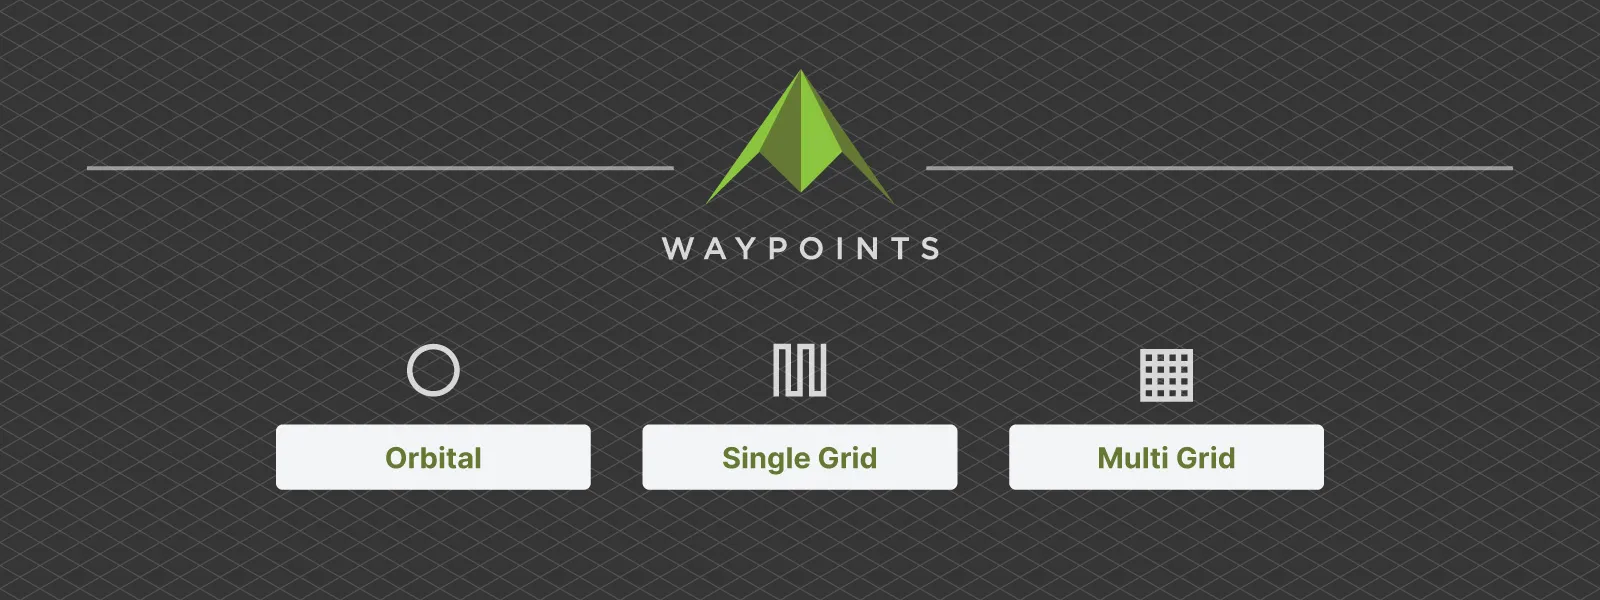
If you fly automated missions, a planner like Pixpro Waypoints gives you a few knobs to set. The full walkthrough is in the step-by-step guide, but the settings that matter are:
| Setting | What to use |
|---|---|
| Flight type | Orbital, single grid, or multi grid, chosen as necessary. |
| Area | Always draw a bit larger than your subject so the edges and surrounding ground reconstruct cleanly. Pixpro Waypoints has no separate buffer setting, so you draw wider; some other planners let you add a few meters of buffer automatically. |
| Overlap | 80 percent. |
| Height | Set from the detail you need. |
| Speed and photo interval | A faster interval lets the drone fly faster. Keep the interval matched to your speed so you actually hold that 80 percent overlap. |
| Photo format | Full resolution, RAW if the drone offers it. |
 Pre-Flight and Pre-Shoot Checklist
A quick run before you start. The flight-specific items only matter if you are in the air; the rest apply to handheld scans too.
| Category | Pre-capture check |
|---|---|
| Power | Batteries charged, including drone and camera batteries, with enough for the whole session. |
| Storage | Memory card inserted with enough free space. Fast cards help cameras that shoot long bursts. |
| Optics | Lens or gimbal glass clean. One smudge can ruin every photo in the set. |
| Firmware | Firmware up to date before starting the capture session. |
| Aerial GPS | For aerial capture, wait for a strong GPS or GNSS lock before any automated flight. |
| Aerial weather | Check the weather: low wind, no rain or fog, and watch out for harsh low-sun shadows. |
| Aerial rules | Check airspace and local drone rules. Sub-250 gram drones face fewer restrictions in most places. |
| Scene | Clear the scene where possible: move cars and people, and note anything that may change mid-capture. |
| Camera settings | Double-check photo settings before shooting: RAW, full resolution, and correct shutter speed. |
Photogrammetry Settings Cheat Sheet
| Setting | Handheld camera | Drone |
|---|---|---|
| File format | RAW preferable | RAW or JPEG |
| Resolution | Full | Full, uncropped, not 16:9 |
| Mode | Manual, auto ISO ok | Shutter priority |
| Shutter | 1/60s or faster | 1/250s or faster |
| Aperture | f/11 sweet spot, up to f/22 for macro | Default, around f/2.8, prioritize shutter |
| ISO | Auto or lowest | Lowest possible |
| White balance | Auto | Auto, or fixed cloudy/sunny for JPEG orthophotos |
| Focus | Autofocus, keep sharp | Autofocus |
| Overlap | 80/80 | 80/80 |
Conclusion
None of this is complicated once you have done it a couple of times. Settings are not magic, they just make sure the photos you hand the software are sharp, well exposed, and overlapping enough to line up. Get the capture right and the 3D model mostly takes care of itself.
Screenshot the cheat sheet, take it to your next scan, and adjust from there. The numbers above are sensible defaults, not laws, and a bit of experience will tell you when to bend them.
Photographer - Drone Pilot - Photogrammetrist. Years of experience in gathering data for photogrammetry projects, client support and consultations, software testing, and working with development and marketing teams. Feel free to contact me via Pixpro Discord or email (l.zmejevskis@pix-pro.com) if you have any questions about our blog.
Related Blog Posts
Our Related Posts
All of our tools and technologies are designed, modified and updated keeping your needs in mind
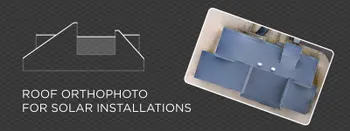
How to Make a Clean Roof Orthophoto for Solar Installations
Most roof scans are for a 3D model or a quick inspection. Every so often an engineer or a solar designer asks for something more specific: a true orthophoto of the roof, a straight top-down image they can measure and pull into their CAD workflow.
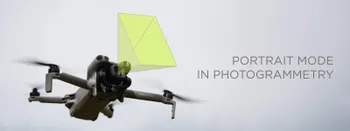
Portrait Orientation in Photogrammetry: When It Actually Helps
Is there anything to gain by scanning in portrait instead of the usual landscape? Sometimes, a little. But orientation is one of the least important decisions you make on a scan, and it is worth understanding why before you give it any more thought than that.
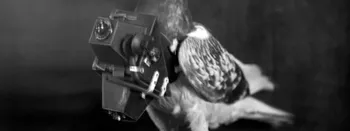
A Short History of Photogrammetry: From Balloons to Drones
Photogrammetry feels like something the drone era invented. It did not. The idea of pulling measurements out of photographs is roughly 170 years old, which makes it older than the airplane and a lot older than the computer.
Ready to get started with your project?
You can choose from our three different plans or ask for a custom solution where you can process as many photos as you like!
Free 14-day trial. Cancel any time.