.svg@webp)
Tower Inspection With Photogrammetry
 Lukas
Zmejevskis
Lukas
Zmejevskis
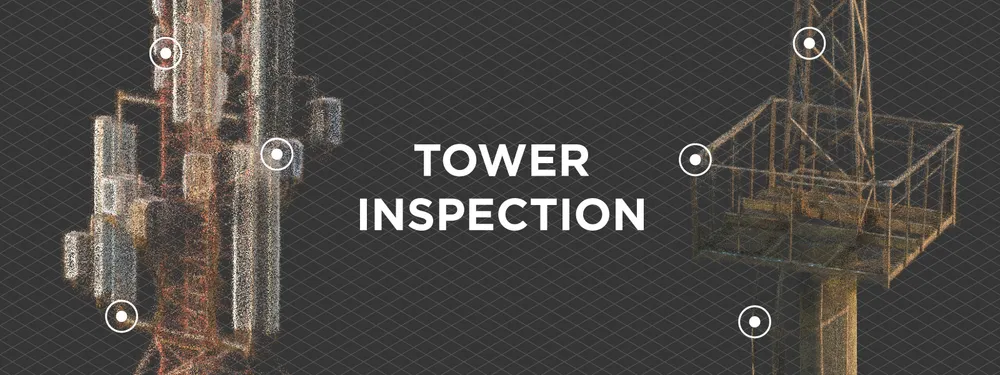
Inspection and photogrammetric capture is the perfect combination for data acquisition and analysis. Inspection is often done and associated with real-time work - looking around with the help of specific equipment and your eyes. Photogrammetric capture provides data that will remain as long as you need while putting everything in a 3D framework. It reduces the human factor errors of real-time inspection, allows secondary data analysis, and enables measurements. Let us talk about photogrammetric inspection basics.
Photogrammetry is Inspection
Photogrammetric data capture for 3D reconstruction - means making 3D models from photos. The essential difference from just taking pictures - is you need to take a lot of them while covering the entire subject. Unsurprisingly, such a workflow correlates perfectly with a thorough inspection.
Then, we process the photos in photogrammetry software like Pixpro and get a 3D scene. A 3D scene on a computer will never be as detailed or realistic as the real world, but it can be as good as the captured data. In this article, we will use one of the most difficult possible scenarios for 3D reconstruction - tower inspection.
Any tall structure is complicated to access physically - a job for professional tower climbers. Ideally, you want to send a climber when an issue is detected and identified. In combination with the availability of good quality flying cameras - drones, the first action to take when a problem arises, or even better, as a preventive measure - is aerial drone inspection.
You may find some issues by looking at the screen with the live feed from a drone or by taking a few pictures and then searching through them. But photogrammetry provides a much smoother workflow at the cost of spending a little more time flying and processing.
Our examples
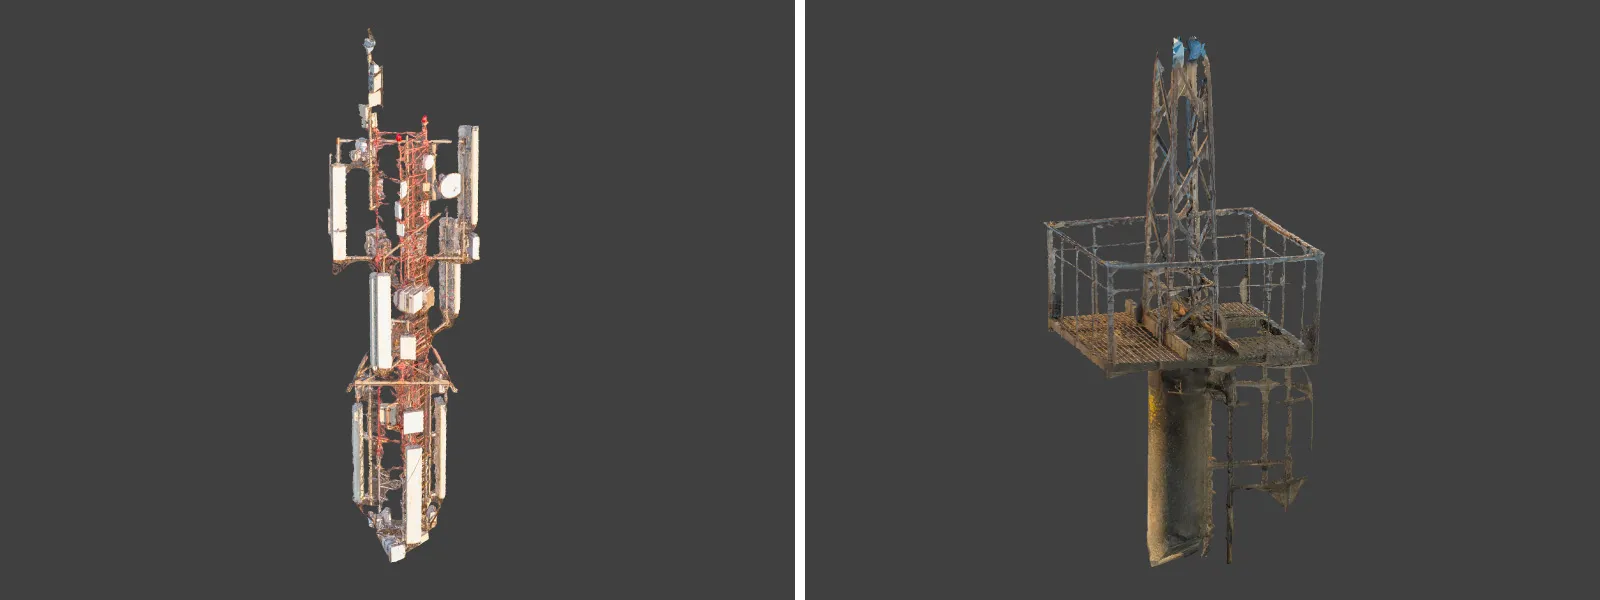
First, we chose a communications tower as an example. The tower has many devices hanging at the top and many objects to inspect. Our second example is a rusty lookout tower platform, an example of safety/demolition inspection. We took our photos using a DJI Mavic 3 Pro drone.
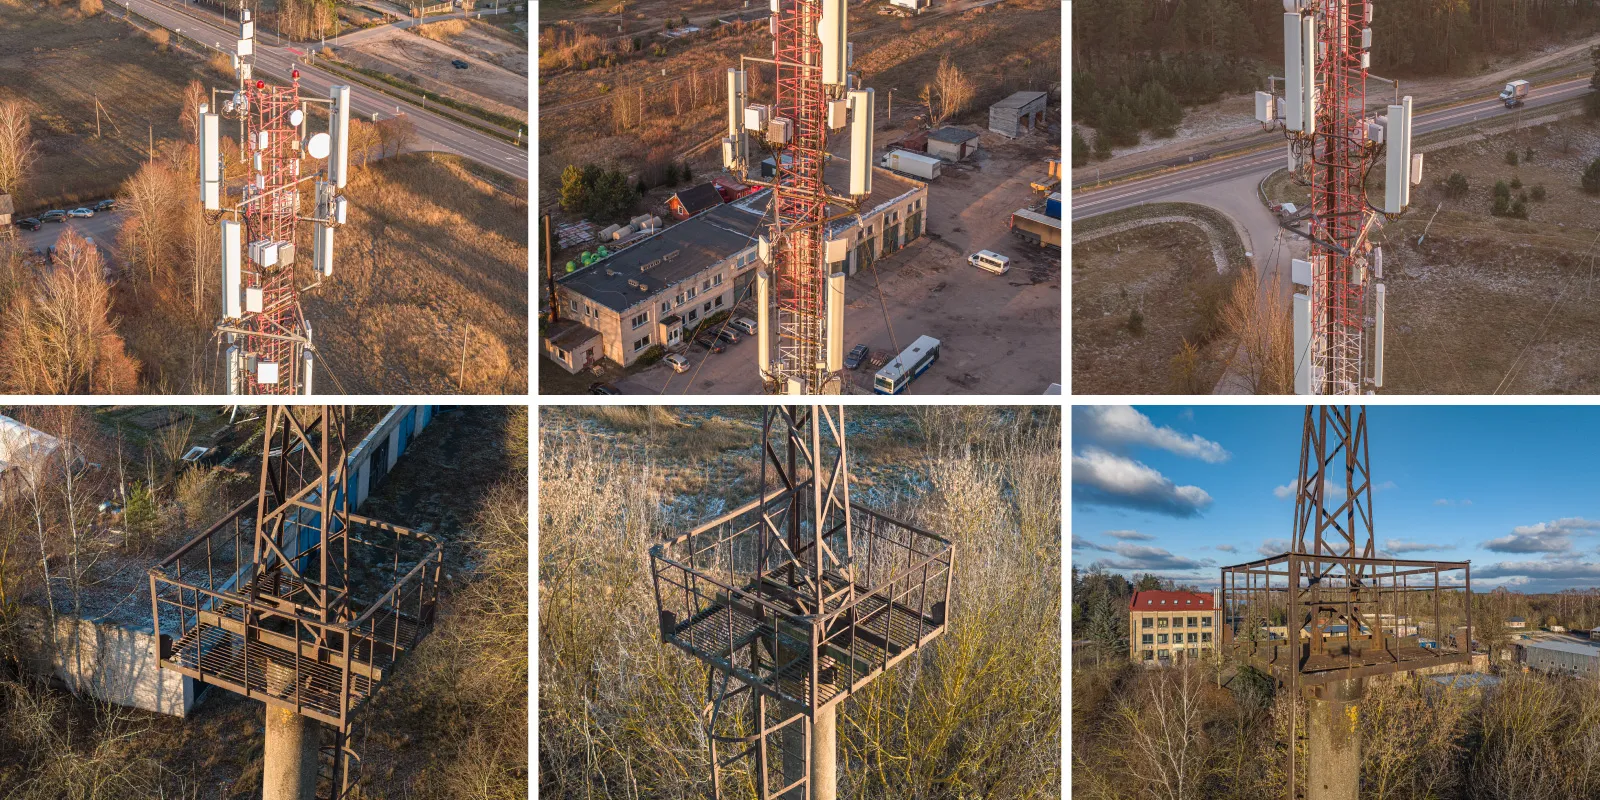
We shot in raw format to maximize photo quality and then processed the photos in Adobe Lightroom Classic. Raw conversion allows us to recover highlights, bring up the shadow detail, set the white balance for all images, and reduce chromatic aberrations. When we convert photos from raw format for photogrammetry - most often, our goal is to make them look as “realistic” as possible while maximizing technical quality.
Manual Flying vs. Flight planners
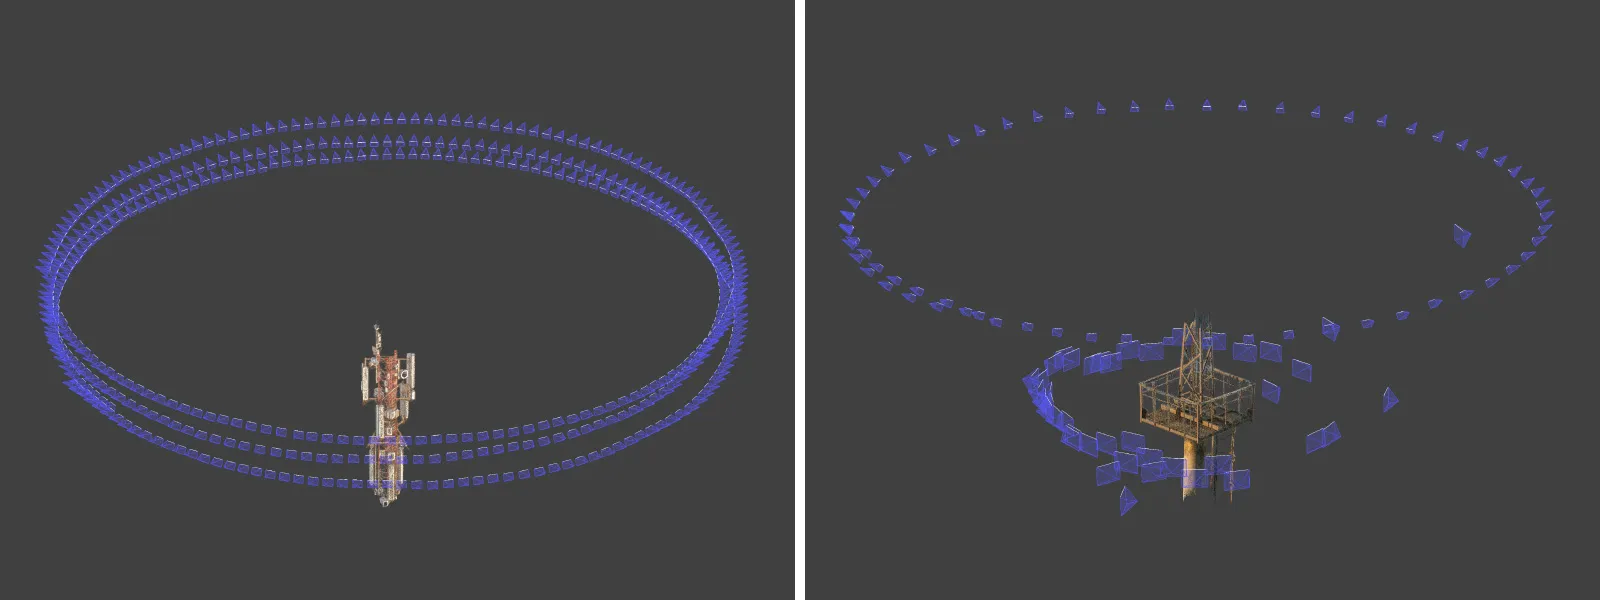
The Mavic 3 Pro does not support any flight planning. For our rudimentary examples, we used the features available through the default DJI FLY app. Hyperlapse shooting with circle tracking + manual flying and timed shot.
You can read more on how you can utilize hyperlapse modes for photogrammetry in our previous article. If you find that our case is similar to yours, and if our examples present sufficient data to achieve specific goals - you probably need not consider drones with automatic flight capabilities. In addition, although the tower as a subject is one of the more challenging to scan and reconstruct using photogrammetry - the flight itself can be pretty straightforward.
Main Challenges
The main challenges of photogrammetric tower inspection scanning are:
-
Towers are thin objects that do not take up a lot of pixels in a photo if you do not fly close. Short-proximity flights are always more dangerous.
-
Even if you get close - the resulting 3D models will not be aesthetically perfect.
-
Some towers may emit interfering electromagnetic radiation, further reducing safety.
-
Long and thin towers often have wire supports, which are hard to spot and pose a danger during flight.
-
Clean, new towers with white equipment modules do not have a lot of features for photogrammetric 3D reconstruction, further lėssening the appearance of 3D results.
-
Close proximity flights are more challenging to manage from an imaging standpoint. Relative movement between the camera and the subject is exaggerated, meaning you must care extra about the shutter speed selection.
DJI Mavic 3 Pro has a good quality 3X camera, which helps overcome many of these challenges. The same camera with the same capabilities is also present on a cheaper and more compact DJI Air 3 drone.
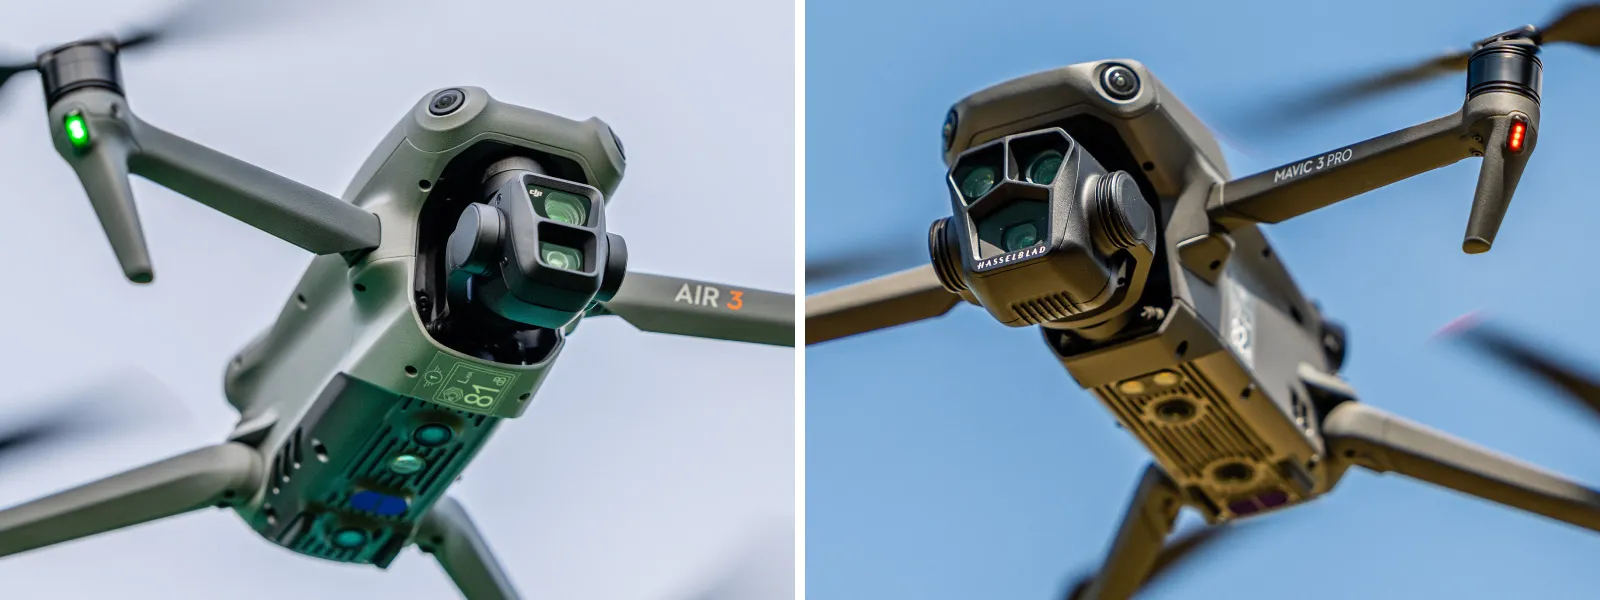
The 3X camera allows us to maintain a longer distance to the tower, avoiding the danger of getting too close or even feeling any effects of electromagnetic interference. However, we also made photos with the main wide-angle camera module for the rusty platform example to add some side detail. Obstacle avoidance was always on, and it “saw” the tower clearly during a simple manual flight around the platform.
Results
After processing the photos Pixpro, we got dense point clouds and 3D meshes to work with. As expected, these do not look perfect by any means.
However, we do not inspect the 3D models. The 3D scene is just a framework in which we can draw points and inspect them using projections. A projection will show the point you designated in each photo that the point is visible. We can zoom in to maximum photo resolution in the projection interface and see everything in full detail.
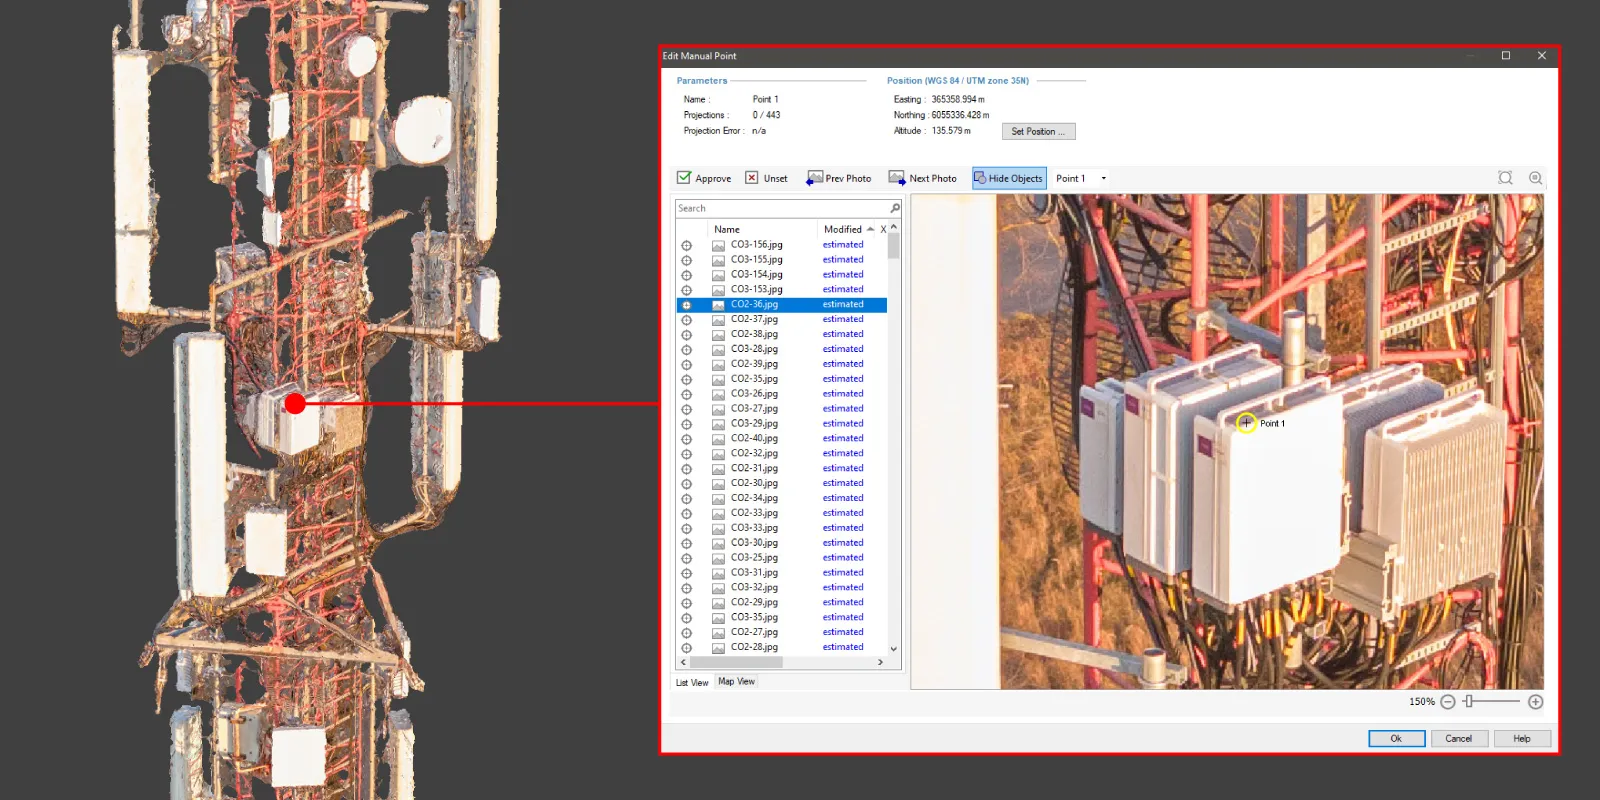
Points in Pixpro are discrete 3D objects and can have distinct features. You can designate some things as defects in one color or points of contention in others. We can also add text annotations to these points and export them into other software.
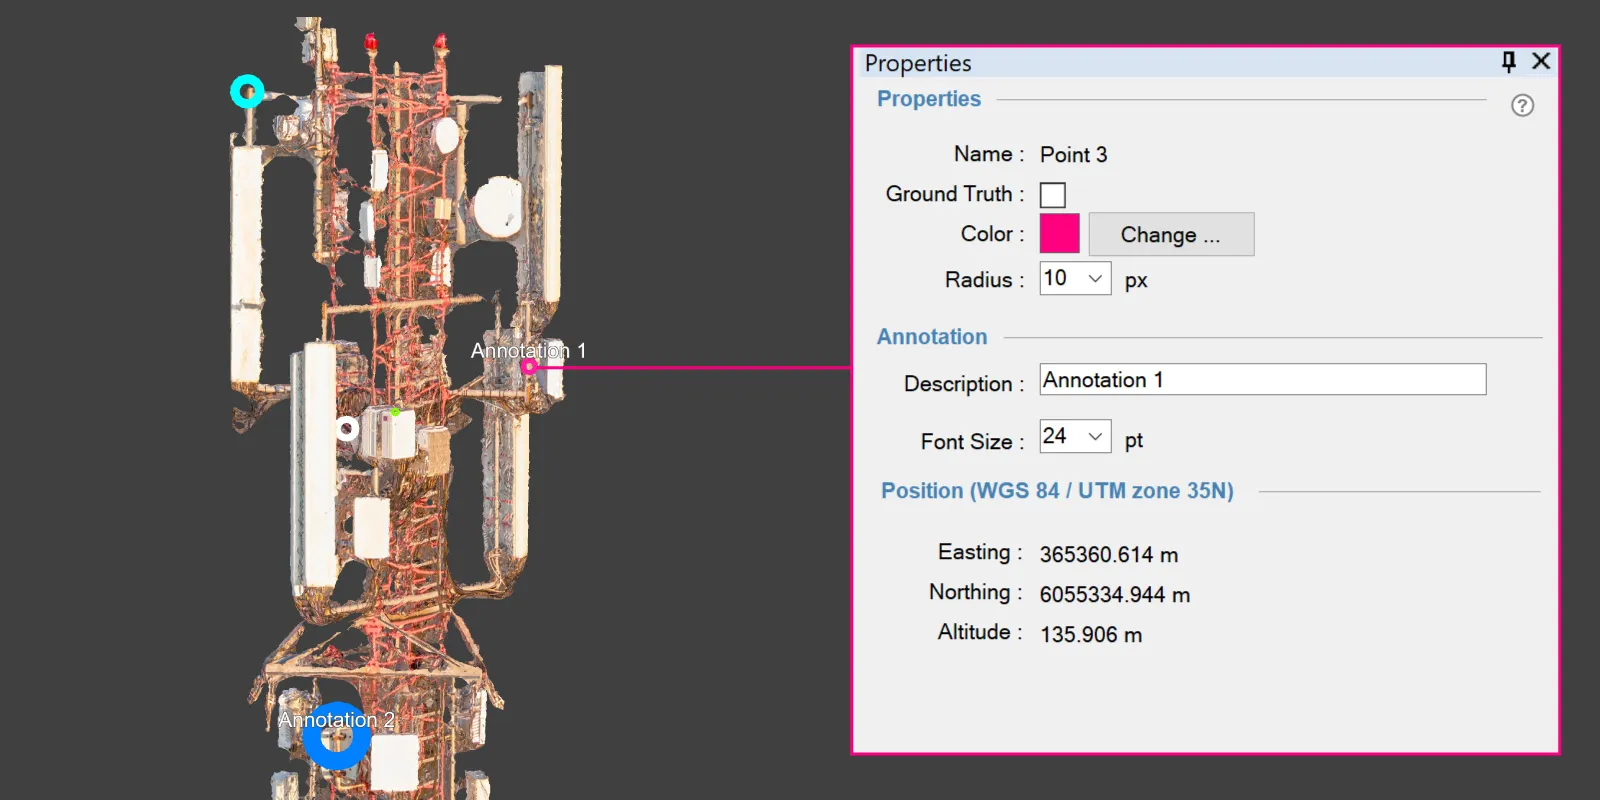
Anyone who will have this project can open and see all the designated points, inspect them for themselves, and add and save any changes they make. A fully collaborative effort is easy to achieve with people who never visited the towers physically.

Conclusion
Photogrammetry is the best approach to visual inspection. It provides high-quality, lasting data in the most convenient 3D environment. The examples we made for this article are relatively basic and the easiest way of getting a 3D reconstruction. We will explore more detailed inspection scans and best practices to achieve them in the future. But if you are not already using photogrammetry for tower inspection - in that case, the workflow described in this article is the easiest way to start.
Photographer - Drone Pilot - Photogrammetrist. Years of experience in gathering data for photogrammetry projects, client support and consultations, software testing, and working with development and marketing teams. Feel free to contact me via Pixpro Discord or email (l.zmejevskis@pix-pro.com) if you have any questions about our blog.
Related Blog Posts
Our Related Posts
All of our tools and technologies are designed, modified and updated keeping your needs in mind
DJI Lito X1 for Roof Photogrammetry: Solar and Inspection Use Case
Small drones are the best tool for residential and even commercial roof photogrammetry. They are quiet, attract less attention, are easier to fly fully within regulations, and they are affordable.
Large Property Photogrammetry – Real Estate Development Use Case
Property scans are one of the most common use cases, especially for our software. Pixpro is affordable and works well with RTK data and ground control points when necessary.

Handheld Photogrammetry Construction Interior Scan Use Case
Interior 3D scanning can be useful in a myriad of ways. In this article, I present a scan of a residential building construction site, with its foundation walls and roof almost complete. Further construction will require some visualizations and design according to “the fact.”
Ready to get started with your project?
You can choose from our three different plans or ask for a custom solution where you can process as many photos as you like!
Free 14-day trial. Cancel any time.