.svg@webp)
DJI Air 3S for photogrammetry? Automatic Flights with Pixpro Waypoints
 Lukas
Zmejevskis
Lukas
Zmejevskis
Key Takeaways
- The Air 3S camera is among the best fitted to any fixed-camera drone, which makes capture technique the limiting factor rather than hardware.
- Photogrammetry here works at three levels: fully manual, semi-automatic through hyperlapse or cruise control, and fully planned routes.
- Automated grids reach the drone by replacing the route file on the DJI RC2 controller, a workflow shared with the Mini 4 Pro and Air 3.
- Interval limits follow resolution: 5 seconds is the floor at 50 megapixels, while 12 megapixels allows 2 or 3 second capture.
- Pixpro Waypoints supplies the flight path and speed only, so the camera interval must be set to match or overlap becomes uneven.
In the previous article, I reviewed the latest DJI drone - the Air 3S. It does everything it is supposed to do and does it well. The camera is excellent, possibly the best on the market for any fixed-camera drone. And indeed, the best of anything of this size and price. And a good camera means we have to talk about photogrammetry. Because with a great camera comes a great 3D scanning… responsibility. Let me overview the photogrammetric capabilities of this drone and tell you why Pixpro Waypoints is a great tool.
Manual Photogrammetry
Level one is always manual photogrammetry. You can do manual photogrammetry with any drone or camera. It requires experience, a bit of know-how, and more focus from the camera wielder. Manual photogrammetry is a way of saying you have to do everything yourself. In aerial photogrammetry, it means flying manually and triggering each photo by hand.
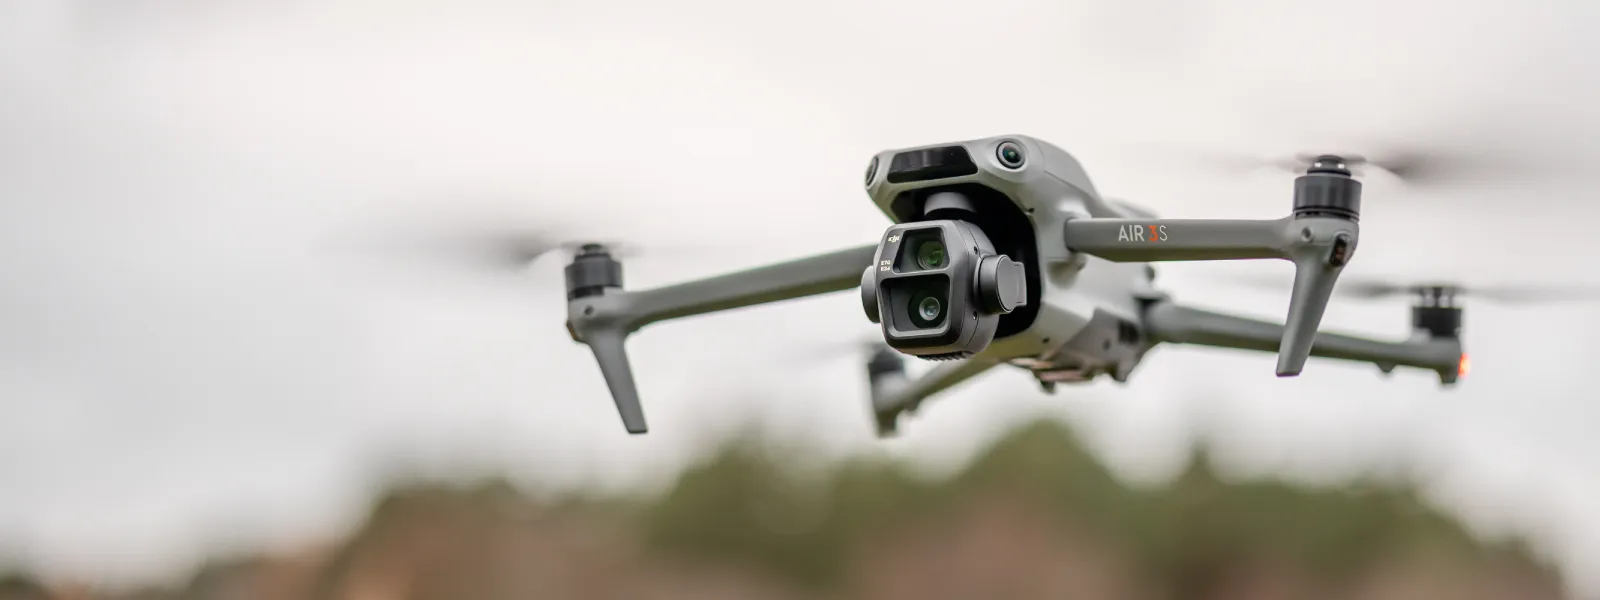 Manual photogrammetry certainly has its place, like adding missing details, flying in more precarious situations, or doing something quickly or spontaneously. But it does not change depending on which tool we use. So, Air 3S works just fine for manual capture.
Semi-automatic Photogrammetry
DJI Air 3S has the latest tracking implementation, which is almost perfect for static subjects. Just draw a box around a thing, and it will track it. Hyperlapse circle mode is the best way of doing orbits if you have nothing planned or just want to do a quick impromptu scan. To read more on how we use hyperlapse modes for photogrammetry, check out our hyperlapse capture guide:
Using cruise control with Timed Shot could also be considered semi-automatic photogrammetry, but I think for most people, these techniques are replaced with automated flying with Pixpro Waypoints.
Pixpro Waypoints
Pixpro Waypoints is a web service that allows you to take advantage of a workaround we cooked up. It works by having you replace an existing waypoint plan with one generated by the service. The general workflow is as follows: create as many placeholder waypoint flight plans in the fly app - connect your phone or remote controller to another device - and replace the files with the ones you create with Pixpro waypoints.
 For more detailed information about various Pixpro Waypoints features and workflows, check out these articles:
Pixpro Wayoints - Automated Photogrammetry Flights for Newest DJI Drones
Multi-battery Scans with Pixpro Waypoints
Pixpro Waypoints v2 - Orbitals and Height Offset for DJI Drones
Multiple Overlapping Orbits - Pixpro Waypoints
Most Asked Questions - Pixpro Waypoints
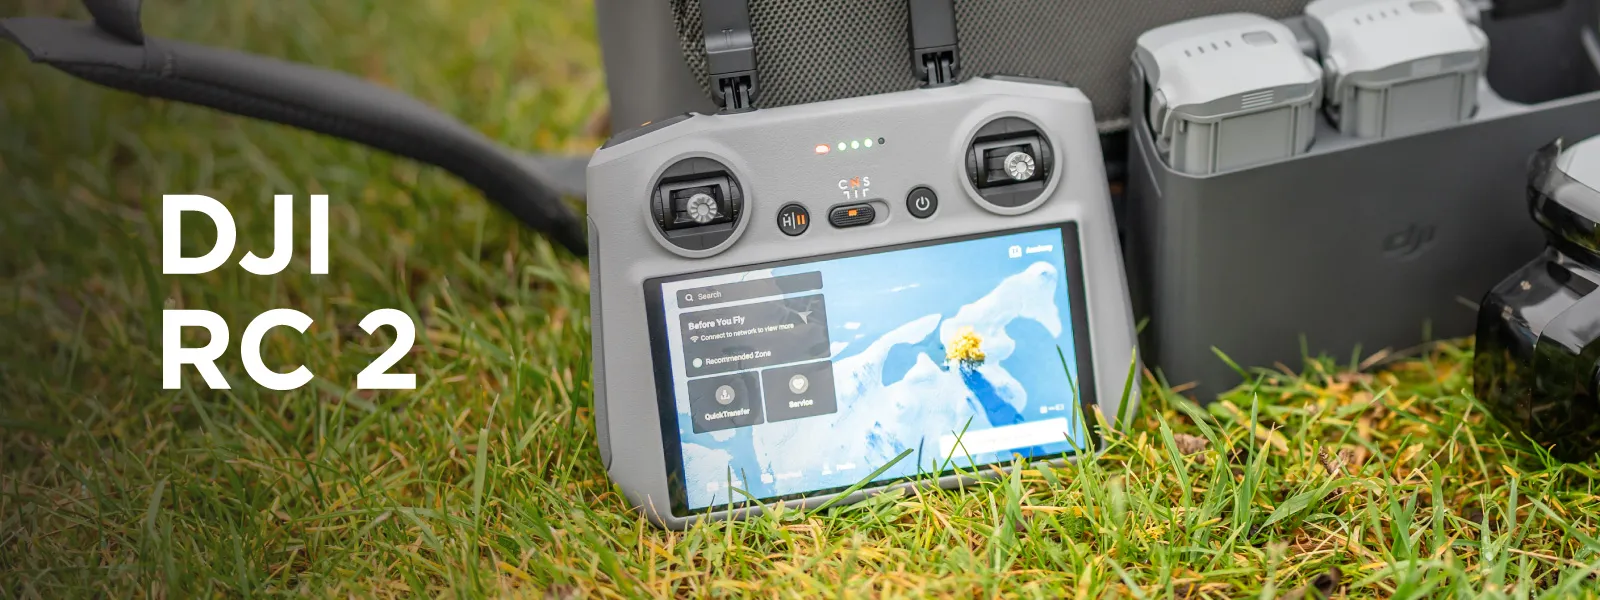
We got Air 3S with the DJI RC2, so let's go over the workflow in more detail when using a DJI RC2. This will apply to any drone which can use the RC2. (so Mini 4 Pro and DJI Air 3 and 3S at the time of writing) And the workflow is as simple as it gets:
-
Create any placeholder waypoint flight on the remote. You need the drone to be on and connected, but you can do this at home because you do not need to fly. Tap on waypoints, go to the map, tap a few waypoints on the map, and exit the waypoint interface. Upon exit, choose to save and exit, and your plan will be saved and appear in the list of saved plans.
-
Choose a different device to connect your remote to. A laptop, PC, Mac, tablet, or phone will work. Connecting to Android devices may require some tinkering. You may need to experiment with the order in which you connect both devices and explore Android notifications to access the internal storage on the RC2.
-
Go to Pixpro Waypoints, plan your flight, and download it to that device.
-
Replace the placeholder file with the one from the Pixpro Waypoints service, which gives the same names as the original placeholder file.
The location of the waypoint files on the DJI RC2 is the same as that on all Android devices:
Internal shared storage\Android\data\dji.go.v5\files\waypoint.
When you connect the RC2 with a USB cable, it will automatically go to filer transfer mode, which is correct for our purposes. You do not need to choose anything on the remote.
Now, you can go to the location and execute the waypoint flight. Just choose it from the list and tap next to begin. However, the waypoint flight is only the flight path and speed; you need to trigger photo capture yourself. So choose a timed shot as your photo capture mode and select the time interval you selected while planning in the Pixpro Waypoints interface. If you do not do that, the overlap will be all over the place. Start the interval capture when the drone starts flying the waypoint path you planned. If you are doing an orbital scan, the camera orientation is up to you - so you will need to set that as well.
When the drone completes the waypoint flight path, stop the capture. Remember that image quality is the be-all and end-all, so have your exposure dialed in before capture. We recommend using shutter priority mode and a shutter speed of 1/400th of a second or faster to avoid motion blur. You can rely on auto mode if you are in bright midday conditions.
Now comes the DJI Air 3S-specific part. This drone can shoot 50 megapixels with its primary camera. Yes, 50-megapixel images have more detail than 12-megapixel ones, but that comes at a cost. The fastest interval you can shoot photos in 50-megapixel RAW or JPEG formats is 5 seconds. With 12-megapixel RAW or JPEG photos, you still can choose 2—or 3-second intervals.
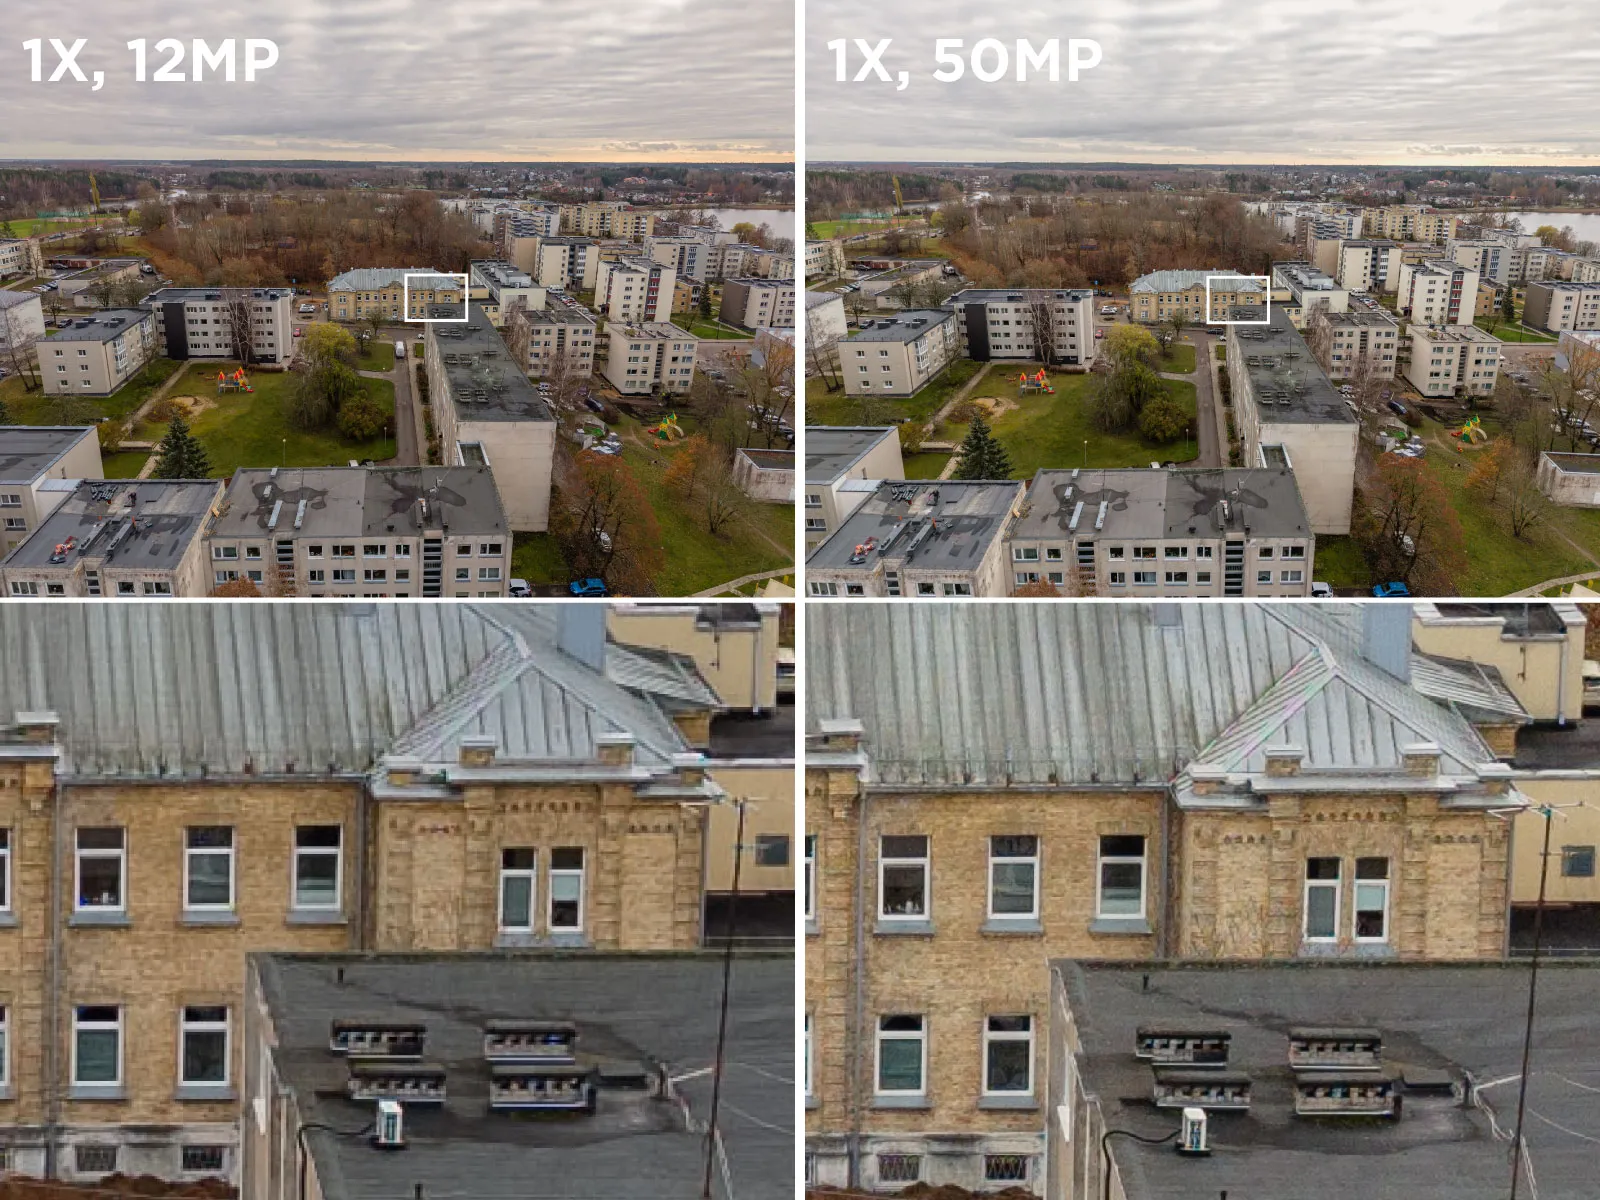 In most cases, we use 2—or 3-second intervals because 5 seconds or more would be slow. Slow means long flights and less coverage per battery, but if these are not the issue and you want to try 50-megapixel photos, it's no problem. Remember to select the 5-second interval in Pixpro waypoints when planning the flight.
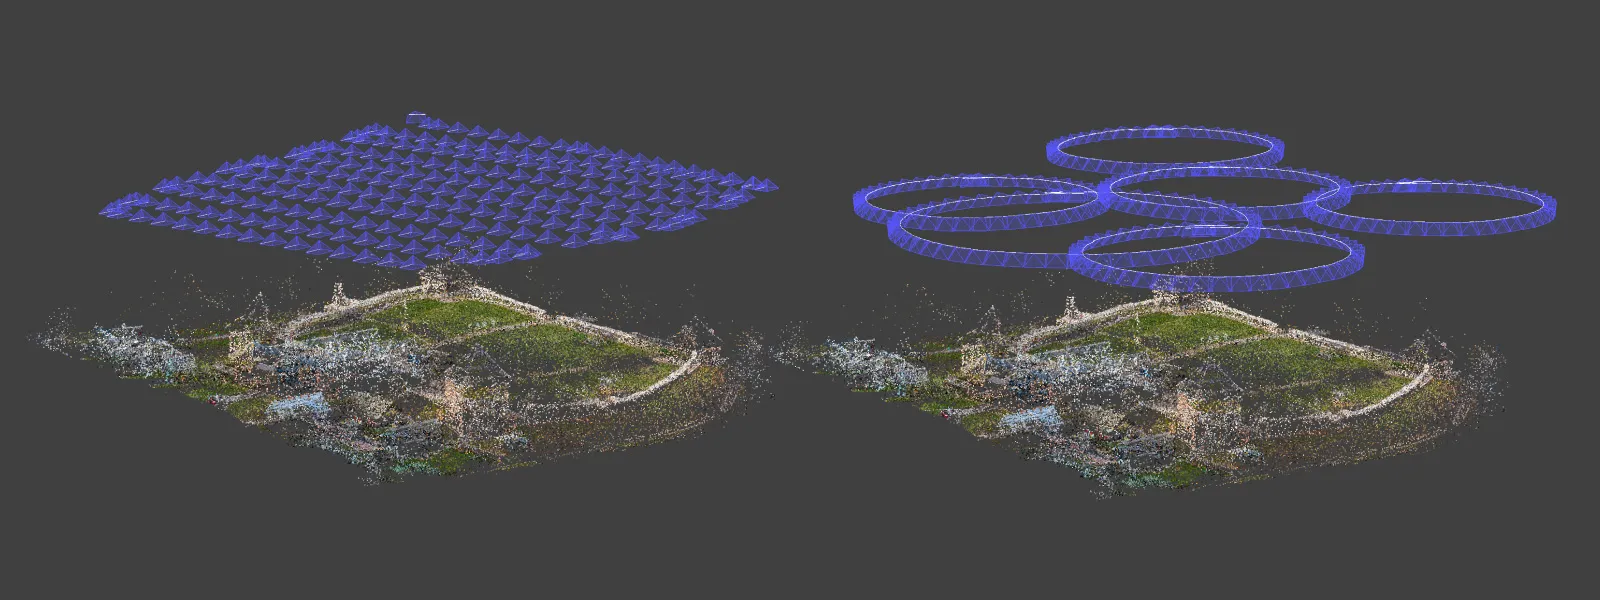 Pixpro Waypoints Example
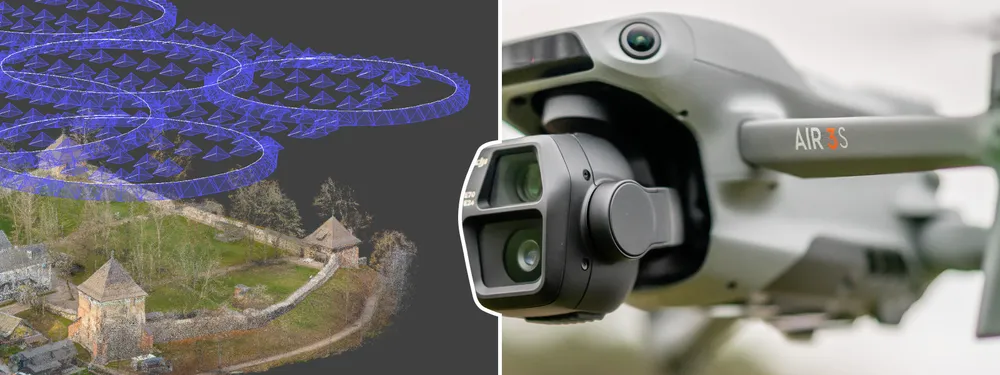
We made an example combining seven flights: six orbitals and a nadir single grid. Orbital flight plans were captured with the camera pointing at a 45-degree angle. Our subject is a peninsula castle with some towers, a museum, and an enclosed territory. Combining orbitals with nadir scans is one of the most efficient ways of getting a good-quality scan of a medium-to-large territory.
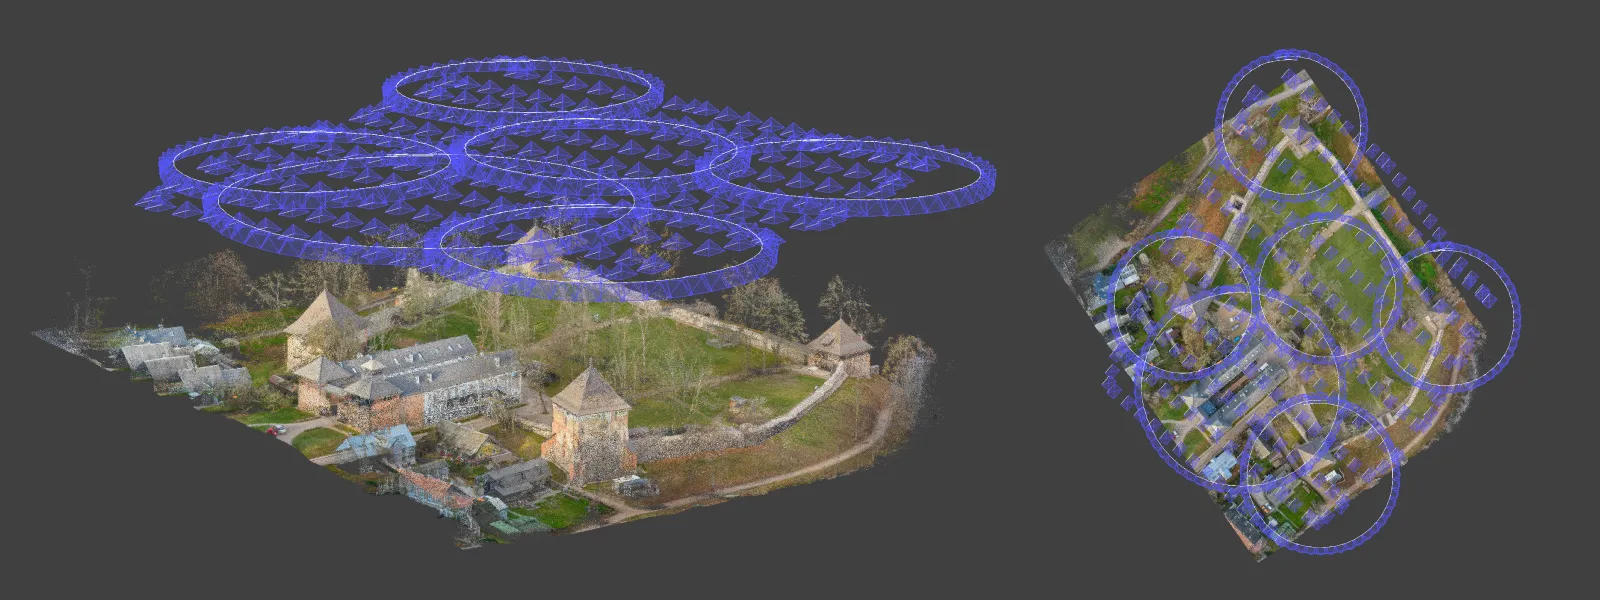 If we wanted even more quality, we could do a multigrid scan from the Pixpro Waypoint service. This would provide 4 oblique grids from all sides, which gives great detail but requires more time and produces more photos. Or I could have combined even more orbitals and even manual passes. The choice is always there.
 Conclusion
As a consumer drone, DJI Air 3S does not have access to any SDK app development for automated flying or enterprise-grade remote controllers with the DJI Pilot app, but we still have the next best thing. With Pixpro waypoints, you can use the fundamental flight plans for aerial photogrammetry, and with a bit of knowledge, DJI Air 3S becomes a great tool for photogrammetry. Combine that with GCPs for serious use cases, and you will start wondering why bloated enterprise drone premiums even exist.
Frequently Asked Questions
How do you fly automated photogrammetry missions with the DJI Air 3S?
Plan the route in Pixpro Waypoints, then transfer it onto the DJI RC2 controller by replacing the placeholder route file. Create an empty plan in DJI Fly first so the file exists, connect the controller over USB, and swap in the downloaded file using the same filename. The drone then flies the path automatically while the camera fires on its own interval.
Which drones work with Pixpro Waypoints?
The Mavic 3 series, the Air 3, the Air 3S, the Mini 4 Pro and the Mini 5 Pro are all supported through the route-file method. The requirement is a compatible DJI controller rather than the airframe itself, which is why the same workflow carries across several very different drones in the current lineup.
Why do photos need a separate Timed Shot interval?
Because the route file carries the flight path and speed only, not camera commands. If Timed Shot is left unset, or set to a different interval than the plan assumes, spacing between photos drifts and overlap becomes uneven across the grid. Matching the interval to the planned speed is what keeps coverage consistent from one pass to the next.
How much does Pixpro Waypoints cost?
Access comes with a Pixpro subscription, which starts at five euros per month on the Solo plan and rises with the number of photos each project needs. A free fourteen day trial covers the full feature set, so a complete mission can be planned, flown and processed before committing to anything.
What shutter speed should you use for aerial photogrammetry?
Use shutter priority at 1/400th of a second or faster. Anything slower risks motion blur from the drone's forward movement, and blurred frames weaken feature matching during reconstruction far more than a slight increase in noise does. Auto mode is adequate in bright midday conditions where speeds stay high anyway.
Photographer - Drone Pilot - Photogrammetrist. Years of experience in gathering data for photogrammetry projects, client support and consultations, software testing, and working with development and marketing teams. Feel free to contact me via Pixpro Discord or email (l.zmejevskis@pix-pro.com) if you have any questions about our blog.
Related Blog Posts
Our Related Posts
All of our tools and technologies are designed, modified and updated keeping your needs in mind
Shutter Speed, ISO and Motion Blur in Drone Photogrammetry, Part 2: The Roof Test
This is the practical part. Same roof, same orbit, seven times, from high ISO and a fast shutter down to low ISO and a shutter so slow it has no business producing a 3D model.
 Pixpro Team
Pixpro to Gaussian Splatting: How to Export Your Project to Postshot
Gaussian splatting is no longer a curiosity. People are using it for walkthroughs, marketing visuals, virtual environments, and increasingly as a pretty companion to a scan they already flew.
Pixpro Team

The Top 10 Pixpro Blog Articles So Far
We have been publishing on this blog every week for years now, on everything from stockpile volumes and coordinate systems to scanning a cake. So it seemed like a good time to look at the numbers and see which posts people actually read, rather than which ones we enjoyed writing.
Pixpro Team
Ready to get started with your project?
You can choose from our three different plans or ask for a custom solution where you can process as many photos as you like!
Free 14-day trial. Cancel any time.