.svg@webp)
Observation Tower Inspection – Dual Lens Hyperlapse
 Lukas
Zmejevskis
Lukas
Zmejevskis
Orbital flights are fundamental in photogrammetric scanning, especially when working with isolated structures such as towers, chimneys, monuments, or small buildings. They allow for detailed, wrap-around imagery of a subject using relatively simple flight paths and minimal setup. But how are these orbits actually performed?
There are only a few practical ways to approach orbital scans:
– Full manual flight using the control sticks and interval photo capture
– Fully automated orbits using Pixpro Waypoints
– And a hybrid approach—hyperlapse tracking
This article focuses on that third method. Hyperlapse tracking may not sound like the most obvious choice for photogrammetry, but it has been one of the most flexible and effective tools for rapid field work. In this post, I will present a short use case where I utilized the circle hyperlapse mode of a DJI Mavic 4 Pro to perform a quick 3D scan of an observation tower's roof using two camera modules without any preplanning.
The process is simple, fast, and effective. Below is a breakdown of how it was done.
Hyperlapse for Photogrammetry
The hyperlapse function found in DJI drones is originally intended for producing cinematic timelapse footage. It allows the drone to fly smoothly while capturing photos at regular intervals, which are then stitched into a timelapse video. However, those same interval photos—RAW or JPEG—are fully usable for photogrammetric reconstruction (if done correctly).
I often rely on the circle hyperlapse mode, which allows the pilot to select a subject in the DJI Fly app and have the drone automatically orbit around it while taking photos. This gives us an orbital flight without needing to preplan Pixpro Waypoints in advance, making it ideal for spontaneous capture, especially when time is limited or the subject is unknown beforehand.
In situations involving towers, antennae, or rooftop structures, circle mode provides the flexibility of manual flight with the smooth movement and consistent intervals of an automated system. Since the drone handles the circling and photo timing, the overlap is generally sufficient, as long as the pilot ensures that the capture interval and flight speed produce a good number of photos per one orbit. My rule of thumb is to get at least 40 photos for each orbit, more if orbits are of larger diameter.
Another benefit is compatibility with both lenses on multi-camera drones like the Mavic 4 Pro. This provides access to wide and telephoto imagery of the same subject during a single field session, without changing drones or repositioning.
Data Capture
Capturing an orbital scan with hyperlapse is relatively straightforward once the flight behavior is understood.
-
Select Hyperlapse > Circle mode from photo capture modes in the DJI Fly app.
-
Select the subject's center by drawing a square around it—in this case, the roof of an observation tower.
-
Adjust direction, interval, and speed as needed.
-
Select the original RAW or JPEG files to be kept. If you do not do this, the drone will generate a timelapse video and discard the photos, which is the opposite of what we need.
-
Launch the orbit and monitor the drone's position manually.
-
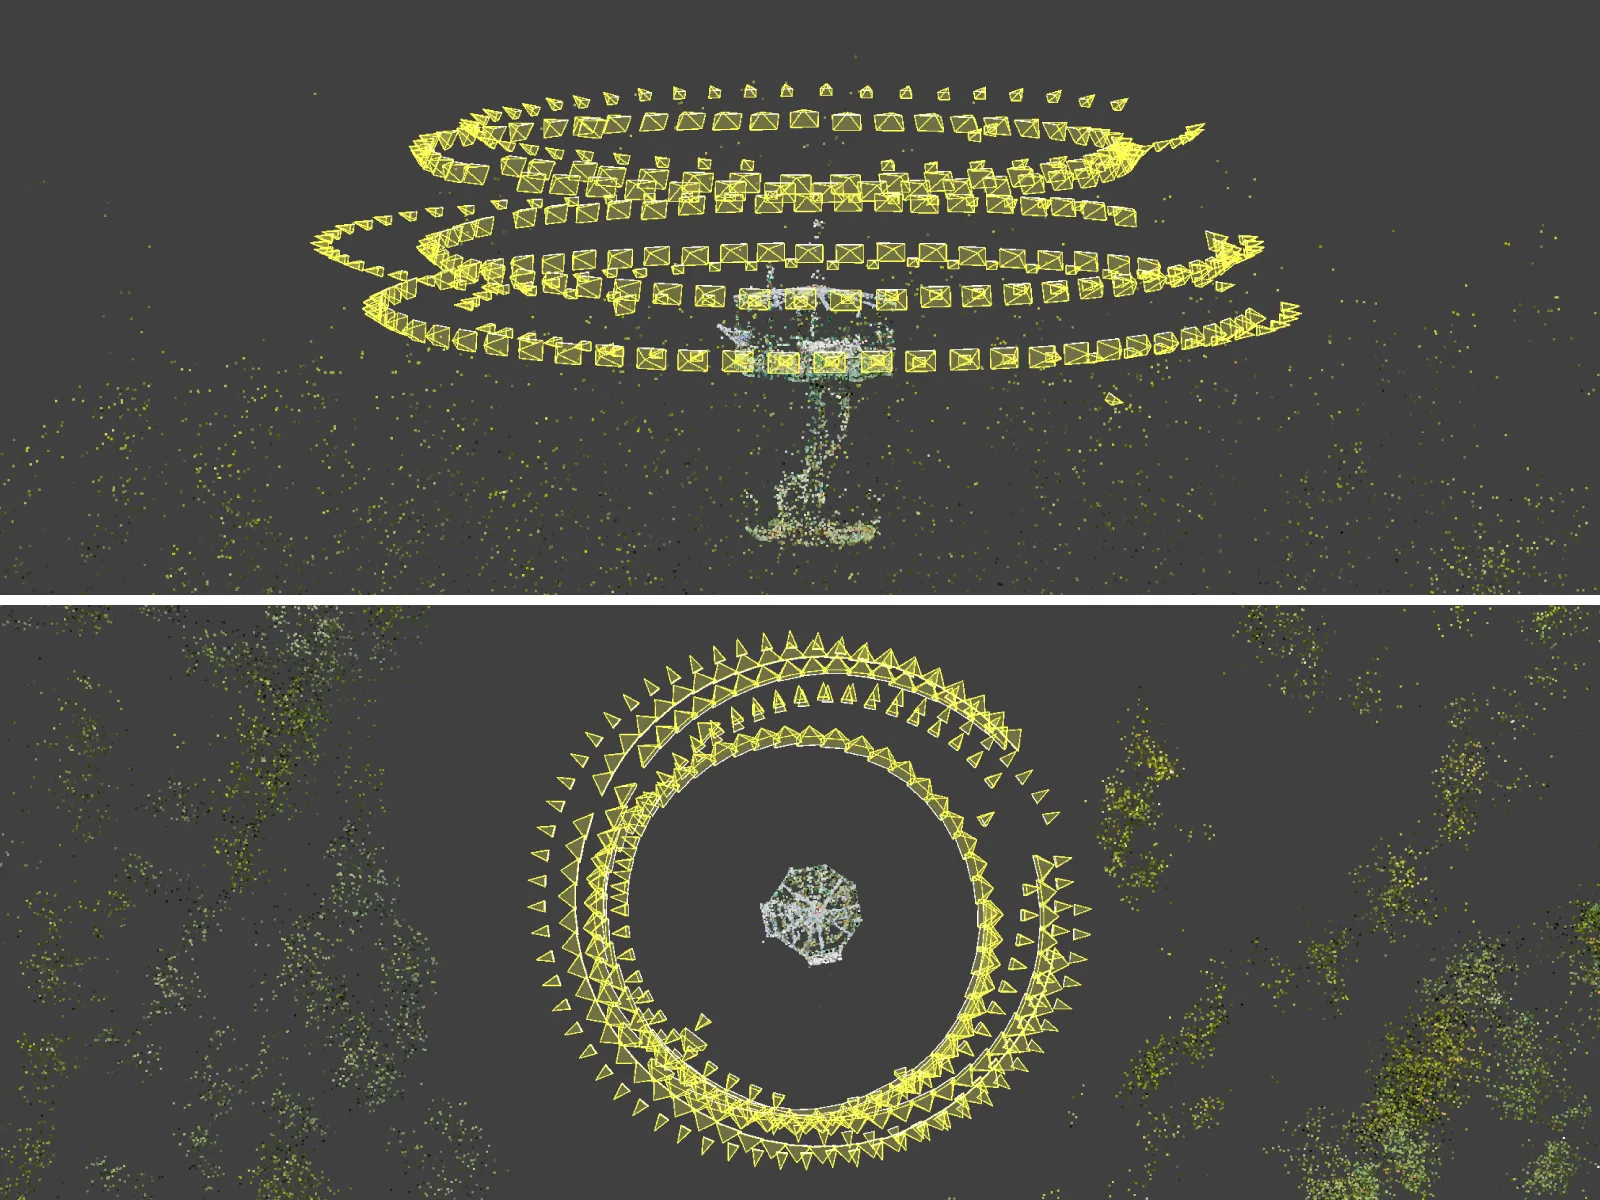
Stop the hyperlapse capture when a full 360-degree circle has been completed. If you overshoot and make a spiral, that is fine; there is no need to worry about that now.
With hyperlapse scans, experience makes a difference. Unlike Pixpro Waypoints, which always provides a good amount of photos and full circle coverage, hyperlapse mode offers no estimation of how many images will be in an orbit. The pilot must visually monitor the scan's progress, seeing how many photos have already been taken when a full orbit is complete. And if we notice that a single orbit contains clearly fewer than 40 photos, we need to slow down the flight speed. We never need a precise number of photos in orbitals, but this will definitely take some trial and error to get used to.
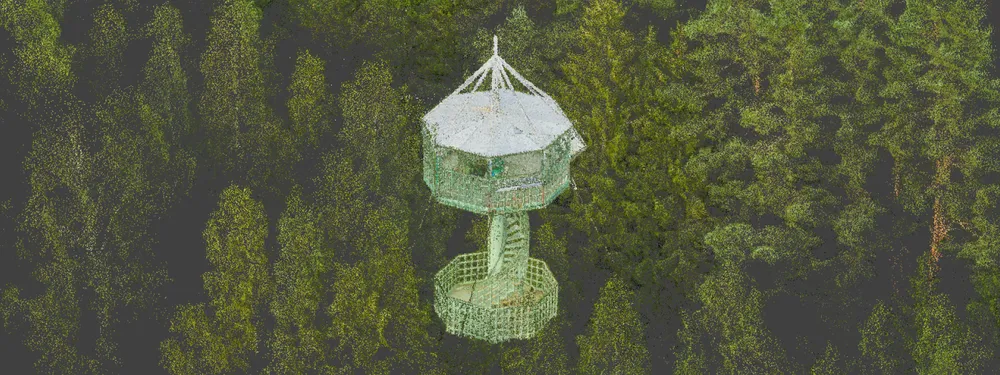
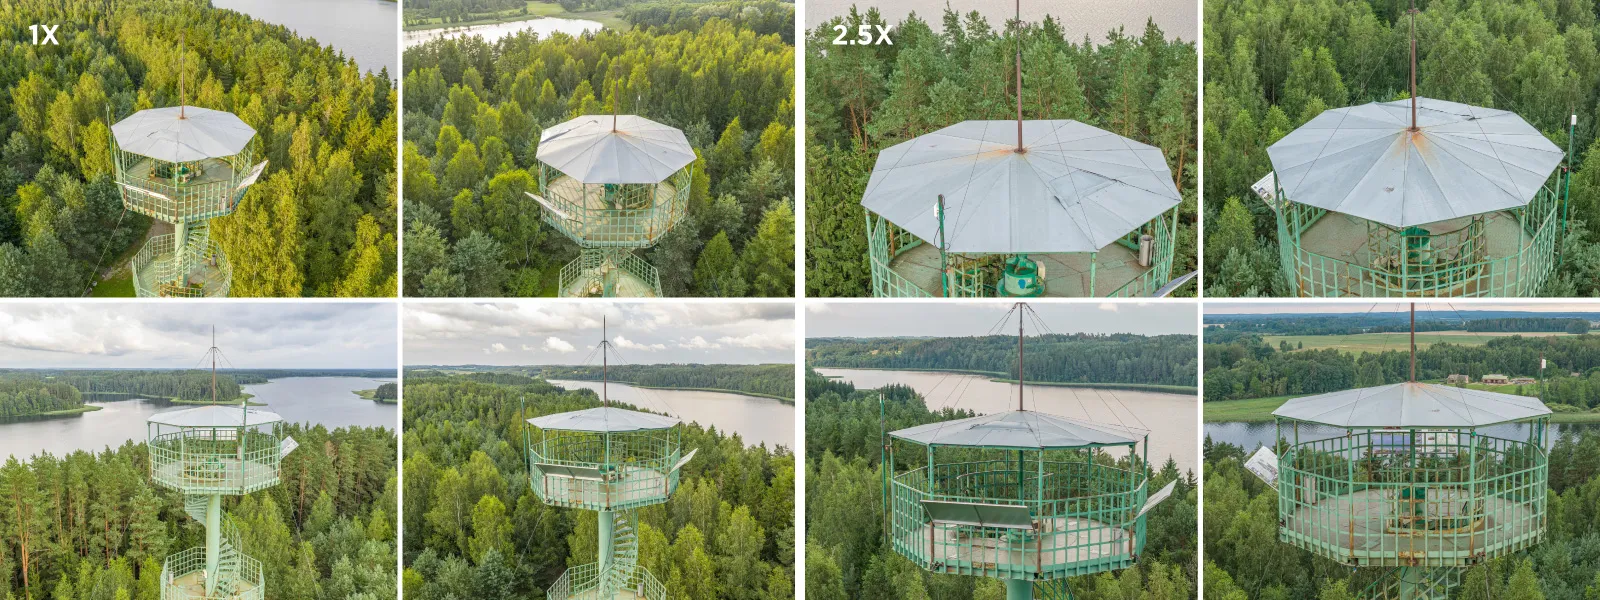 For this scan, I performed several hyperlapse orbits around the tower's top section, using the 1x wide-angle lens and the 2.5x telephoto lens. The objective was to create a usable 3D model of the roof area, which is not easily visible from the ground or inner stair access.
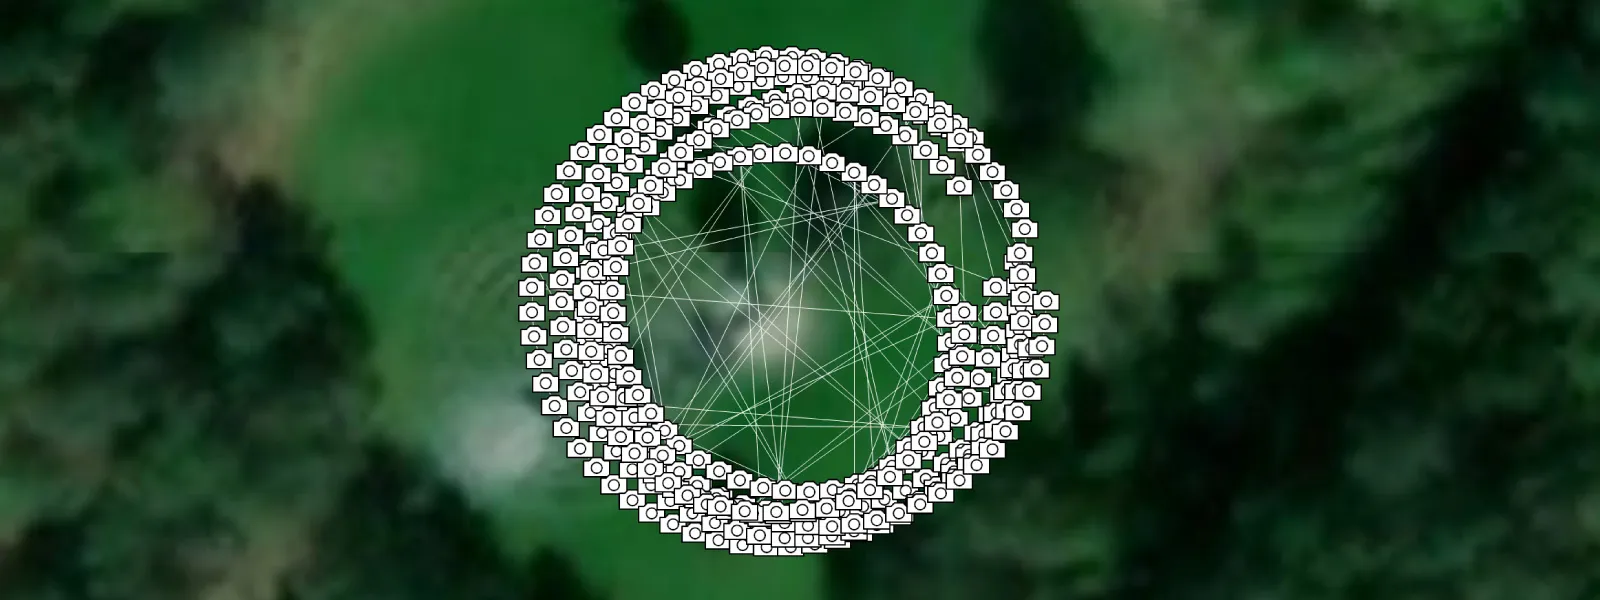
I captured 357 RAW images. The initial reconstruction succeeded without alignment issues, so I did not filter or remove any pictures. Usually, filtering near-duplicate photos can help reduce processing time and avoid errors, but these hyperlapse sets rarely provide precisely duplicate images.
 Data Processing
After the flight, I transferred the RAW images from the drone to a PC. Hyperlapse photos are saved as a separate batch, making them easy to identify.
I processed the RAW images using Adobe Lightroom Classic, applying mild global adjustments as always, and then exported the set to JPEG format. Any RAW processing software would work here.
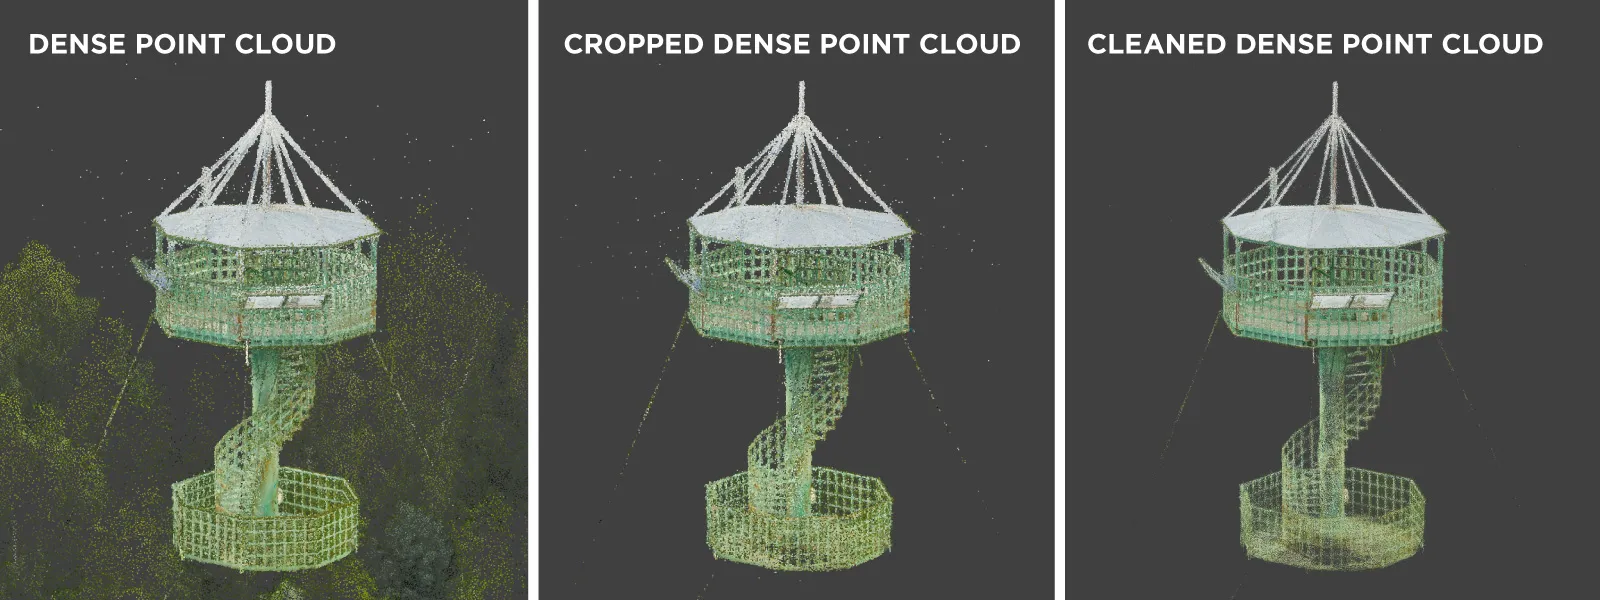
The JPEGs were then imported into Pixpro Photogrammetry, and a standard reconstruction pipeline was executed:
-
Sparse point cloud generation
-
Dense cloud generation
-
Mesh and texture creation
Processing was smooth from start to finish. The dataset did not produce alignment errors, which is typical for orbital imagery with consistent spacing and coverage. All photos were processed as a single batch; there was no need to separate the pictures according to hyperlapse sets or camera modules.
 Results
It is essential to set realistic expectations when scanning structures such as this tower. The construction consists of thin metal beams, open mesh platforms, and lightweight railing—none of which are ideal for photogrammetric reconstruction. Due to their small cross-sectional area and semi-transparency, these elements tend to produce sparse or noisy data.
 However, this scan's target was the roof, which is both solid and difficult to observe from the ground. In that regard, the model delivered sufficient data for visual inspection.
The most satisfying part of the workflow was how fast and straightforward the process was: a five-minute orbit, a basic RAW export, and a one-click reconstruction in Pixpro.
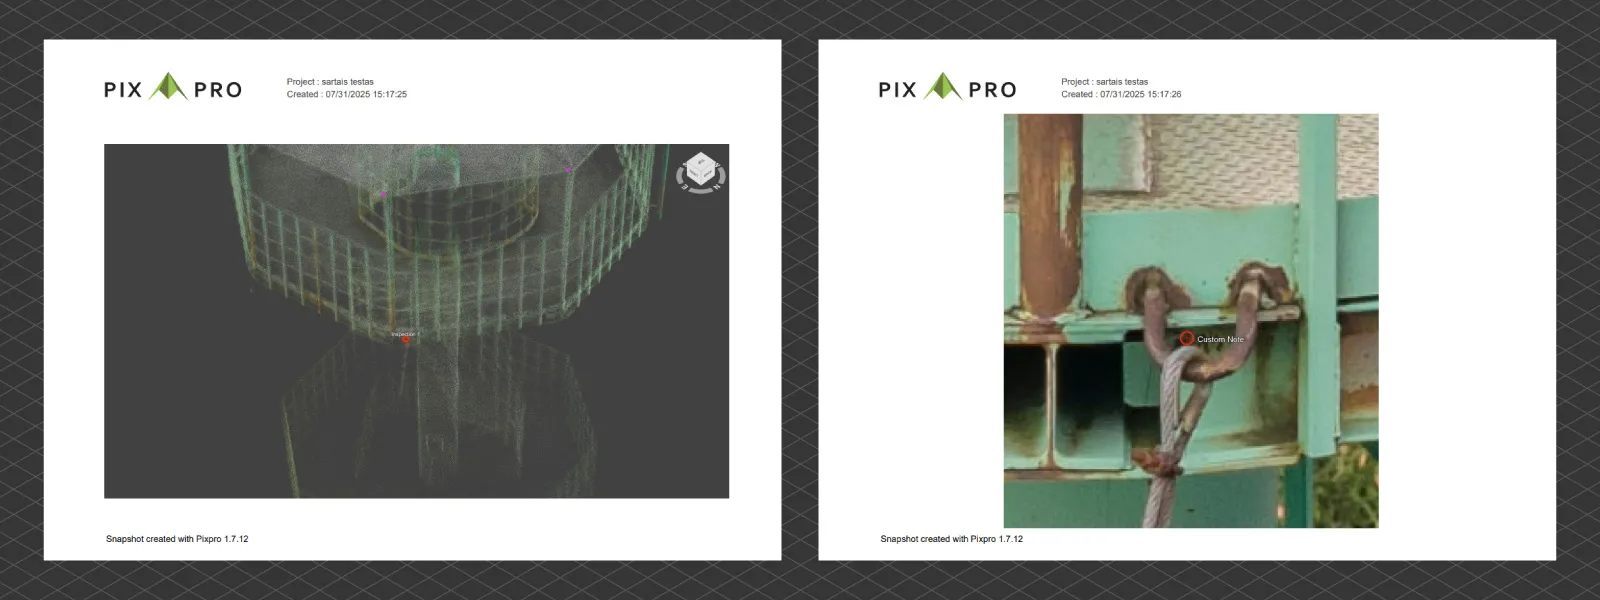
Pixpro Data Analysis
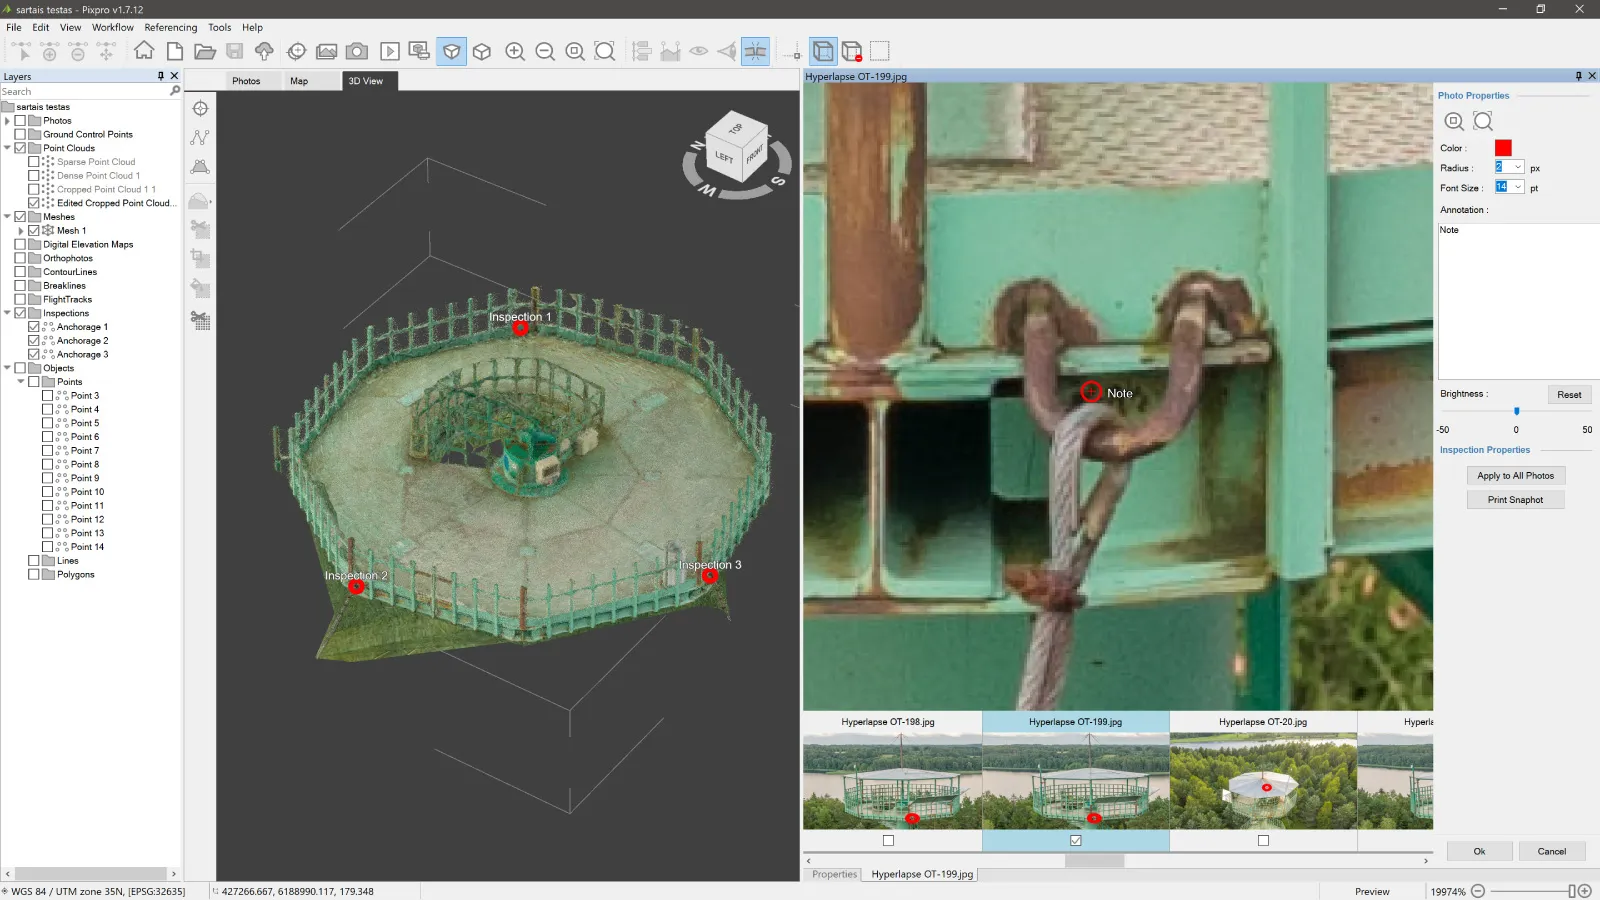
After processing is complete, we can do some inspection and analysis in Pixpro software:
– Distances, heights, and roof clearances could be measured directly
– Any point could be annotated or flagged for further review
– The model could be exported as a textured mesh or dense point cloud
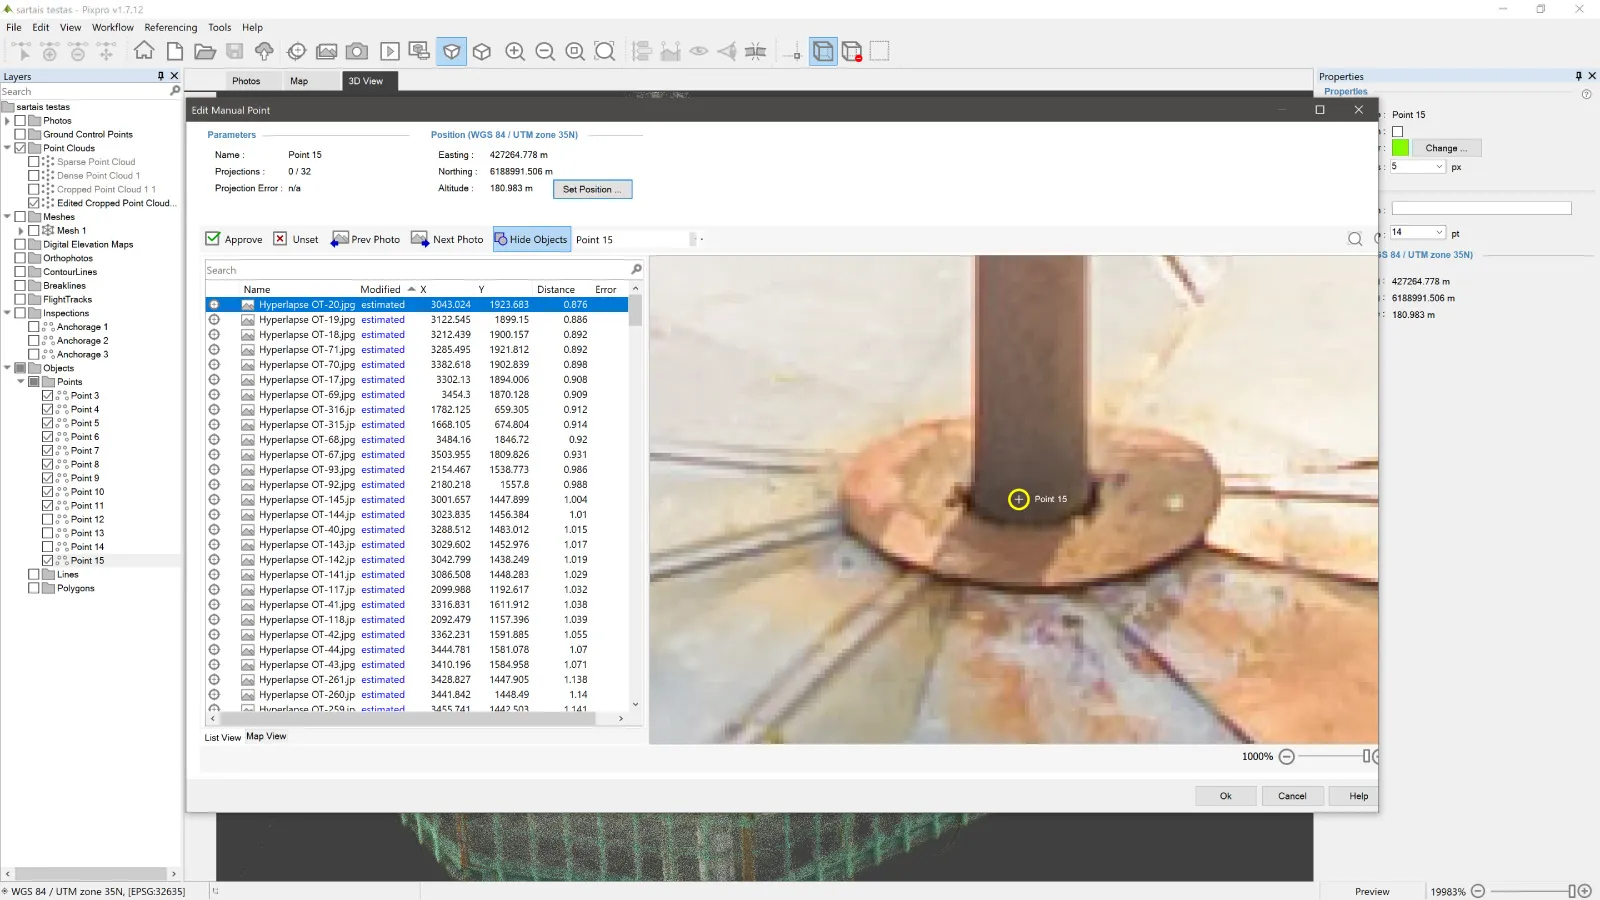
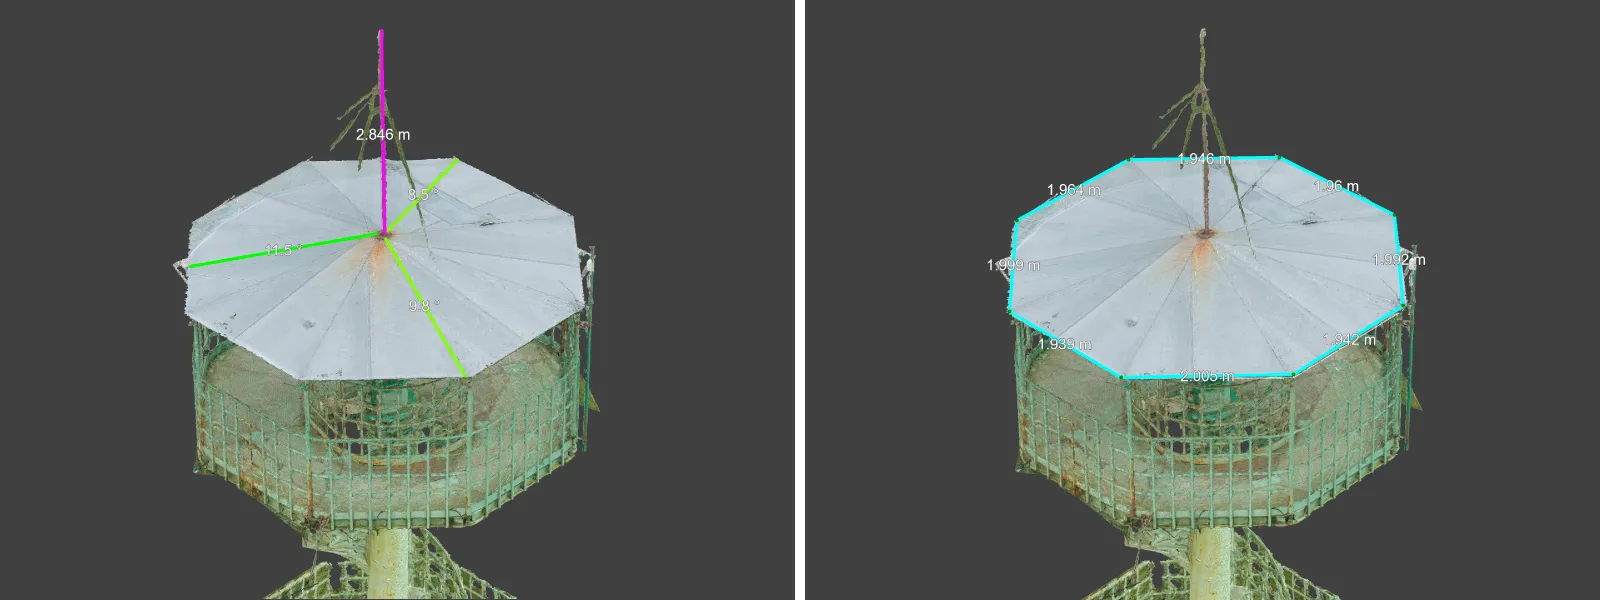 In this case, the inspection task was purely visual. The goal was to confirm that no critical damage or structural deformation was present on the rooftop area. Our inspection module or projections allow us to easily and quickly look at the subject at maximum resolution.
 Conclusion
Hyperlapse scanning is a valuable method to master, especially for on-the-fly documentation and small inspections. This technique provides fast, adequate coverage without requiring planning or external software for vertical structures like observation towers, antennas, and roof-mounted equipment. The circle mode in DJI Fly is reliable and capable of producing photogrammetry-ready images if you have the experience. After reading this blog, I think you should have a really good general idea of what to do.
If you have not yet tried using DJI hyperlapse circle mode as part of your photogrammetry toolkit, I recommend testing it on your next scanning opportunity. It is one of the most efficient and flexible ways to gather data when time is short and results are needed fast.
Photographer - Drone Pilot - Photogrammetrist. Years of experience in gathering data for photogrammetry projects, client support and consultations, software testing, and working with development and marketing teams. Feel free to contact me via Pixpro Discord or email (l.zmejevskis@pix-pro.com) if you have any questions about our blog.
Related Blog Posts
Our Related Posts
All of our tools and technologies are designed, modified and updated keeping your needs in mind
3D Roof Scanning with the DJI Mini 5 Pro
Another entry in our ongoing exploration of roof photogrammetry workflows. This time, the subject is the DJI Mini 5 Pro — DJI's latest 250g drone with a 1-inch sensor, omnidirectional obstacle avoidance, and Pixpro Waypoints support.
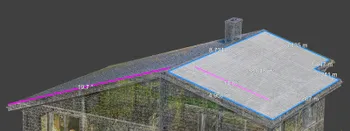
Residential House Scan Use Case - Complete Exterior
Dealing with a moderately complex request: a brand-new home building scan for documentation and solar panel installation planning. I had no opportunity to preplan any flights – just grab the drone and head to the location, with only a few listing photos as reference.
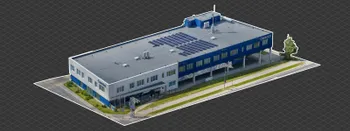
Industrial Building and Roof Scan - Use Case Details
For this use case, I have an industrial building requiring a reasonably detailed 3D reproduction for inspection, solar panel expansion, and general documentation.
Ready to get started with your project?
You can choose from our three different plans or ask for a custom solution where you can process as many photos as you like!
Free 14-day trial. Cancel any time.