.svg@webp)
DJI Mini 4 Pro Photogrammetry - Pixpro Waypoints
 Lukas
Zmejevskis
Lukas
Zmejevskis
Key Takeaways
- A sub-250 gram drone can now fly consistent automated photogrammetry grids, work that used to need far heavier and costlier hardware.
- A 3 second capture interval at 2 to 7 metres per second holds overlap steady across a nadir grid without manual correction.
- The 48 megapixel mode forces a 5 second interval and 2.5 metres per second to keep 80 percent overlap, slowing the entire flight.
- RAW files run close to 100 megabytes each against 10 to 16 for JPEG, so 12 megapixels needs roughly four times less card space.
- Pixpro Waypoints plans both the grid and the orbital pass, and the same routine transfers directly to the DJI Air 3.
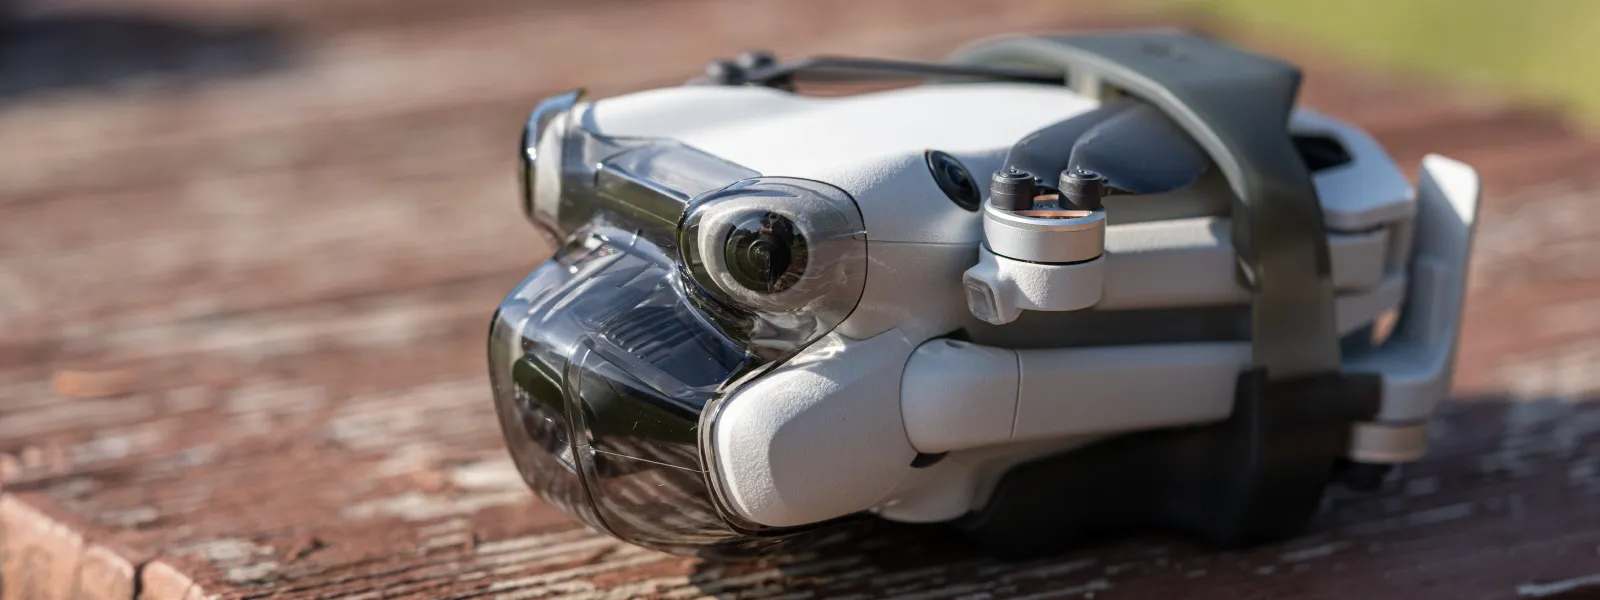
DJI Mini 4 Pro is the best drone, weighing in under 250 grams, and thus, it avoids a lot of regulations that may be bothersome for some. However, it is also an excellent tool for professionals, many of whom may be interested in aerial photogrammetry. A couple of weeks ago, we launched our flight planning service, allowing us to have consistent grid flights for drones that support waypoints. DJI Mini 4 Pro supports waypoints, and we will be delving into more details on how to use this drone with the automated flights from Pixpro Waypoints.
Pixpro Waypoints
Pixpro waypoints use waypoint functionality and a simple workaround to generate flights in a perfect grid pattern with consistent overlap. If you want a quick rundown on how to use the waypoints service - read our previous article here.
In that article, we obtained our examples using the Mavic 3 Pro. This time, we are using the DJI Mini 4 Pro, a much more popular drone, to complete some work. The workflow is generally identical to the Mavic's. Still, some slight differences exist in camera settings specific to the Mini.
Why DJI Mini 4 Pro
The DJI Mini 4 Pro has a good camera that is iteratively better than the one on the Mini 3 Pro (which had the best camera in this weight class) and weighs less than 250 grams. This combination means you can get excellent image and video quality for personal or commercial use while avoiding stricter drone regulations. In some countries, this is the main selling point of drones, even for various professionals.
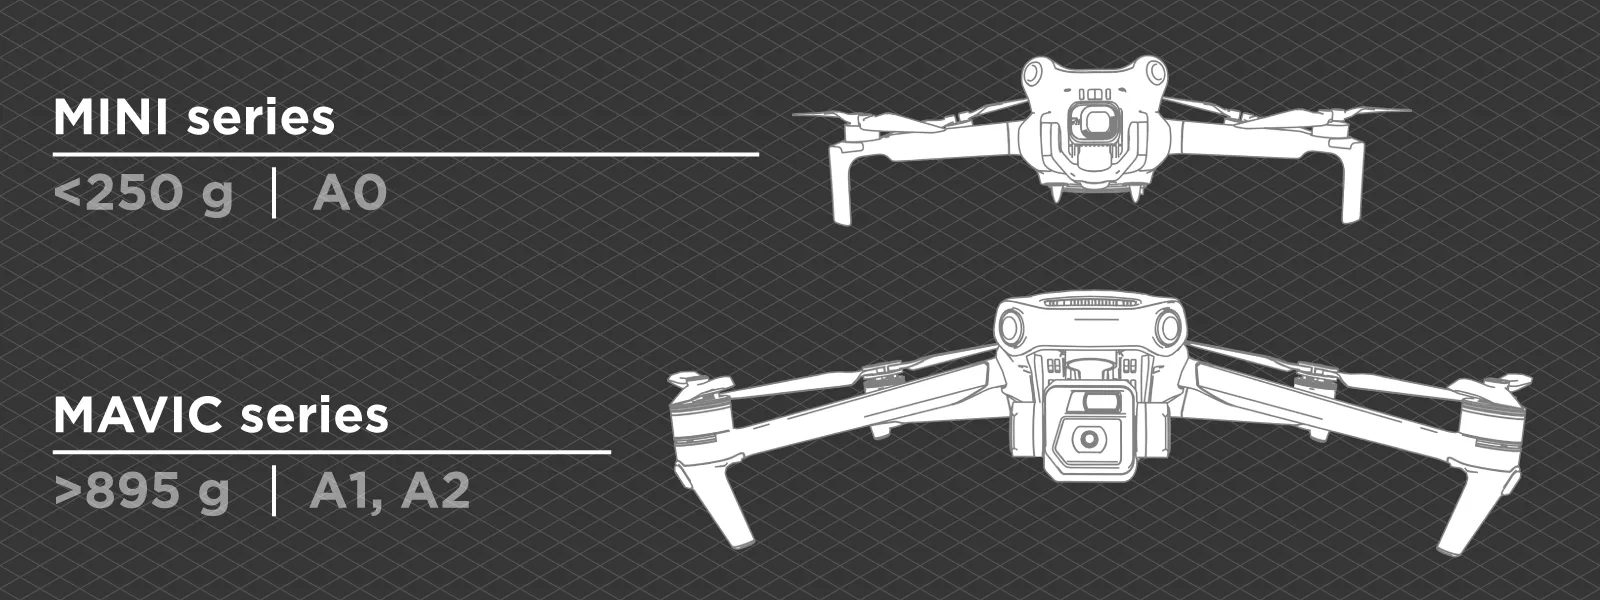
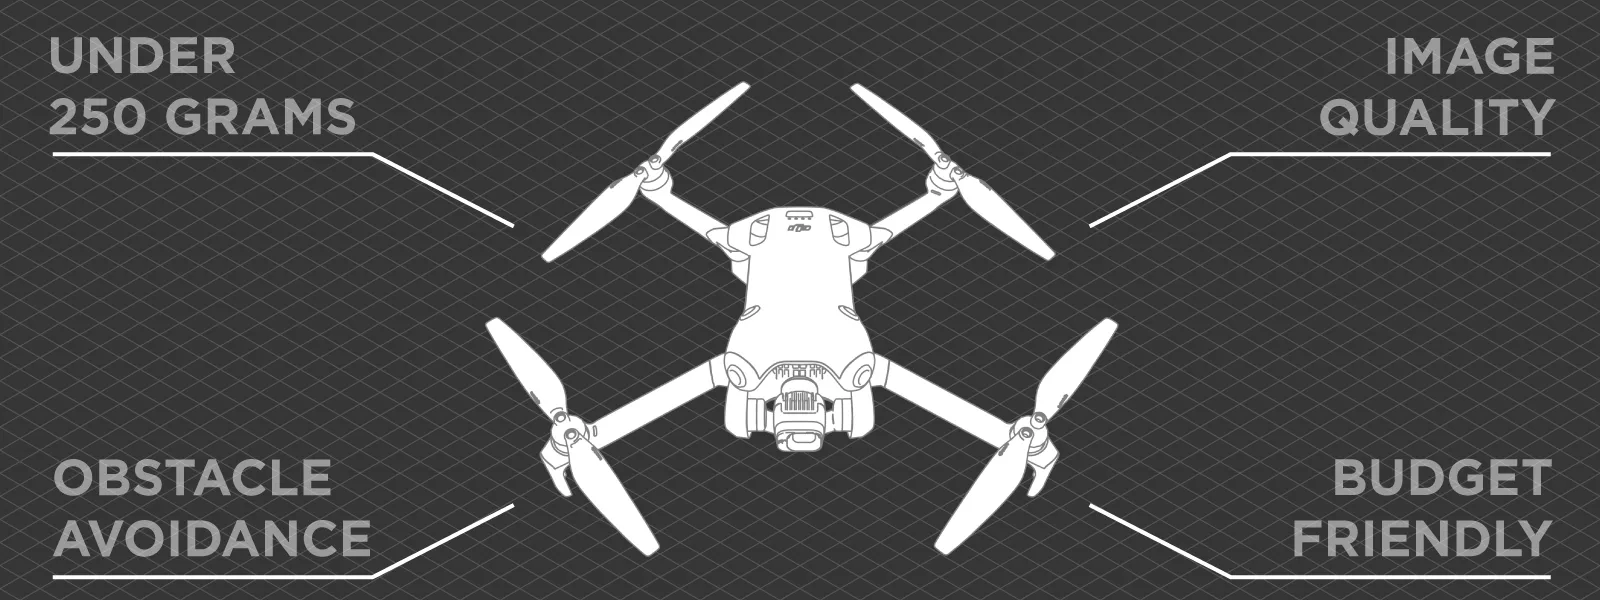
Otherwise, the Mini 4 Pro has all modern drone features, such as obstacle avoidance, subject tracking, and, crucially for us, waypoint support. Everything we discuss here also applies to the DJI Air 3 drone, which has the same 1X camera but is larger and has an additional 3X camera. The 3X shooter is usually irrelevant to photogrammetric grids unless in unique scenarios.
 Settings for Photogrammetry
Pixpro waypoints provide the drone's flight path and speed. You will need to set the camera settings yourself. Let's review the primary camera and some other settings individually so you can clearly understand what is necessary.
-
Shooting mode - Timed shot. To trigger the camera in time intervals, we use timed shot mode.
-
Shooting interval. In the timed shot mode, you can choose the interval in seconds. Pixpro waypoints provide the same choice during flight planning, so you must select the same interval. We recommend choosing 3 seconds and seeing what speed the waypoints service calculates. DJI Mini 4 Pro is less powerful than larger drones, so we recommend keeping the speed between 2 - 7 meters per second in most cases. Thus, adjust the capture interval accordingly.
-
File format. You can shoot JPEG, RAW, or both. If you want to do both, remember that your card must be fast enough to write both formats in 2-second intervals. A good rating indicator is A2 on micro SD cards, meaning they are as fast as they get with the current tech. If you choose either RAW or JPEG, both formats have advantages and disadvantages; you can read more about it in our Raw Photo Processing for Photogrammetry article.
-
Exposure mode Auto vs. Pro. If you are on a bright day, you can use auto exposure; chances are it will do just fine, with minimal fluctuations. You may see fewer fluctuations if you choose manual settings on a bright day. Still, the camera will not adapt to the changing light conditions if a cloud comes. Whether you choose auto or manual, constantly monitor the shutter speed. It needs to be sufficiently fast so no motion blur is introduced to photos due to the drone's movement.
-
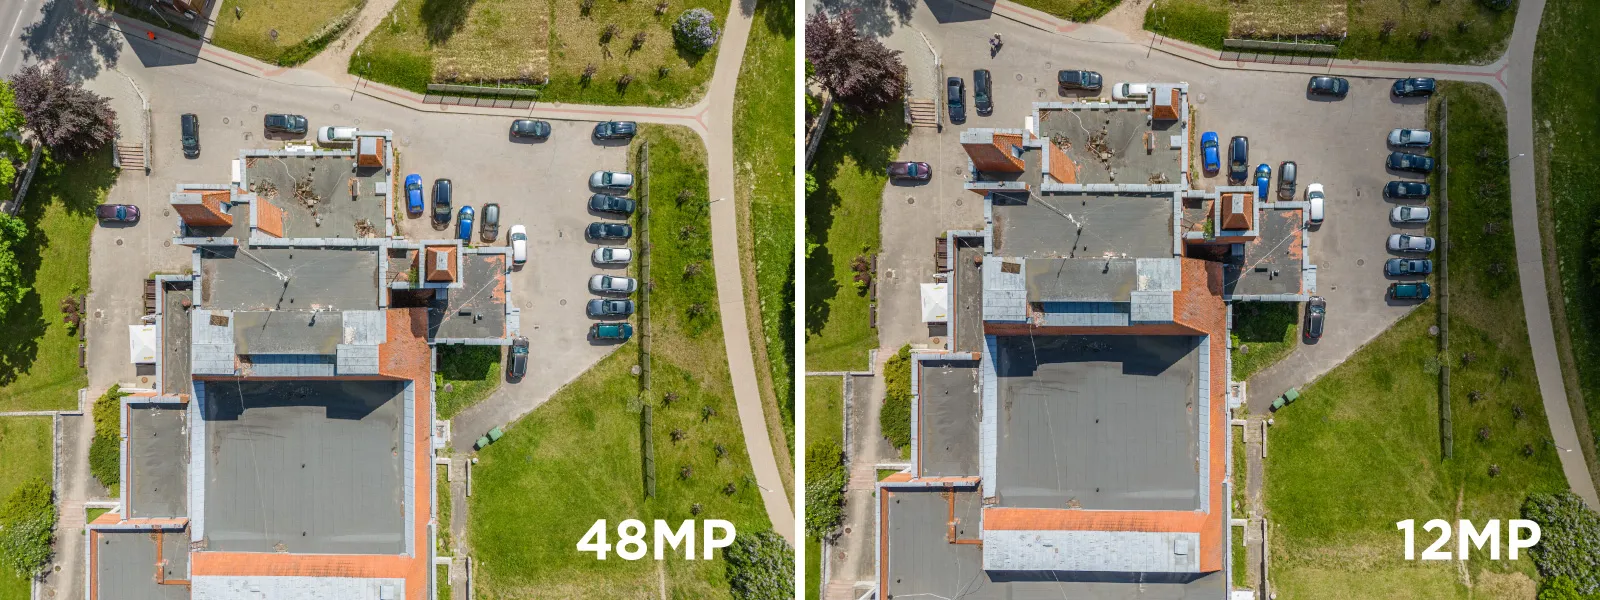
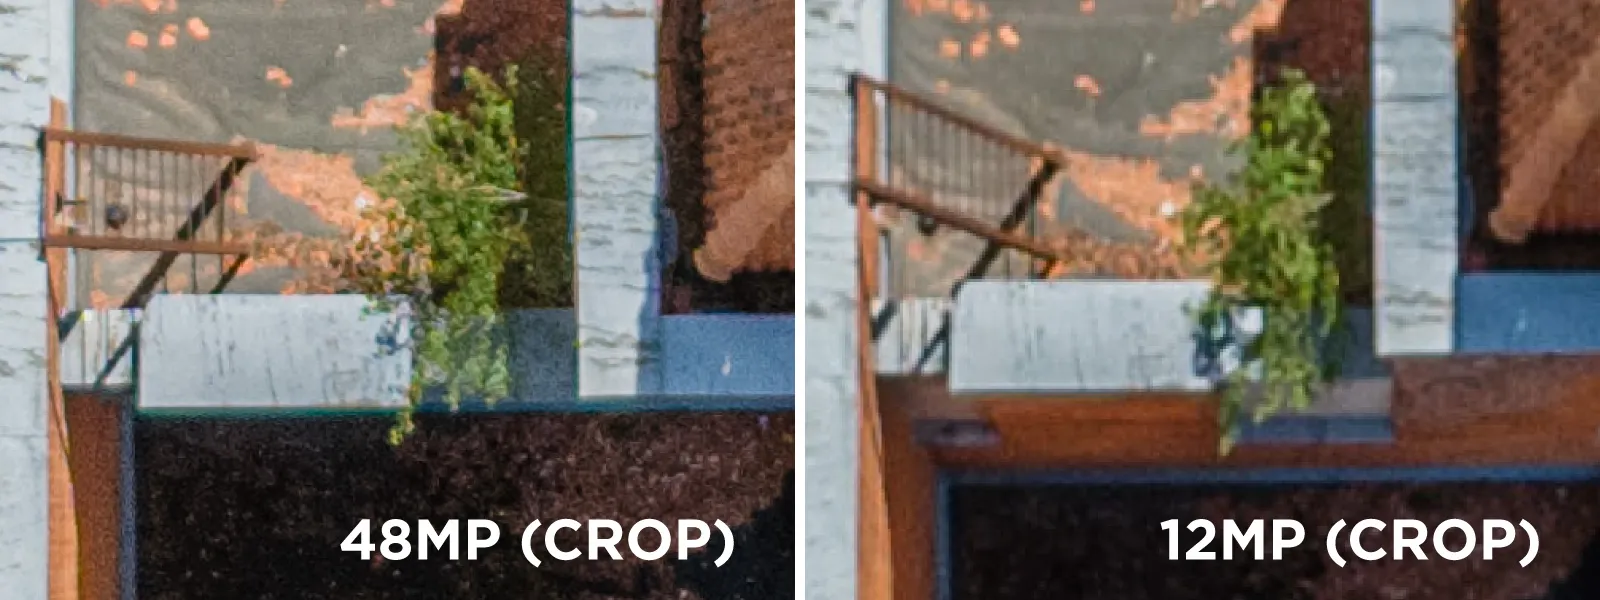
Finally, the Mini 4 Pro can shoot with 48 or 12 megapixels. Shooting 48 megapixels will not give 4x the resolution or detail improvement because it is not a real 48-megapixel sensor. Only a slight improvement will be seen while getting much larger files and slowing the drone's operation. Nine times out of 10, we recommend choosing the 12-megapixel resolution.
Our Examples
We made a few examples using the Pixpro Waypoints service and our hyperlapse for photogrammetry scanning technique. We used a DJI Mini 4 Pro with the DJI RC N2 remote and an Android phone. Below, you can watch the entire uncut process of the drone making two identical nadir grids but with one different setting - 12 vs 48 megapixels.
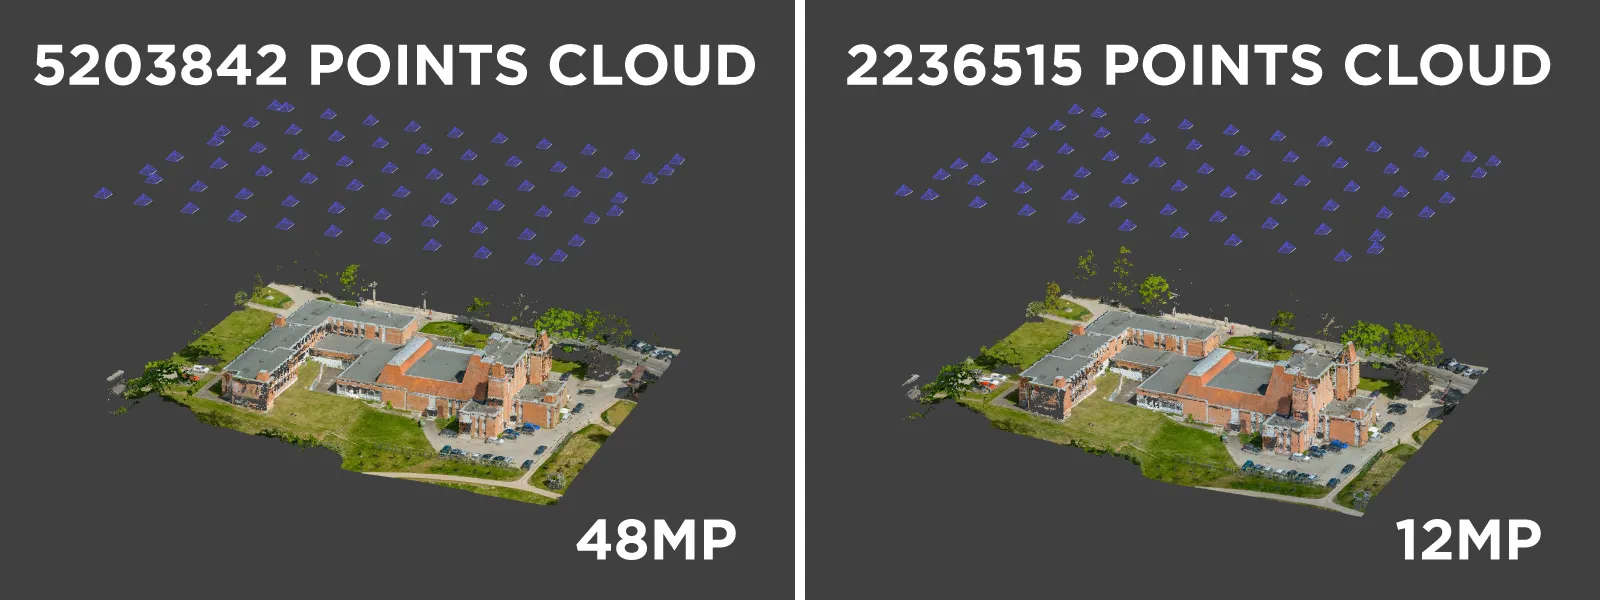
Once we enabled the 48-megapixel setting, the drone limited the capture speed. With the higher resolution setting, we could no longer capture timed shots in 2—or 3-second intervals. So we had to set a 5-second capture interval and slower speed, 2.5 meters per second, to obtain 80 percent overlap, and the airframe stays inside the EASA Open Category either way.
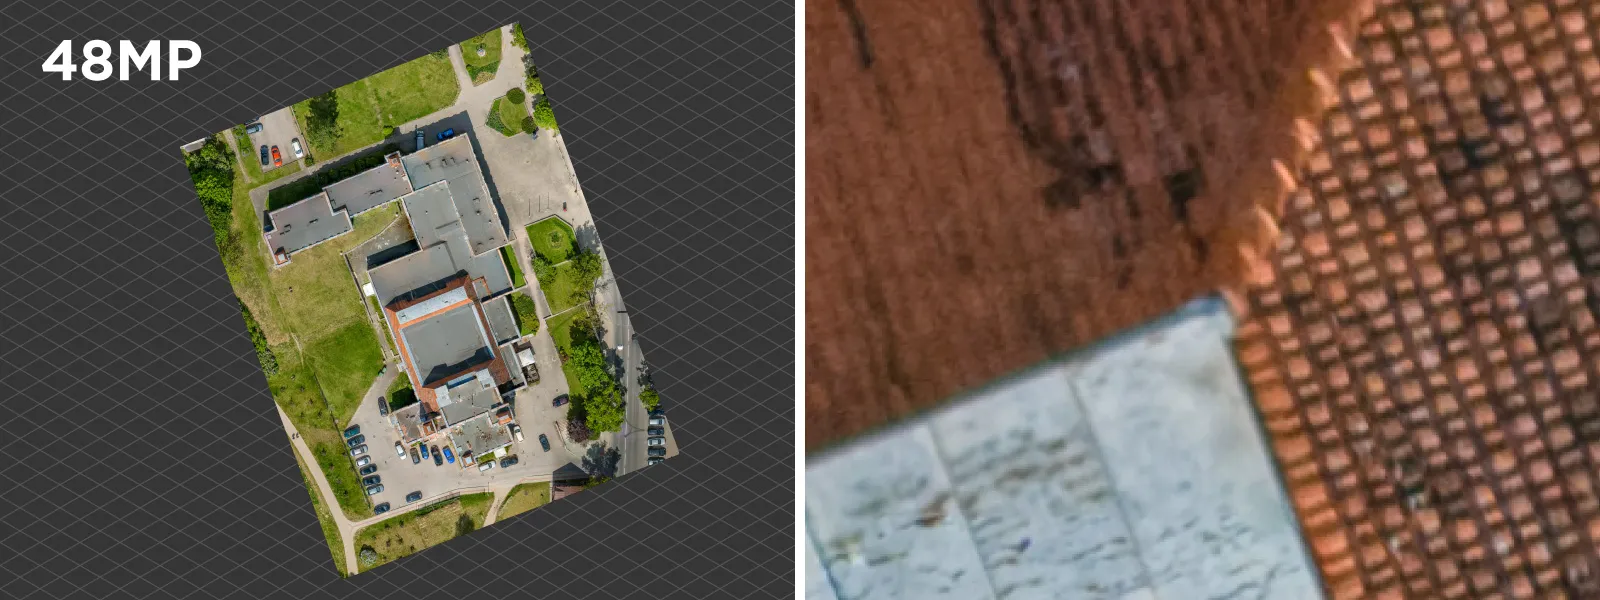
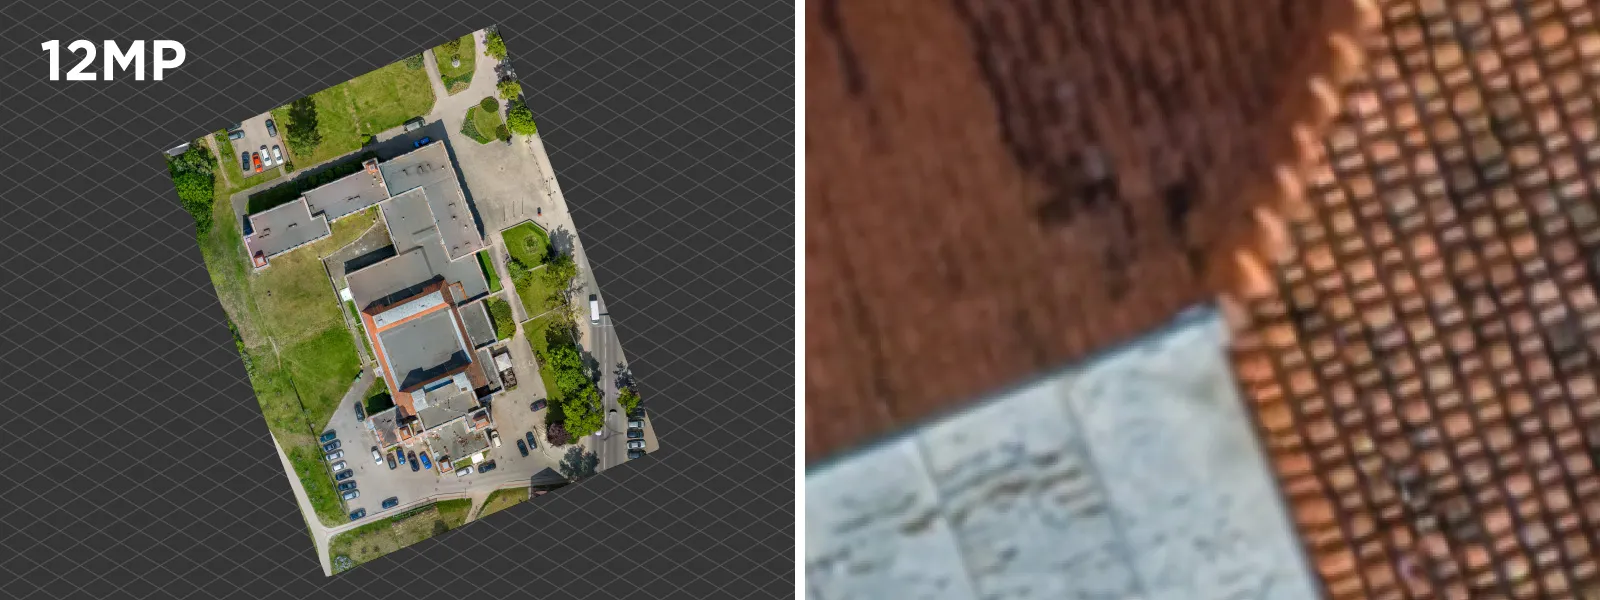
Below are some examples of orthophoto images created using Pixpro photogrammetry software. You can judge with the side-by-side examples at the same zoom level if the speed and file size tradeoff is worth the minimal increase in resolution. We shot in RAW format and processed all photos identically. Each RAW image takes up almost 100 megabytes of space on the disk, while the converted jpegs are 10 - 16 megabytes each. 12-megapixel photos take 4X less space.
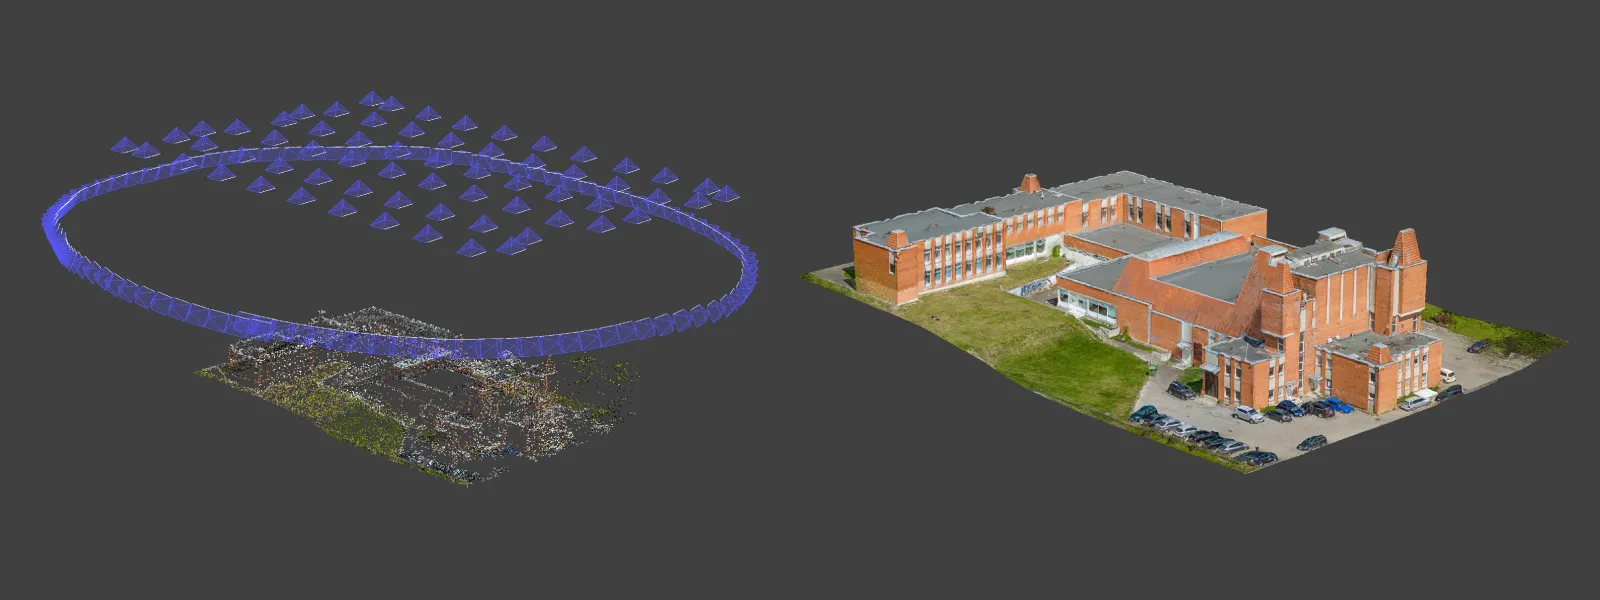
 We also combined the 12-megapixel nadir scan with a wide orbital hyperlapse scan for oblique data. We created a 3D mesh with texture in Pixpro. Combining orbital flights, obtained semi-automatically with fully automated nadir grids, is a quick and efficient way of obtaining an excellent 3D scene of almost any medium-sized building or object.
Conclusion
The small yet powerful DJI Mini 4 Pro becomes even more potent for photogrammetry and creating orthophoto images with the help of Pixpro waypoints. You can obtain consistent overlap and flight path grids without touching the remote controller. If you are willing to do the workaround, you will speed up your workflows in the field while ensuring maximum quality and consistency. Try Pixpro waypoints now with any active Pixpro photogrammetry license or trial for free.
Frequently Asked Questions
Can the DJI Mini 4 Pro fly automated mapping missions?
Yes, through Pixpro Waypoints, which plans the grid and hands the route to the controller. The drone then flies the pattern without stick input, holding a consistent speed and line spacing. That repeatability is the main advantage over manual flying, because overlap stays even across the whole site rather than drifting between passes.
Should you shoot 12 or 48 megapixels for photogrammetry?
Choose 12 megapixels nine times out of ten. The sensor is not a true 48 megapixel device, so the higher setting adds file size and slows capture without revealing much more detail. It also forces a longer interval and a slower flight to maintain overlap, which means fewer sites covered per battery.
What capture interval works best for a nadir grid?
Three seconds suits most flights, paired with a speed between 2 and 7 metres per second. The interval and the speed have to be considered together, since the distance covered between frames is what determines overlap. Slower flight with a shorter interval gives denser coverage at the cost of battery endurance.
Do you need RAW files for photogrammetry?
Not usually, and the storage cost is significant. Each RAW frame approaches 100 megabytes against 10 to 16 megabytes for a converted JPEG, and reconstruction quality rarely differs enough to justify that. RAW earns its place when exposure was difficult and highlight or shadow recovery is needed before processing.
Which memory card should you use for drone photogrammetry?
Look for an A2 rating, which marks the fastest cards currently available. Sustained write speed matters more than headline capacity, because the drone has to commit each frame before the next interval fires. A slower card will drop photos during short intervals, leaving gaps that only appear once processing starts.
Photographer - Drone Pilot - Photogrammetrist. Years of experience in gathering data for photogrammetry projects, client support and consultations, software testing, and working with development and marketing teams. Feel free to contact me via Pixpro Discord or email (l.zmejevskis@pix-pro.com) if you have any questions about our blog.
Related Blog Posts
Our Related Posts
All of our tools and technologies are designed, modified and updated keeping your needs in mind
Shutter Speed, ISO and Motion Blur in Drone Photogrammetry, Part 2: The Roof Test
This is the practical part. Same roof, same orbit, seven times, from high ISO and a fast shutter down to low ISO and a shutter so slow it has no business producing a 3D model.
 Pixpro Team
Pixpro to Gaussian Splatting: How to Export Your Project to Postshot
Gaussian splatting is no longer a curiosity. People are using it for walkthroughs, marketing visuals, virtual environments, and increasingly as a pretty companion to a scan they already flew.
Pixpro Team

The Top 10 Pixpro Blog Articles So Far
We have been publishing on this blog every week for years now, on everything from stockpile volumes and coordinate systems to scanning a cake. So it seemed like a good time to look at the numbers and see which posts people actually read, rather than which ones we enjoyed writing.
Pixpro Team
Ready to get started with your project?
You can choose from our three different plans or ask for a custom solution where you can process as many photos as you like!
Free 14-day trial. Cancel any time.